length of the wake


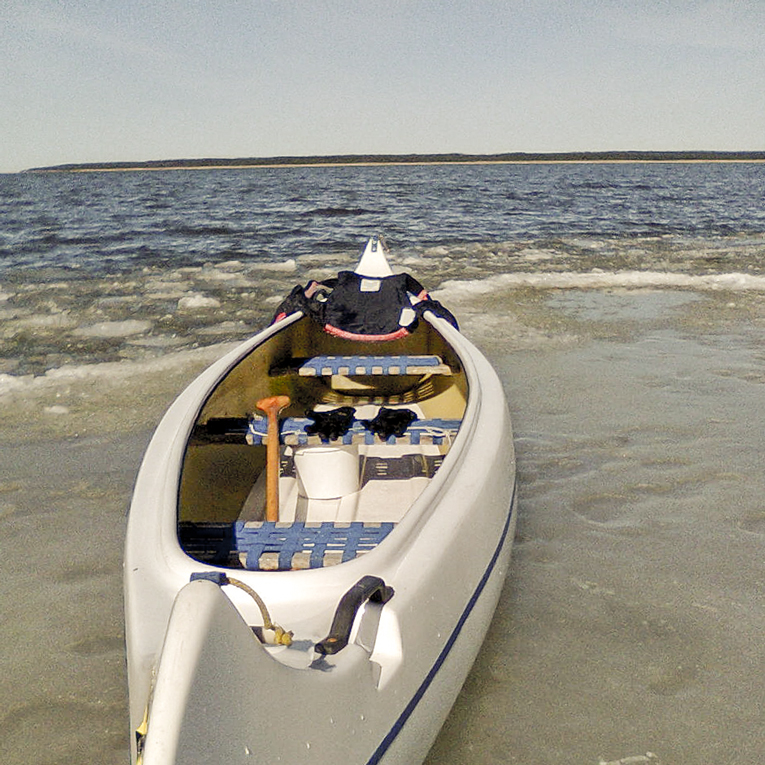
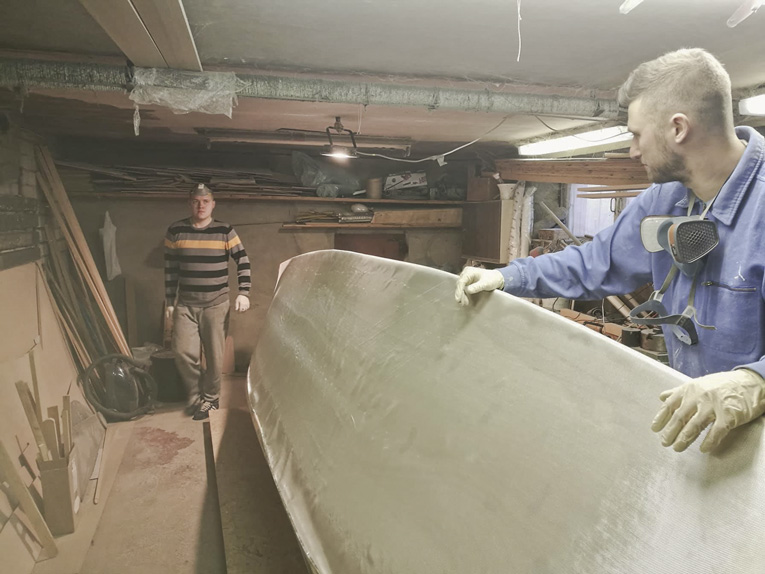
The day finally arrived when the painter and the boat met again. Lex Zooz, a talented mural artist donated a new dress for Tiki Itatae for her venturous voyage down to Adriatic back in 2018. In summer 2021 they meet again, this time Tiki Itatae was able to retribute and take Lex Zooz onboard for a little detour in Haapsaly bay.
Thank you all who helped Tiki Itatae from paper to water.
Special thanks goes to Ott, Olev, Rivo and Rauno and to my family – thank you for being patient and supportive!
Pro Marine Trade – thank you for providing main and jib sheet blocks.
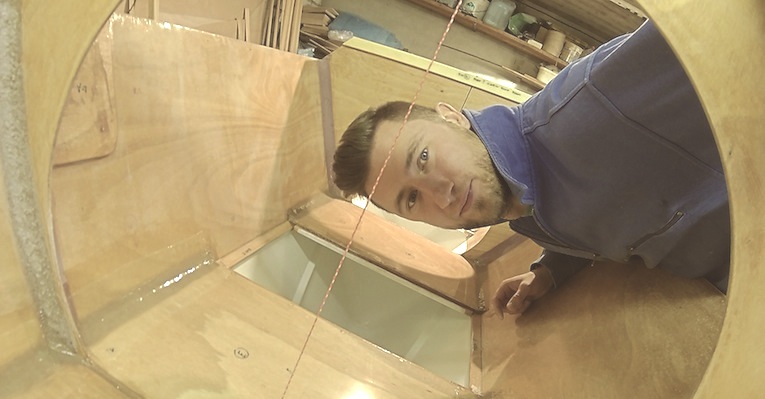
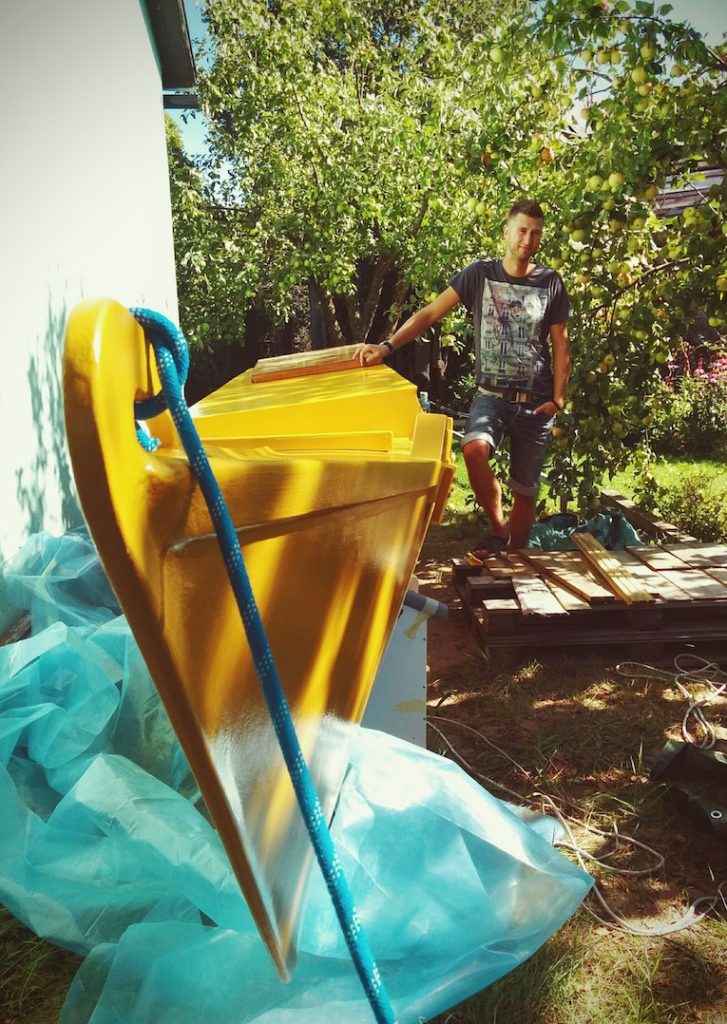
Read my face: three years in the garage and now…
PS! Arno, Ranno and Veiko – thanks for helping me with the mast trial 🙂

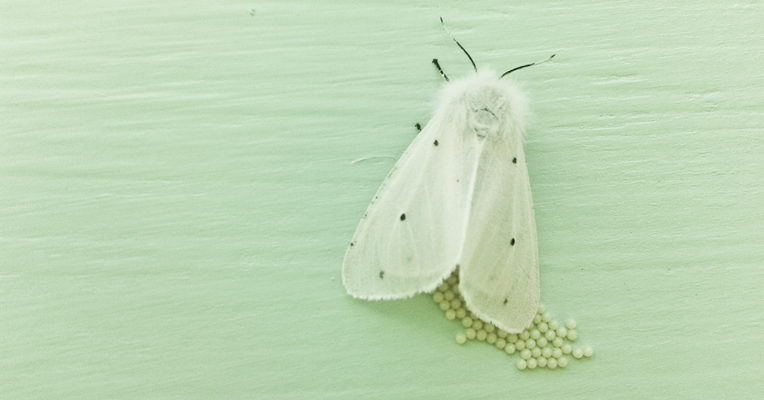
I was going to lash the beams today, but I discovered an unexpected guest waiting on Itatae – a muslin moth, Diaphora mendica, busy at laying eggs on the starboard hull.
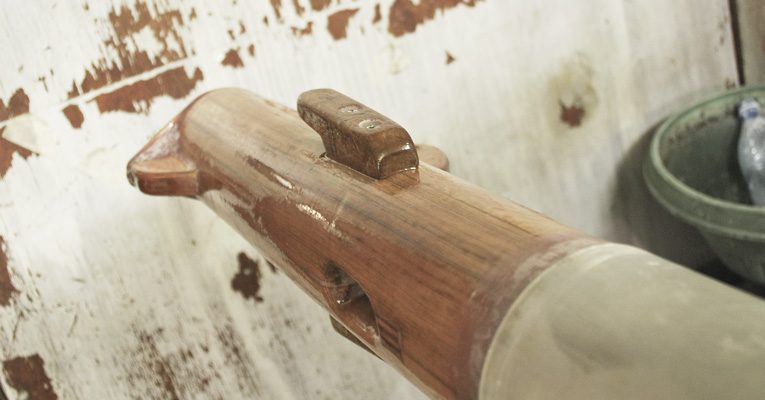
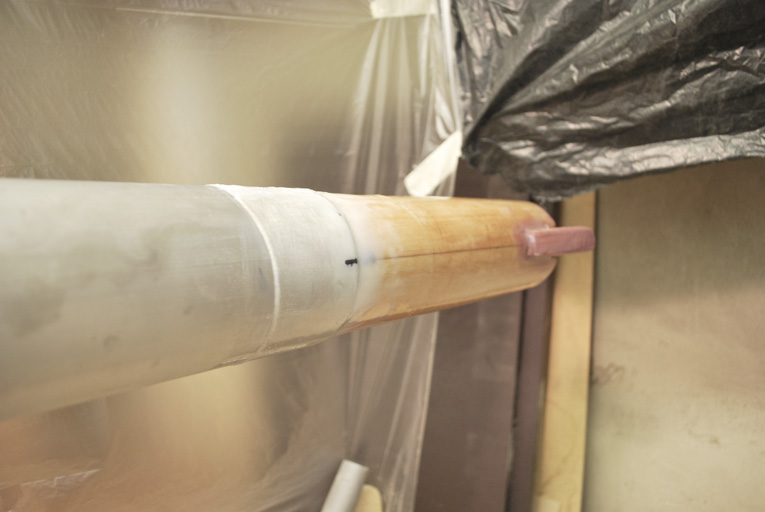
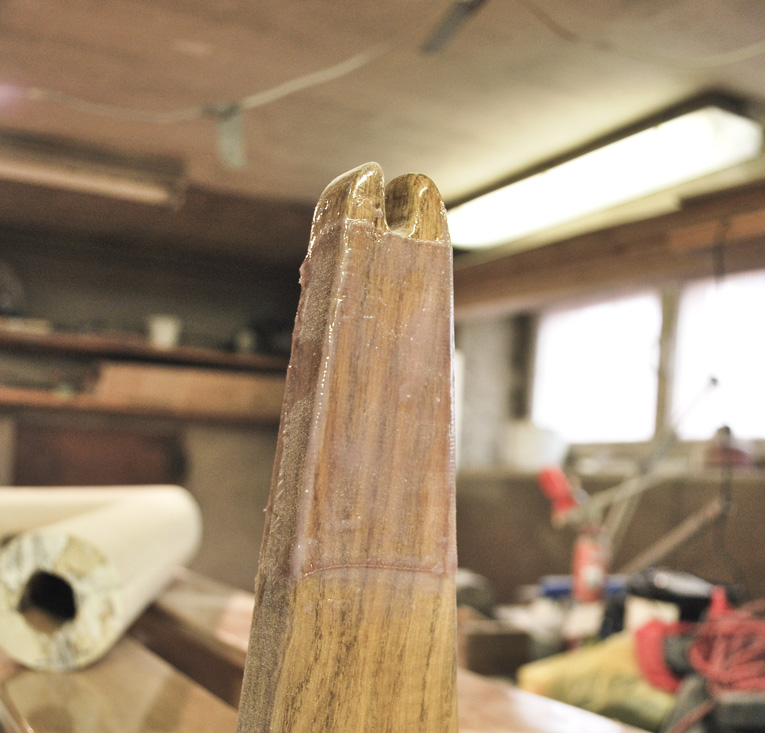
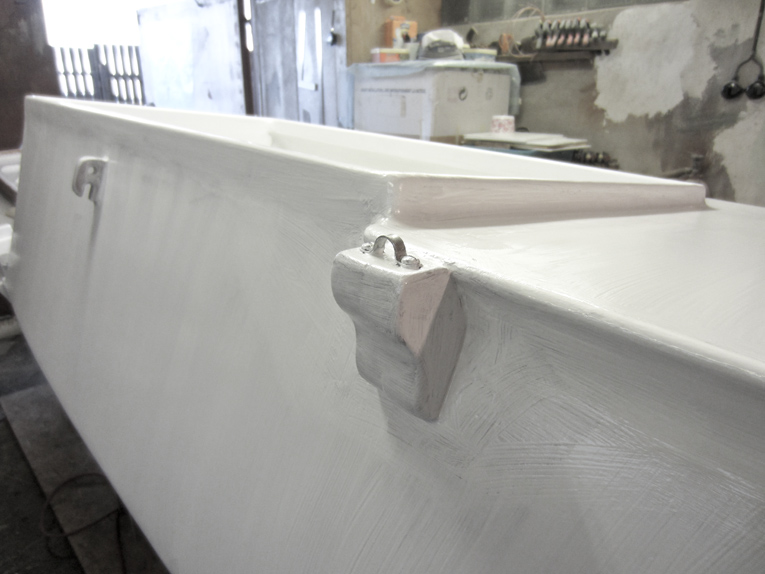
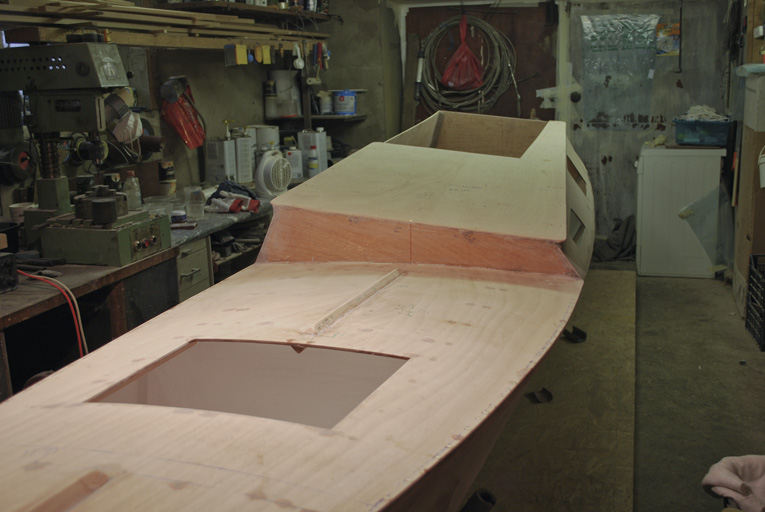
After couple of laborious days of planing-sanding-planing-sanding-swearing-sanding-planing-sweating-sanding-swearing-planing-sanding i finally managed to produce snugly fitting top and heel for the mast:
Okay, now there are some little jobs carried out.
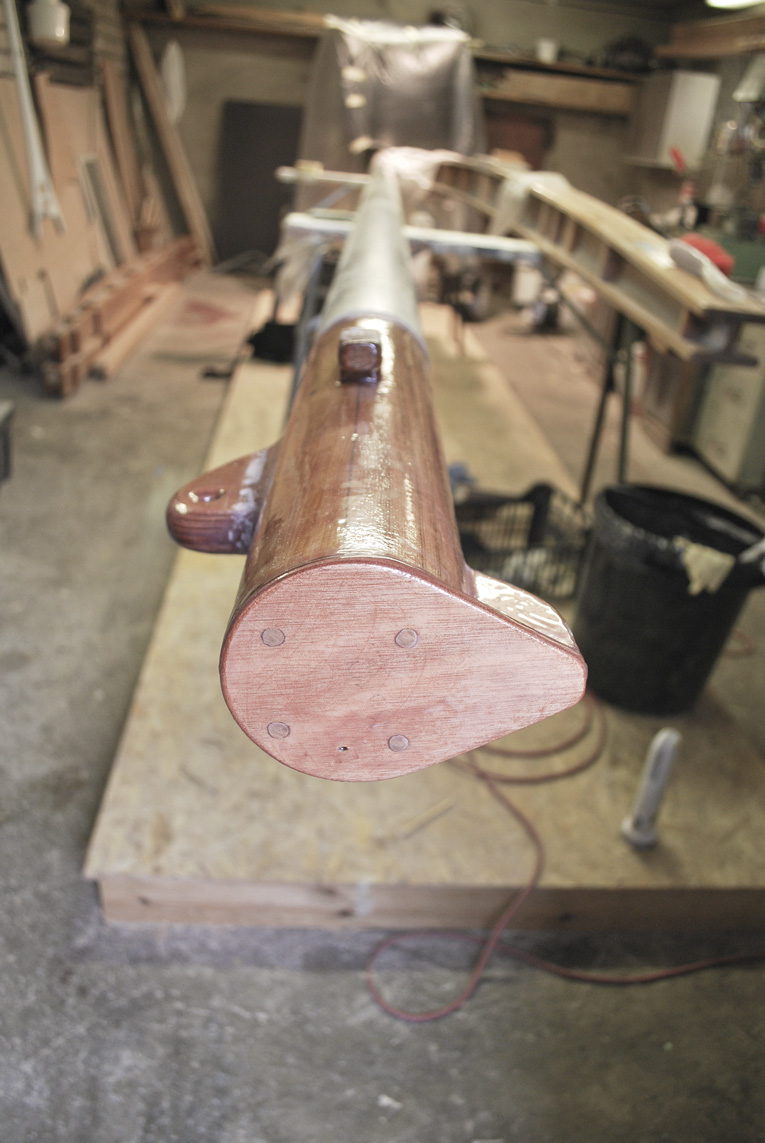
Dolphin striker has a glass fiber reinforcement to prevent splitting (there will be whipping as well later on and yes the picture looks a bit masculine)
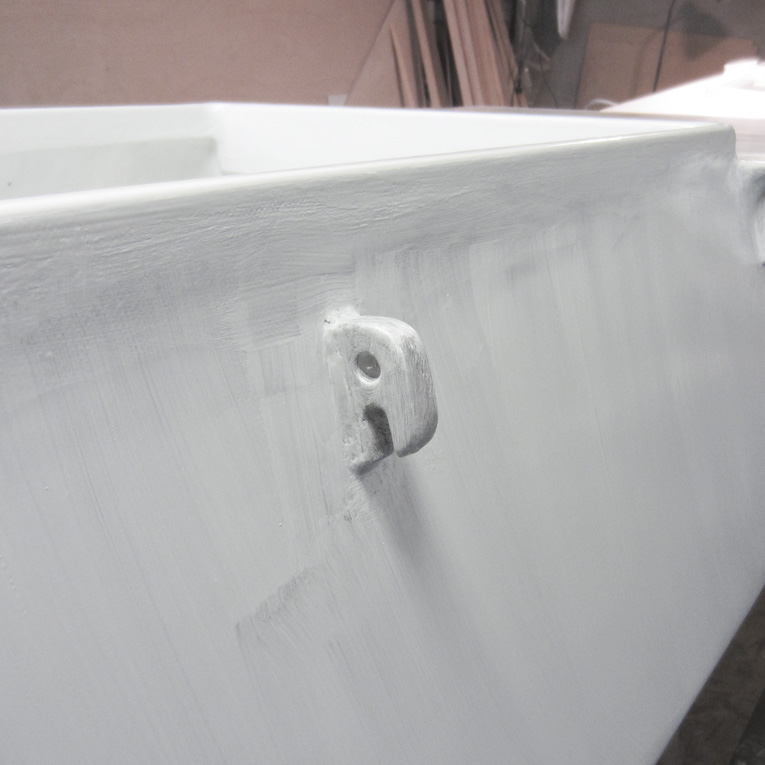
Compensation plates for forward crossbeam… there were some mysterious gaps between beam blocks and beam.
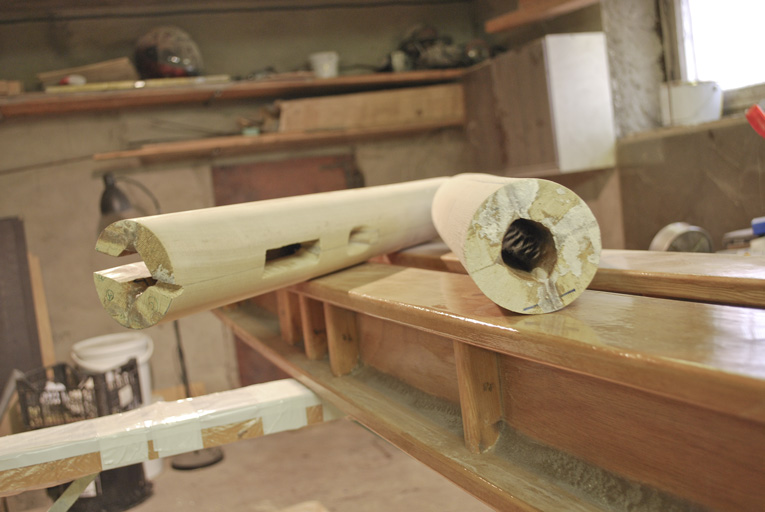
Top and heel portions of the mast were made of 4 pieces of planks glued together for extending a 6m alu tube – just 4 days of planing and sanding – truly handcrafted stuff :p (will not to it again next 20 years, but people with insomnia, I will recommend it — you will have good night sleep, at least when you have cleansed your nostrils from hefty sanding dust deposits)
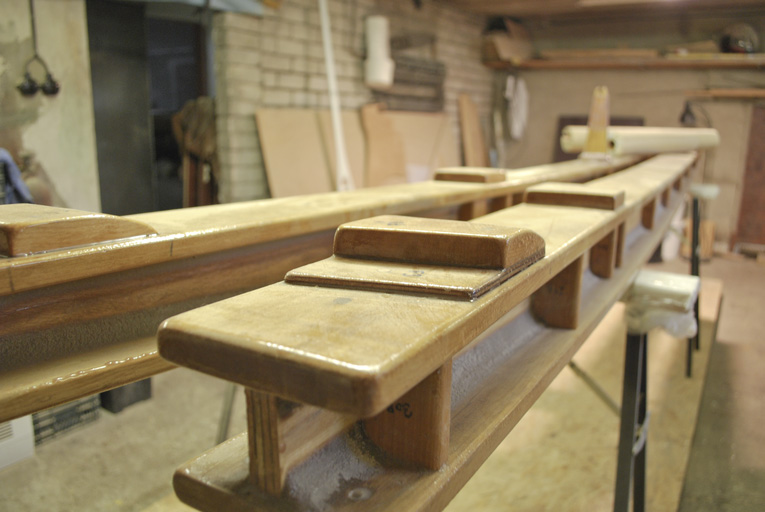
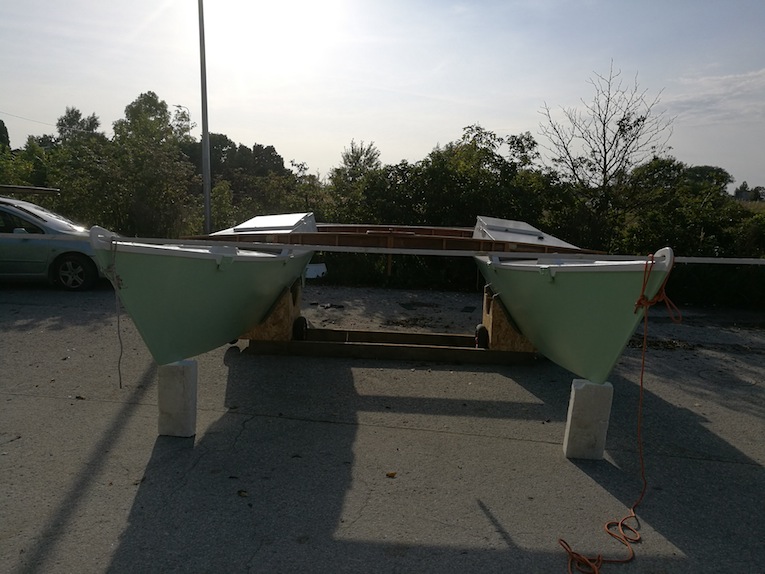
Over a long period of time finally we had a nice weather today, so I headed out with 2 friends & Itatae to measure fixing block locations for beams.
She looks cute ain’t she 🙂

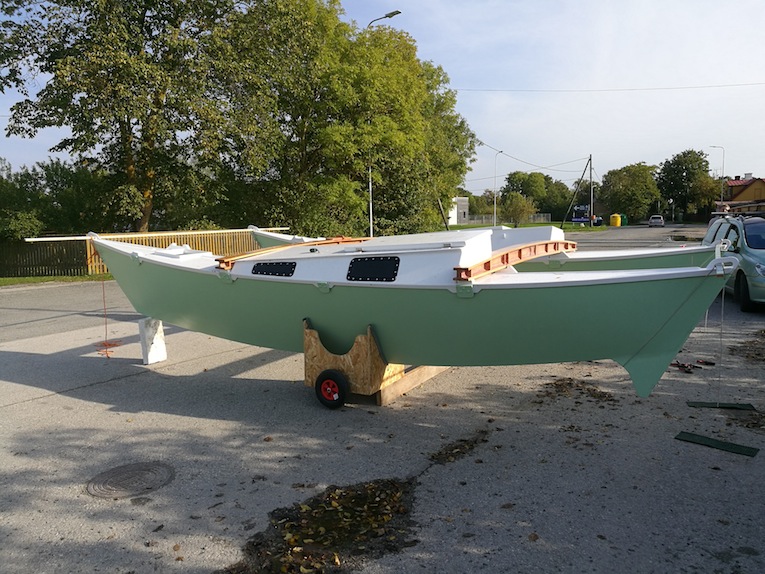


A pretty grand moment 🙂
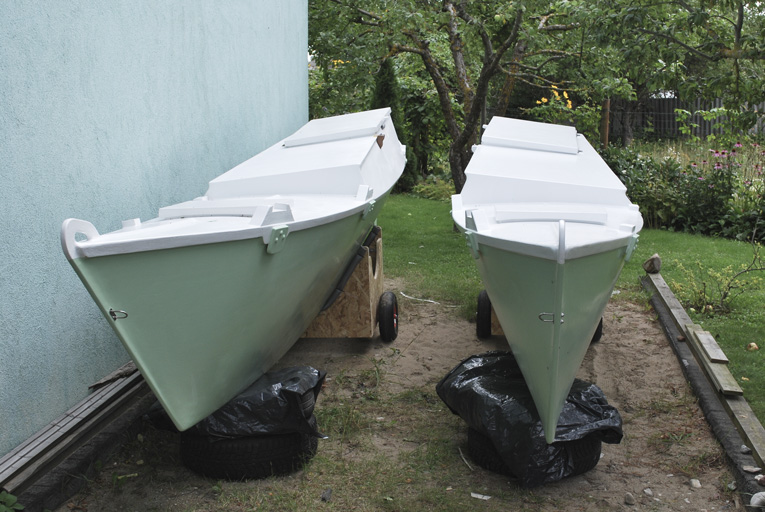
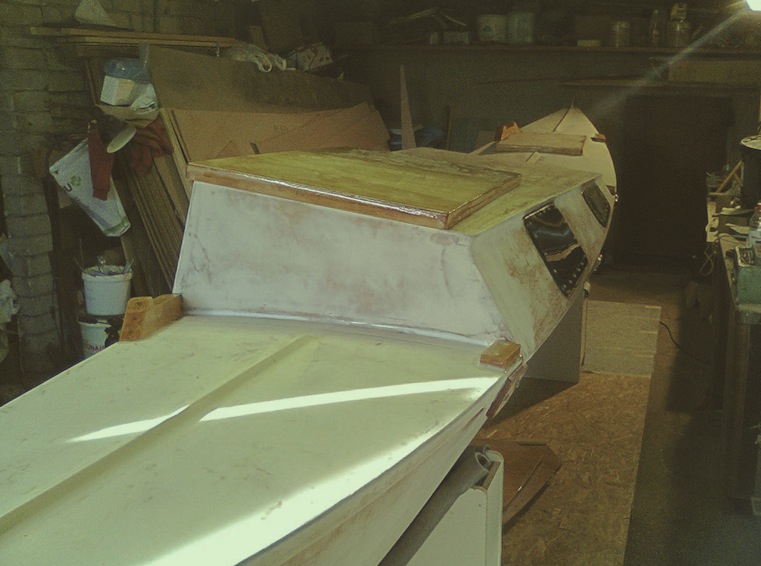
Its already August – soon enough nasty long, damp & dark winter will knock on the door… Still I have some glimpse of hope, as I finished port hull paint job — I only need to fit windows, main hatch hinges and rudders.
Port hull with fresh paintjob
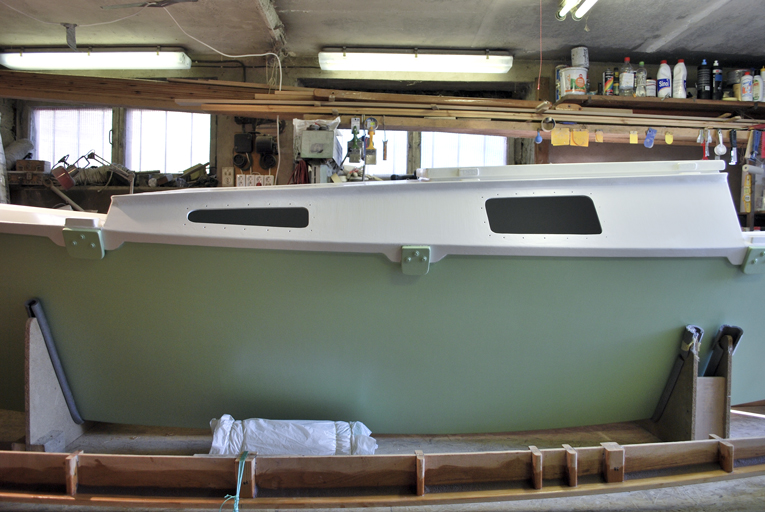
Just look at these neat curves 🙂
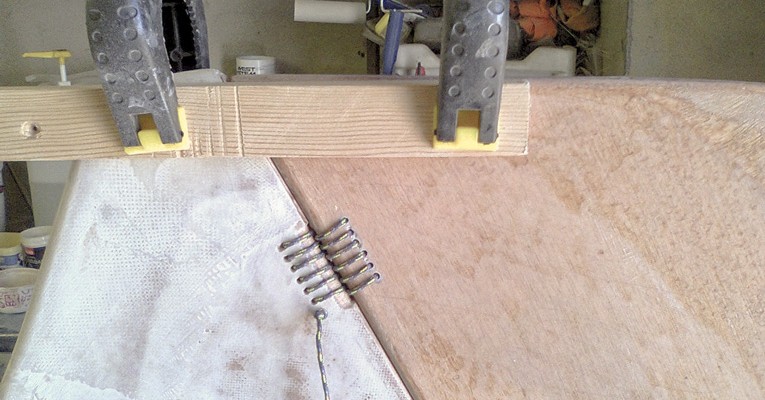
Just some few odd jobs left… here’s centre beam under pressure waiting epoxy to reach its final stage (slow hardener for gluing; 50% fast, 50% slow for fillets)

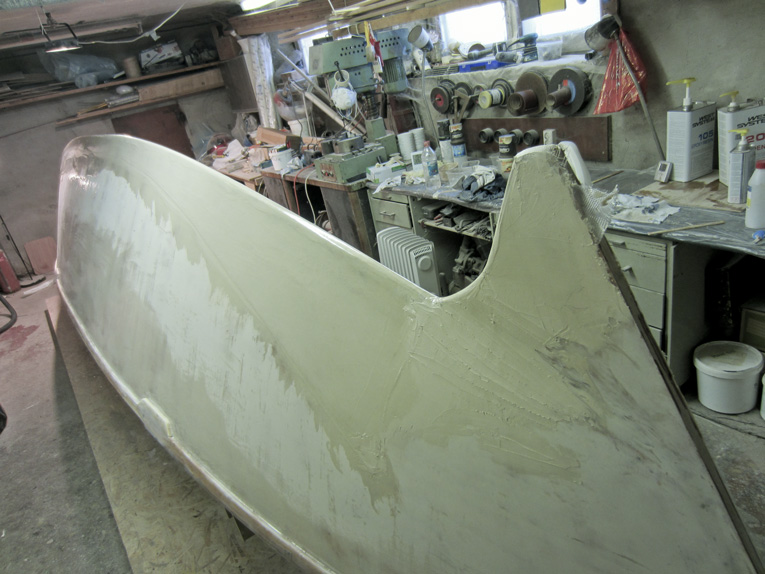
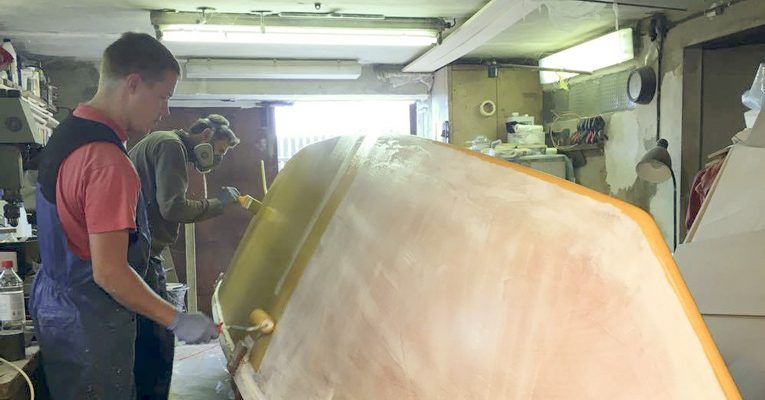
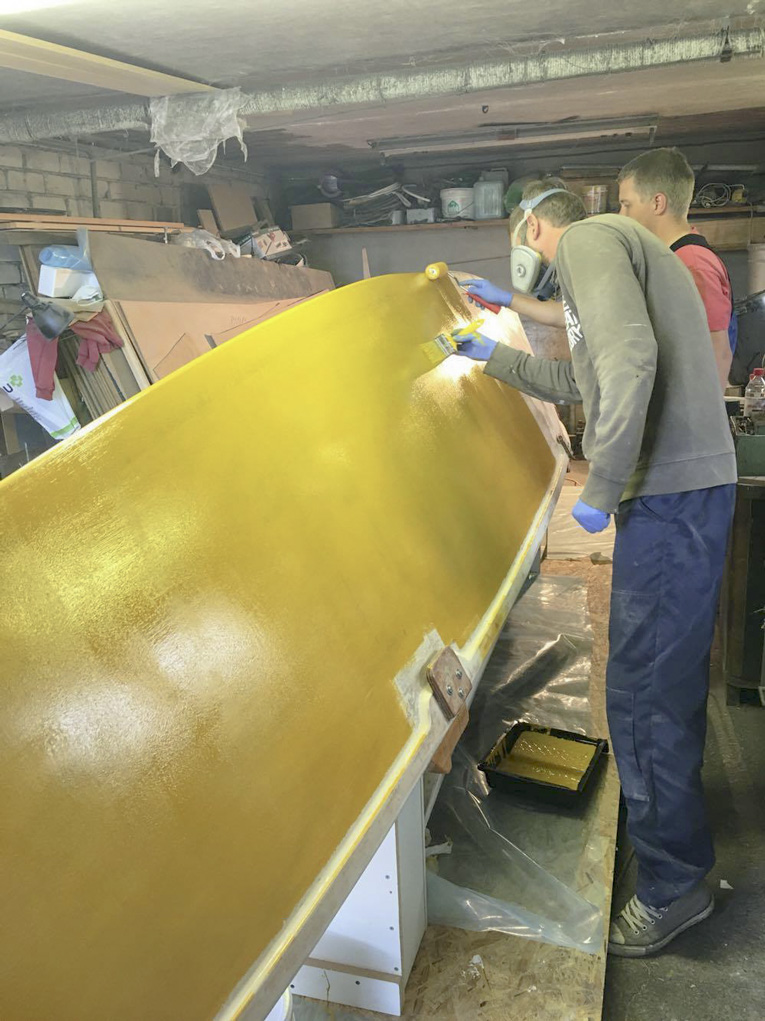
Starboard hull with its new paint (same as port hull — Tikkurila Temadur 20)

Playing with the paint & sniffing the fumes….
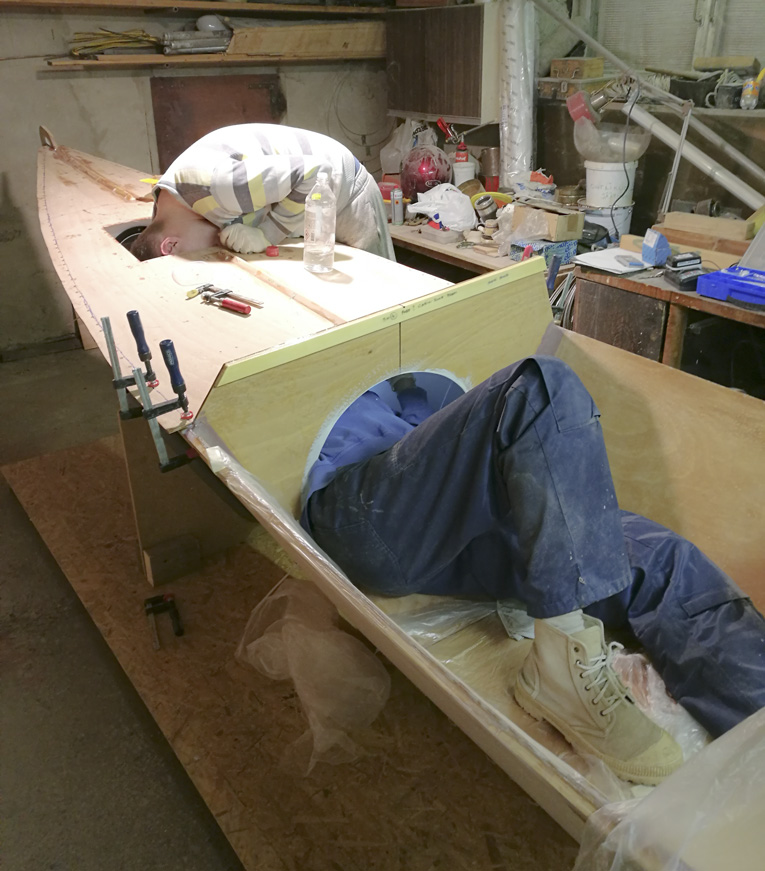
… two part epoxy based Tikkurila Temacoat RM40 serves as primer for the hull, I will let it to set for a few days, then there will be applied two part polyurethane Tikkurila Temadur 20 fas a topcoat. Interiors are already coated with several layers of Temacoat, which is a bit easier to apply in constrict spaces, as it do not go off too quickly after mixing and its a bit more viscose as well, a true virtue considering the situation where painter has to squeeze himself into the rear section of cabin, size of a smaller nightstand, armed with pot of potent smelling paint, flashlight, small brush and watering eyes.
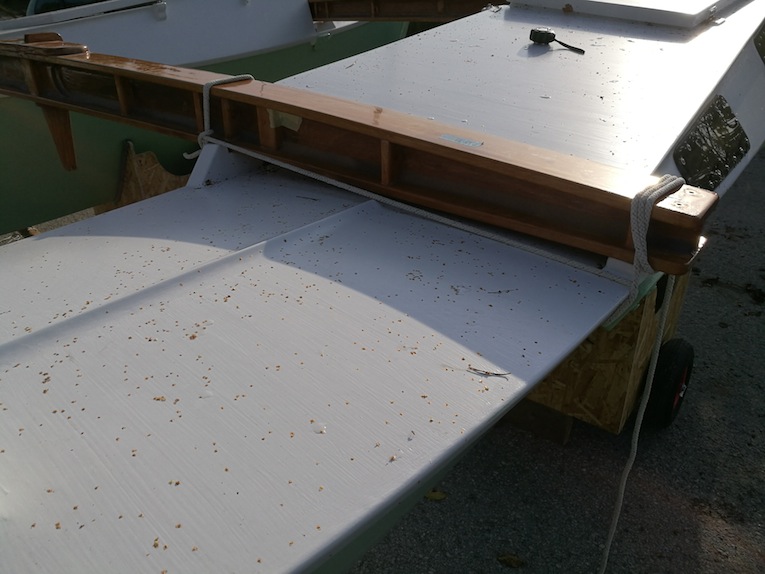
… a fancy DIY knob for main hatch locking system, made of 2 layers 6mm plywood (will see how it works…)
… and little bit of woodwork as well — a base for jib block, made from 2 pieces of oak, clued and screwed onto the hull.
I decided to abandon jib traveler and went for barber haulers.
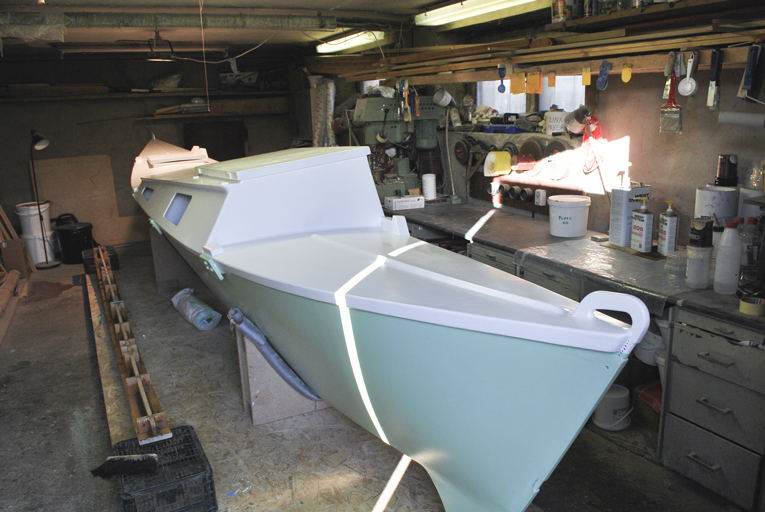
Now I need one dry and warm day for painting the topsides and another for hull sides…
Port hull almost done, still lots to do…
… waiting in the list:
Hi folks, it has been a while, since my last blog post, but nevertheless Tiki project hasn’t stayed idle. Day by day Itatae has gathered some flesh into bones.
Here is latest report…

Taking time to smooth out the wrinkles makes it easier later.
Well thats nice, isnt it…

Last drops of epoxy and last bits of glass joined with painstaking care 😛
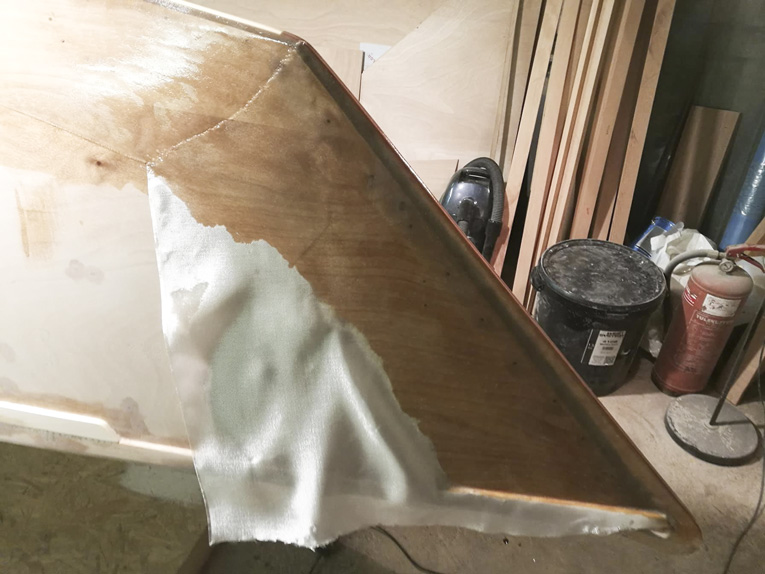
Hefty overhang for stem (trimmed later with carpet knife before resin is fully set)
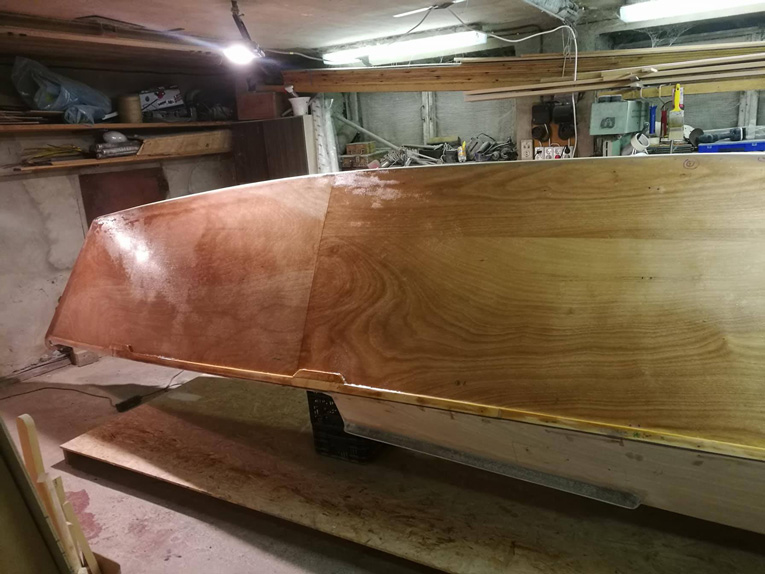
Finshed product.
Finshed product with Microlight filler coat.
Back on heels.

She will look nice, doesn’t she…
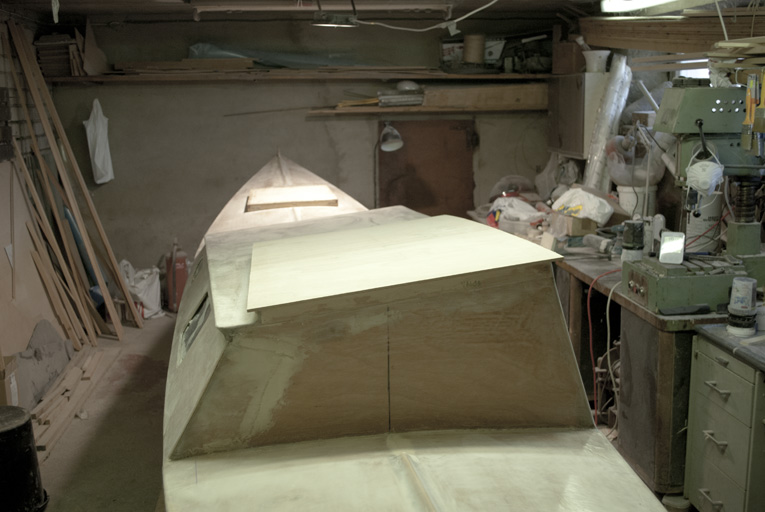
With extra pairs of helping hands it was rather pleasing act to glue on the forward deck.
Thanks a lot, mates!
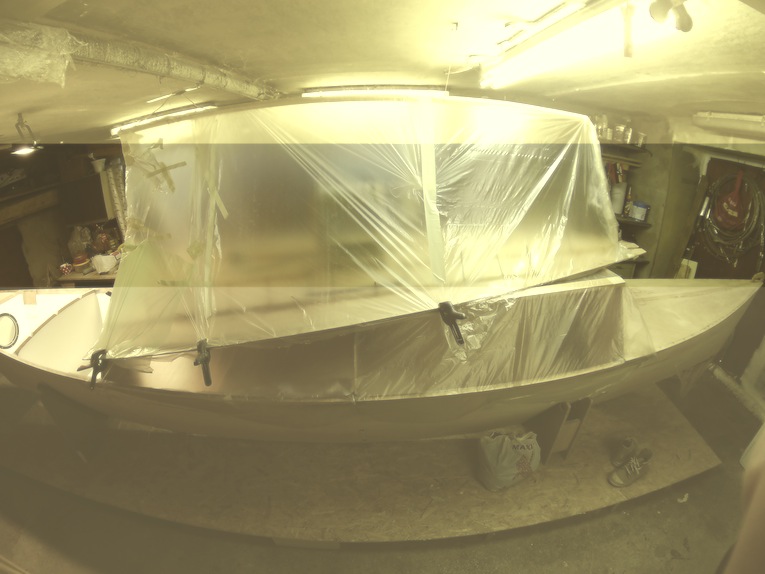
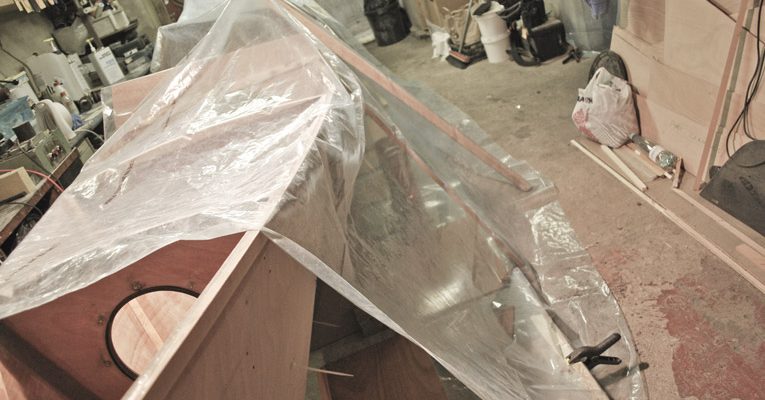
Those freshly glued front deck stringers got nice and cozy overnight stay under this i-love-to-hassle-with-masking-tape tent
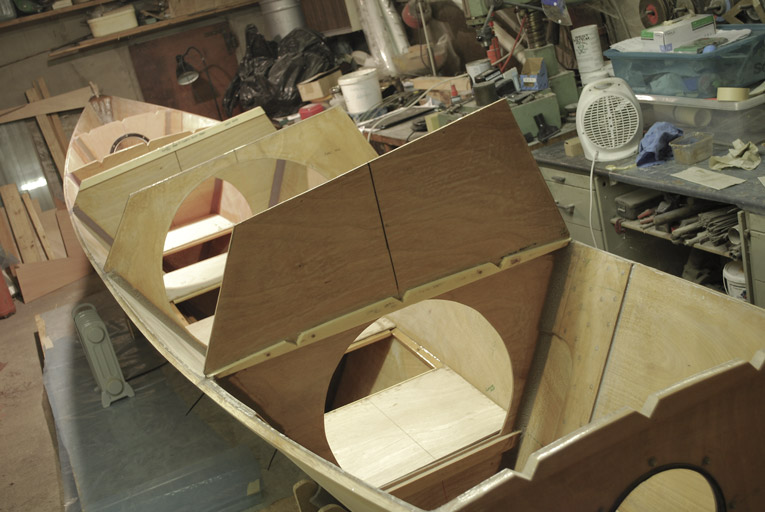
Bunks are ready for port hull. Now there will be some paint job (Tikkurila Temacoat RM40) and stringer job before gluing the decks on. Looking good, hopefully I could keep up the pace…
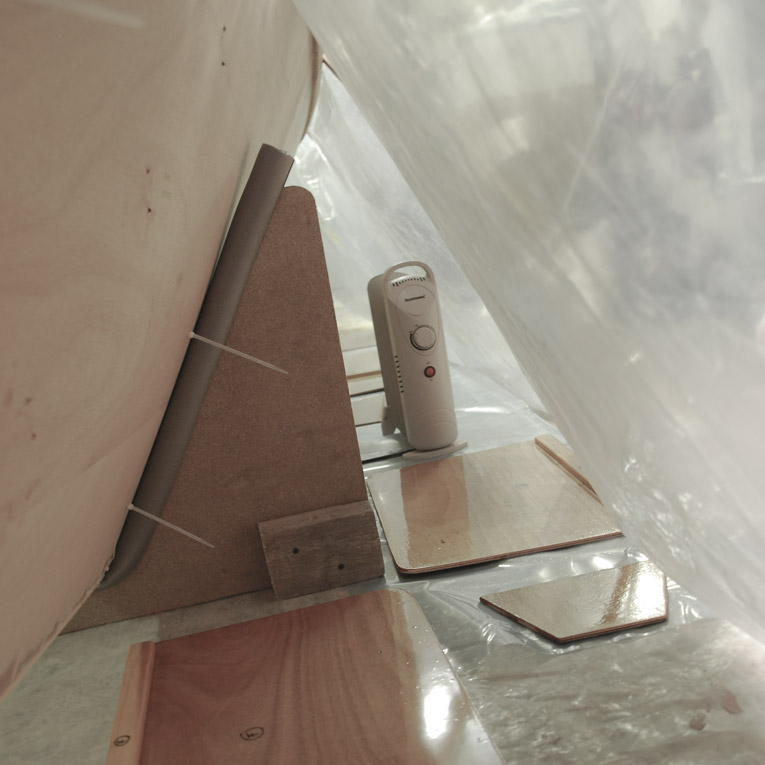
Epoxy cooking in winter conditions… coating bunk undersides.
There has been pretty few progress since port hull went 3D, but thanks to yesterday’s long hours in garage all the bunks and stringers are ready for next phase, which means a little bit of sanding and then painting underneath of bunks and watertight compartments as well, before gluing bunks in.
A fellow amateur Tiki builder Brad shared his experience in Southwinds magazine. Check out his story in page 44.
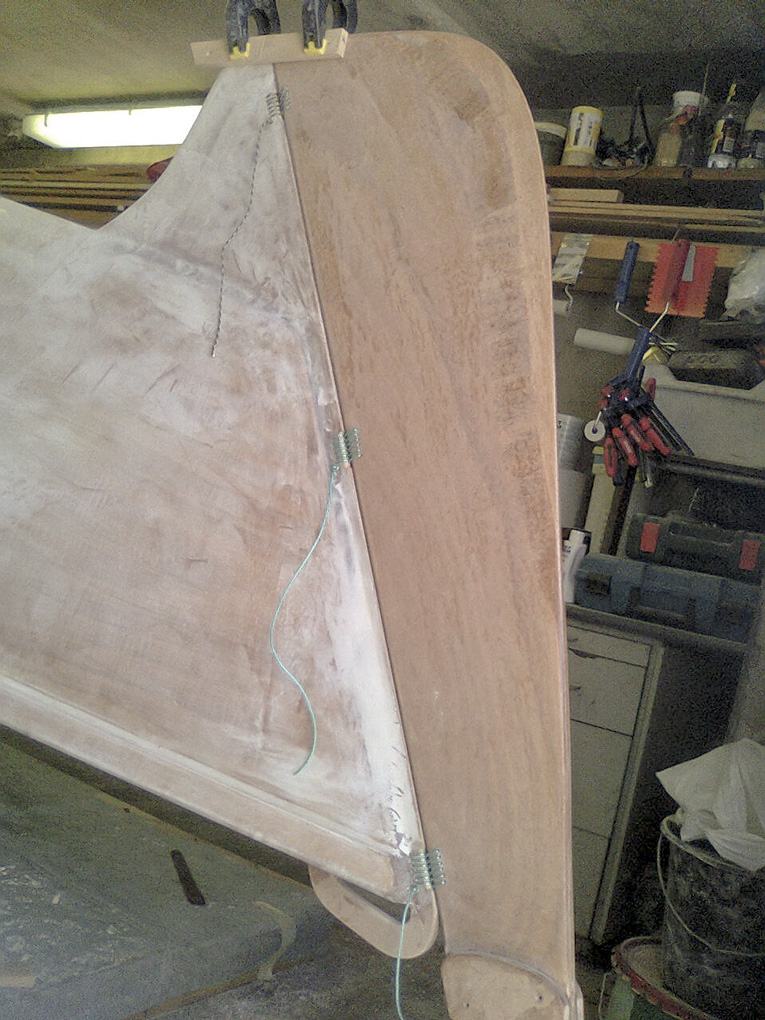
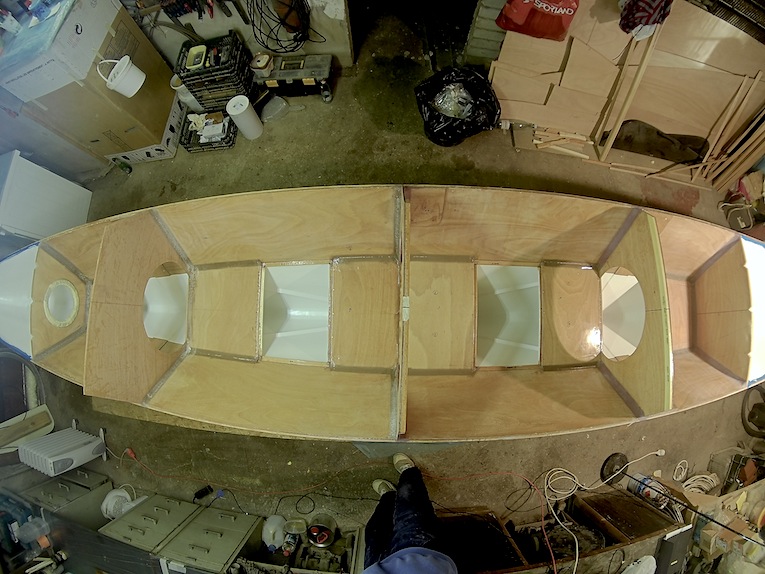
So… second hull got stitched up and yesterday I made some nice fillets for keel & bulkheads for 2 sections… I think its time to talk about little variations and changes I have made and plan to make into workflow, just to make whole process a little bit smoother and less time consuming.
Those modifications seem rather irrelevant, but again, when most of the (epoxy related) works are carried on by single person, then every little nuance start to play important role, especially those that help to reach results easier and faster.
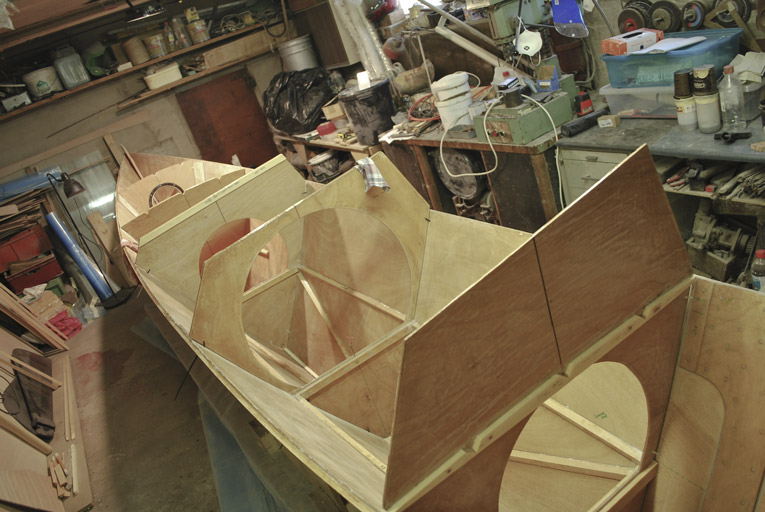
Port hull, all stitched up, with glued sheer stringers and additional bunk bearers.
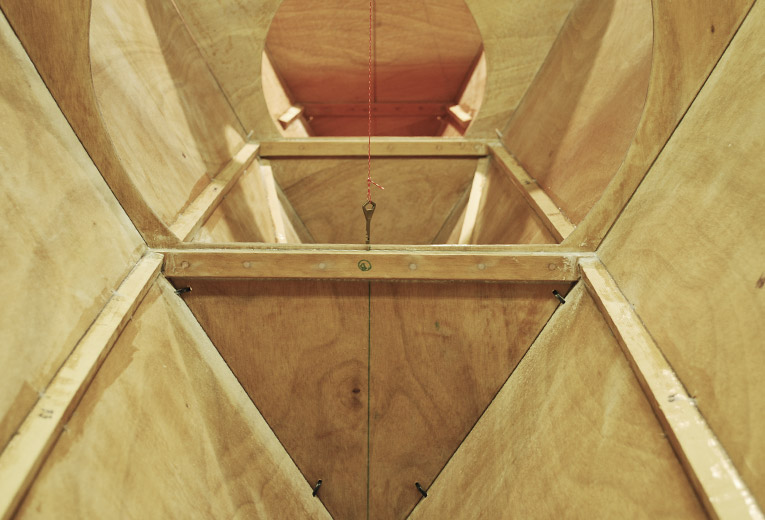
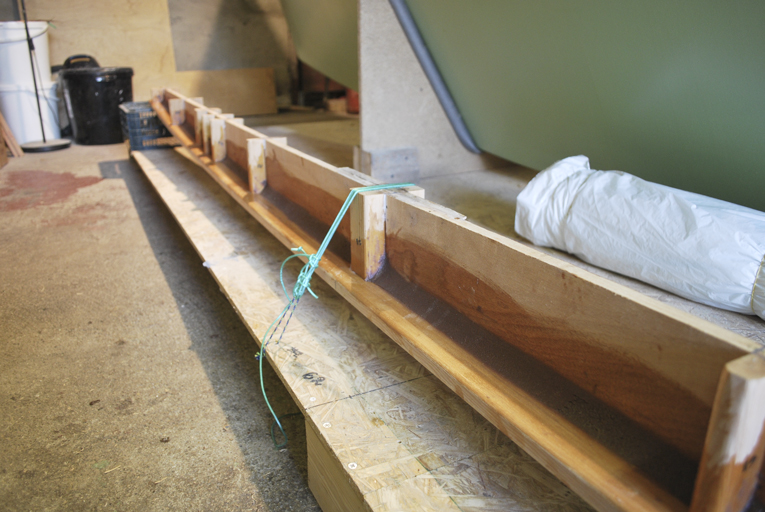
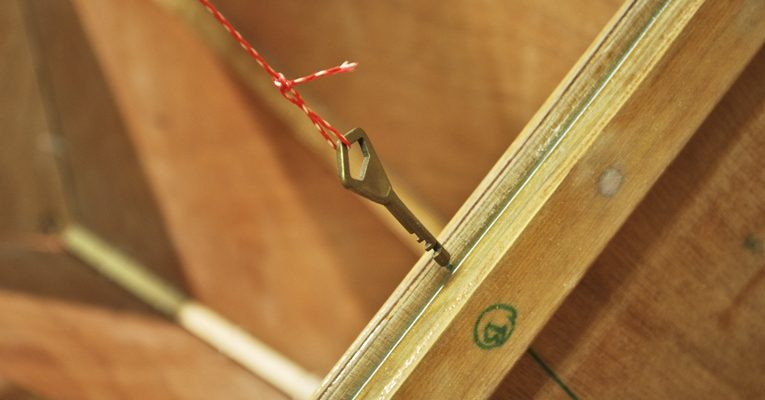
A key for levelling the hull.

Port hull has started with tears, sweat and blood…
shot by mr Gab
A friend lent me a helping hand, so applying the roll & tip technique was a piece of cake. It took only 1,5h hours to entirely coat the hullsides. After few hours we added second coat and in next morning Itatae received third one. Im thinking to add fourth layer as well and this time I plan to add some thinner as well, to get a bit smoother surface.
By the way – I switched from Tikkurila Temadur 20 (polyurethane) to Tikkurila Temacoat RM40 (epoxy based), which is much easier to apply as it does not give such potent fumes as the first one, also it has a bit longer pot life as well – which are much appreciated characteristics when you are amateur builder working in tight conditions. So, will see how this thing will work out in the end.
Starboard hull waiting for some sanding and then paint job and off you go… (… I need to figure out how to configure jib sheet block attachment and main hatch locking system, though…)
So, hull sides got finally glassed, therefore I decided to reward myself with little rudder play.
Here is shot from trial fitting of rudder lashings.
I like those simple & genius rudder fittings… There is some kind of primal pleasure in splicing rudder to the stern… and not paying some extra silver for expensive rostfrei attachments….