bunks

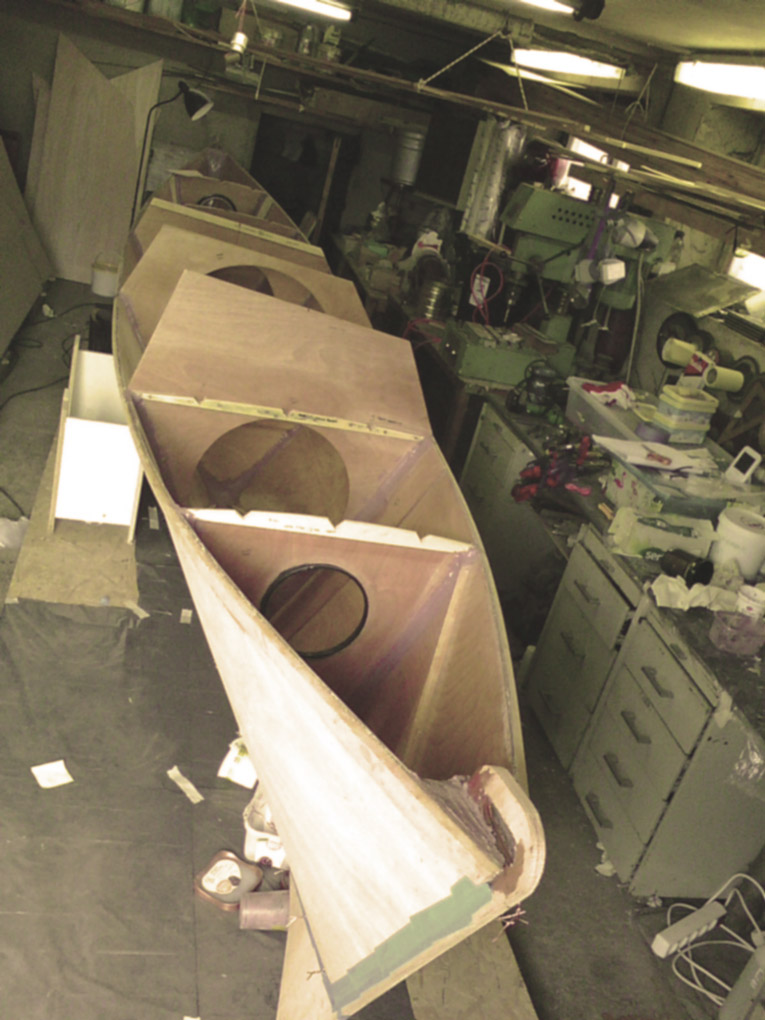
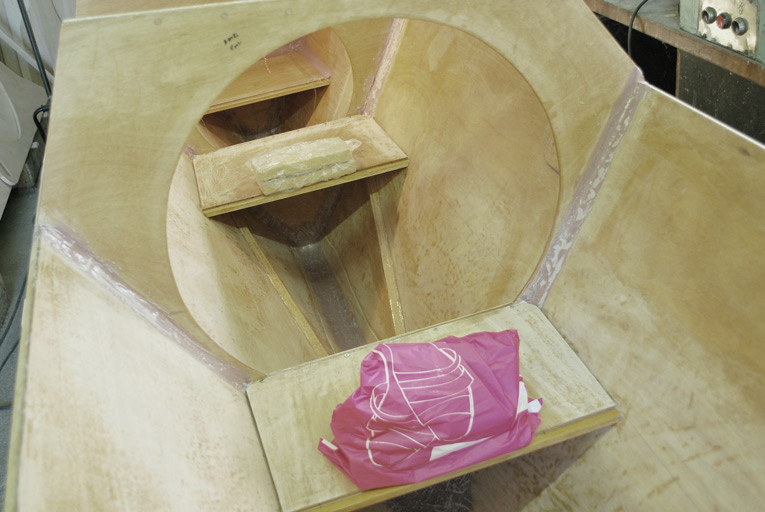
Gluing bunks. Deviated from the building instructions a bit – I did not stitch the bunks, instead I went for temporary screws and some nice bricks. Also I did not loft the curvatures like Wharram suggest, therefore I took the measures in situ and cut out the bunks accordingly with strait edges against the broadsides. The camber of the broadsides leaves just a few millimeter wide gap between bunk and side, which would be easy enough to fill with thickened epoxy.

bunks

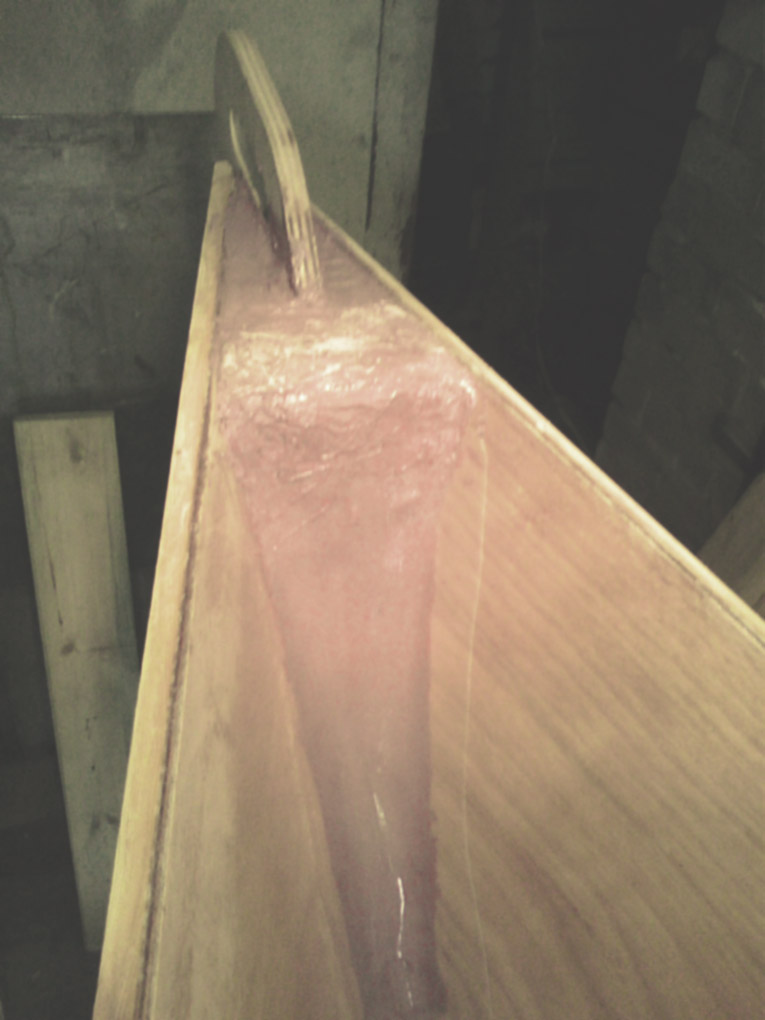
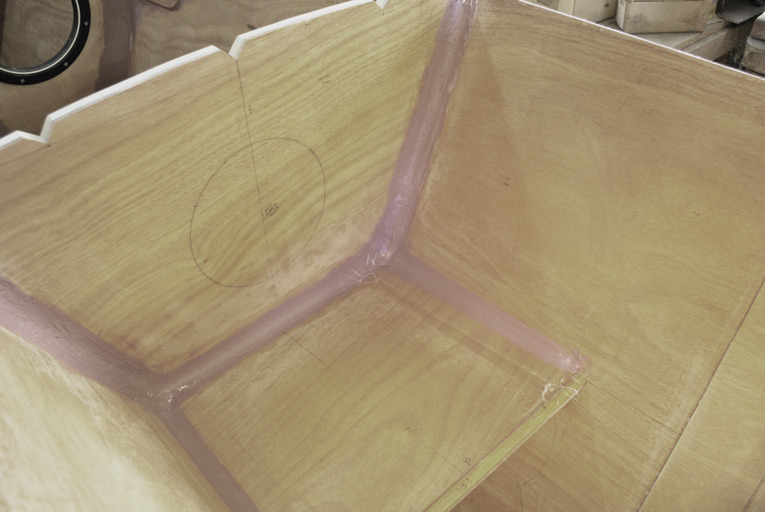
Fillets. After colloidal silica and epoxy mix has been cured next step was sculpting some nice radiuses (low density filler) for upper- and underside of the bunks. Later one made me wish I was born as a bat – a job not suitable for sweating out the hangover 😉
I waited until upper side radius was almost cured, then laid gently 100mm 175g glass tape, smoothing with light strokes of brush until it was leaning tight against surface after which epoxy was brushed over.

bunkTapes

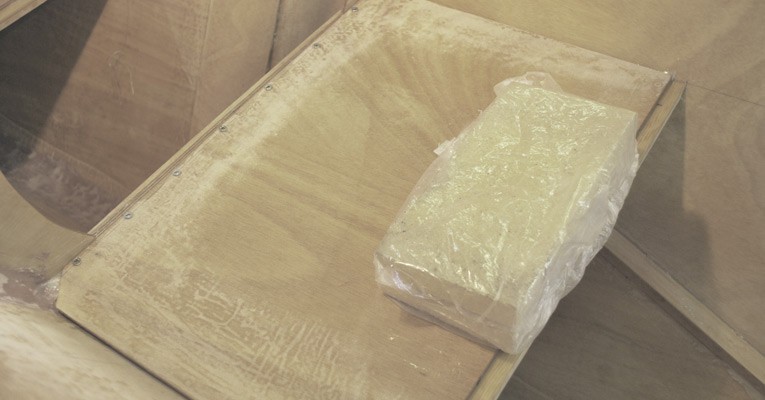
PS! Peanut butter. If its not necessary to squeeze fillet into some narrow gap then peanut butter consistency would work best. It paid off to spend an extra minute to measure out the right consistency. At least for me.

pushing fillets

Today I filleted and glassed the stern, which means I have finished filleting bulkheads and keel. It took me about a week and lots of boat-yoga to finish this section of work.

I must admit that I did not overwhelmingly enjoyed this head down to the knees epoxy cooking… but nevertheless it is great pleasure to see how step by step those wobbling plywood panels shape up into a sturdy and beautiful boat… all done by my own two little pale hands 😉

And my condolences to this poor quay whose path may cross with this hefty stem fillet…

stemFillet


And again I can not get enough of those dare lines of Tiki’s – now all filleted and reinforced…

lines

stitch’n’glue thoughts

unstitched

Now as I have removed stitches of the diagonal stiffeners, I would like to share some notes on that. Cause God or Devil is in the details…

This was first time for me to perform such kind of gluing method and again I had to learn it by hard way how to make things easier.

So what I would like to point out first is that if you would like to glue all the stiffeners with single evening its better to have helper. One is stirring and spreading the glue and the other is stitching. Yes, one could install the wires to the hull prior glue spreading – but its pretty nuisance to spread the glue between those prickling wires, which will tear up one’s nitrine cloves pretty soon… Actually, when deploying the stiffeners it does no harm to wear leather cloves on top nitrine ones against the prickling ends of the wire.

What I also learned is, that when tightening the wire, its worth to pull it slightly away from the stiffener in same time – in this manner there seem more force transferring into tightening rather than braking the wire.

What you may also like to take special care of is drilling the holes – its better to have them right on the edge of stiffener, when they are inside from the line, its hard to remove the wire after the glue has cured. When the holes are too far away from the stiffeners edge then there could be a bit trouble in tightening.

Wharram suggest to drill small holes for stiffeners stitches (previously stitching the hull there was suggestion to have holes approx. twice the size of the wire) – and I can see that then you have much less epoxy surrounding the wire in the hole which makes wriggling the wire out much easier.

Wriggling – get a notch on that. It concerns the removal of the wires. I seldom used pliers to pull out the wires.

As with most of the other thousand things in life, its rarely the laboured force that helps to achieve your goals.

So take your time, snap the wire outside, bend it back straight, unwind other side and then start to slightly wriggle and turn the wire and when you feel grip of the epoxy starting to loosen then its time to pull wire smoothly out. And yes of-course, during the gluing process its smart to remove as much of excess epoxy as possible, no doubt on that.


few hundred meters of straight cuts

lumber

Few weeks ago I bought from Mass last pieces of Douglas-Fir needed to complete hulls. It means two 5,45m 105x52mm logs.

Im still missing pieces for the crossbeams: they need to be 3,81m long with cross section of 120x20mm. I have to hope a miracle on that!

Anyway, I had to use again lots of Veiko’s elbow grease to cut them in suitable battens and planks.

Thanks again Veiko and Jaanika! Your help is again appreciated a lot!

preparation

bulkheadPreparation

What can I say… preparation is crucial! No Im not kidding – weather it would be coating or gluing, 70% of the time it will be preparing the thingy into right mode.

What I have learned is:

* take your time and check the measures or you learn it the hard way 😉

* check the coherence of the fittings: are you gluing this fine looking piece of hand crafted wood to a place where it really belongs?

* write everything down on the pieces: which piece of wood would like to mate with certain part of ply and which side down it prefers do to this!

* draw the lines – it makes hell of easier to lay down the glue

* prepare all the stuff you need for gluing/coating: brushes, spreaders, rollers – all clean and ready to go… not to mention nitrine gloves , rags for cleaning, mixing cups & sticks… its much easier to have those in hand rather than dig around in your work bench and litter everything with uncured epoxy, believe me :);

* and a clock! yes exactly, a whatch: this is for keeping an eye on time during mixing of resin and hardener. I went for 45 seconds per squirt of resin/hardener in normal conditions, usually a bit longer. It is really easy to loose sense of time, especially when you are mixing your tenth cup of epoxy of the day and it is rather tempting to have much shorter minutes counting in your inner biological clock…;

* last but not least: if you are inexperienced, do yourself a favor and deal with small patches in first place! After you have acquired some experience with epoxy then you may have start bragging around with the stuff :);

gluing learning curve

bulkheadGlueing

Gluing deck beams to bulkheads. Using epoxy and microfibres (as its bare wood).

Lesson learned: nailing the thing down could be pretty messy – deck beam tends to slip from its desired position, pressure of the nails stays kind of uneven, there is constant threat of splitting the wood in the end of the pieces (poplar, Populus tremula, in this case) and finally it takes to much of hammer-power to drive those nails home and this is something you ought not want to to in the edges of narrow wood pieces. So I pretty much missed that later part, because furthermore it seems that if I will hammer fiercely, then all the remaining glue oozes out of the joint finally.  Ah yes, did I mentioned sanding – you have to get those copper nail heads and leftover nail tips in the other side pretty much even with surrounding surface in order to get decent outcome.

So, despite Wharram suggestion to use nails in gluing deck beams, butt blocks, sheerstringers etc., I decided to abandon the nails (as they are not structural elements anyway) and go for clamping or weights or using temporary screws, depending on situation. And as I mentioned in previous post I have gathered reasonable amount of wood clamps anyway.

PS! Only deck will be nailed to the hulls, as there are not any of intelligent solution for that, at least something that Im aware of.

PPS! Recently there was pretty intense discussion over the nails question in Wharram builders forum, jump the thread here.

miniTiki

minitiki

I executed my first experiment with epoxy. Its my miniTiki above.

I decided to use West System, which is not cheapest, but its manufacture line seems most coherent and of course because it is very well known and proven brand in wood-epoxy boat building world. For an amateur like me it makes lots of sense to acquire all the epoxy, hardener, fillers, glass and other various bits and pieces from one manufacturer. I found that application information (including video tutorials) was most easily to be found for West System products. Not to mention that here in Estonia there are not much of other brands in retail.

I got my stuff from Bang & Bonsomer Estonia, although they seem to deal mostly with big guys, they were most helpful and I got all the components needed to produce desired epoxy magic.

measuring tip

measures

Here is little tip I used during lofting the bulkheads, broadsides etc. Check the measure from the plans, mark it on the ruler, transfer it on the wood. It frees up little bit of cache which you can use for double checking weather you mark the right measure onto the correct spot. After transferring the measure, wipe off the marker and continue with new number.

first wood stripes

Yesterday I spend more than few hours in Veiko and Jaanika workshop, stripping the first Douglas Fir plank into the desired battens. Some few hundred straight cuts we had executed on this day. Overall everything went quite well. One plank revealed a major resin pocket, but nothing catastrophic. And yes, Douglas-Fir has a very distinctive smell and on the circular saw it throws minuscule specks, so wearing a cloves and eye protection is a good idea if you have a habit to stare the process in close hand.

NB! I really appreciate your effort, friends!


lost in the woods

Despite the fact that almost a half of Estonia’s territory is covered with forest, it is pretty much impossible to acquire locally grown timber decent enough to be suitable for boat building. Baltic pine for example. No there aint any, at least in lumber yards Im aware of.

I do not know where they hide it, but as I strolled through several lumber yards I still ended up empty handed. If the planks happened to be dry enough and with dense grain they were littered with dozens of knots. So I had to turn my gaze into direction of imported timber. Douglas-Fir particularly, from Mass AS.

Bought home two logs of 5,5m 105×50 mm Douglas-Fir.

Douglas-Fir (Pseudotsuga menziesii), also known as Oregon pine is not boat building wood in traditional sense due its low-medium rot resistance and vulnerability to insect attacks. But what it makes more than a suitable material for epoxy stitch-and-glue is its high strength to weight ratio. Also Douglas-Fir is easily workable.

Just by side note I have to mention that in the wooden boat building forums there is lots of confusing fuzz going on around timbers like Douglas Fir. There is bunch of wide jaw bawl by the coalition of traditional boat builders stating that Douglas Fir is actually mere firewood, and not suitable for boat building. Just ignore this, because those fellows do not acknowledge the fact that in stitch and glue method all the wood will be sealed with epoxy.