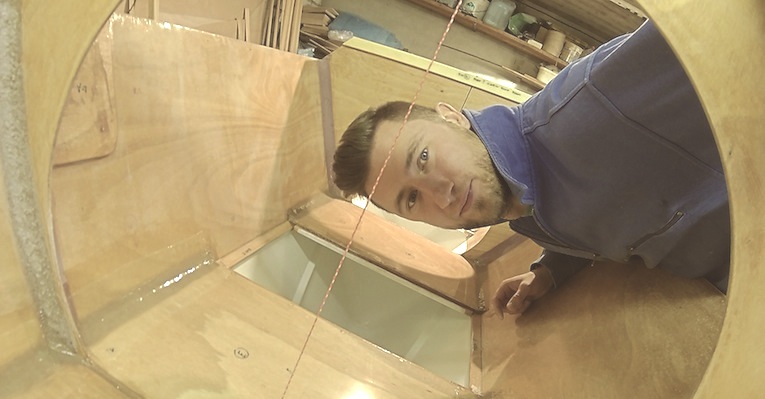
m u/a s t w o r k !

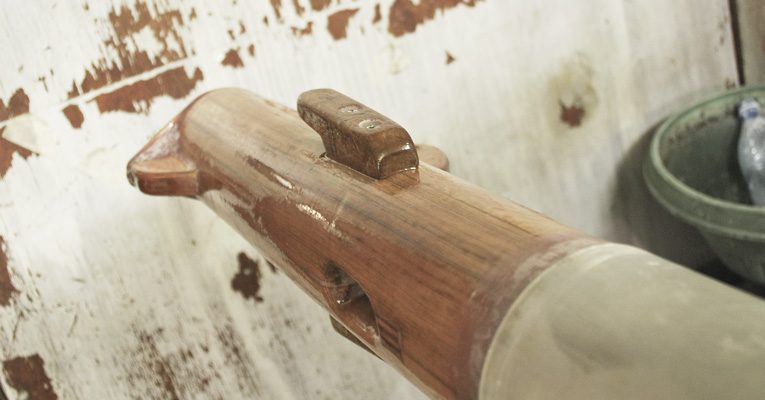
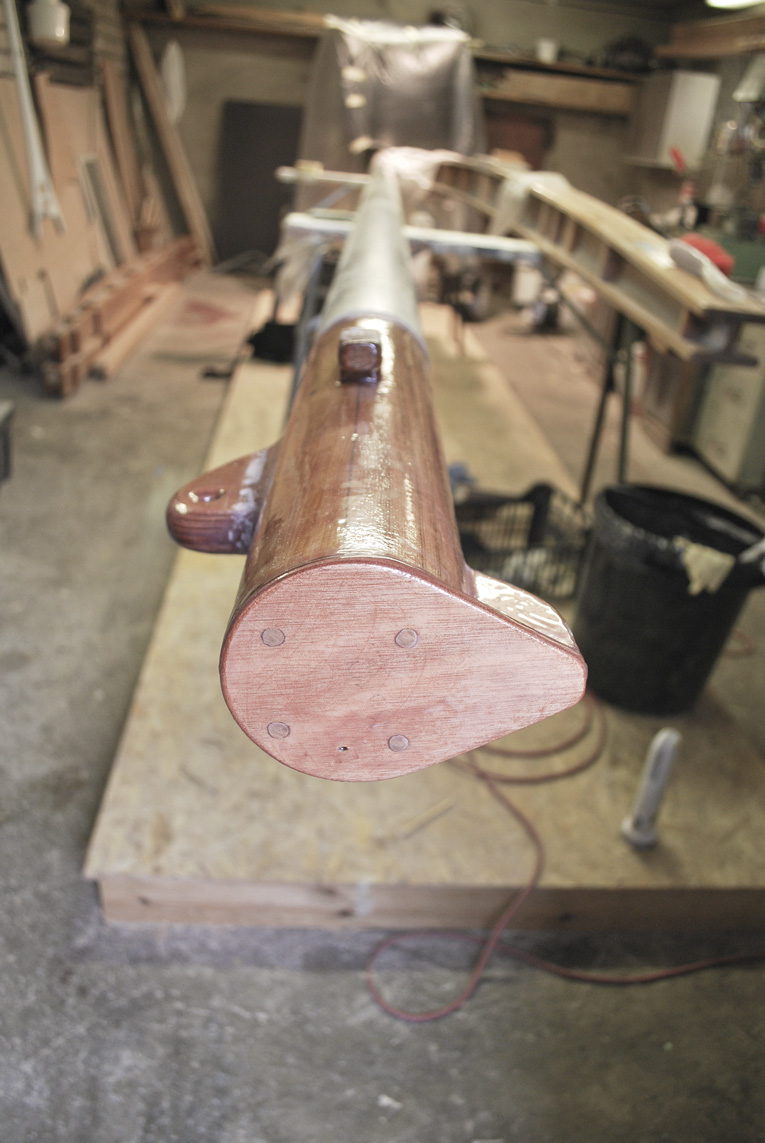
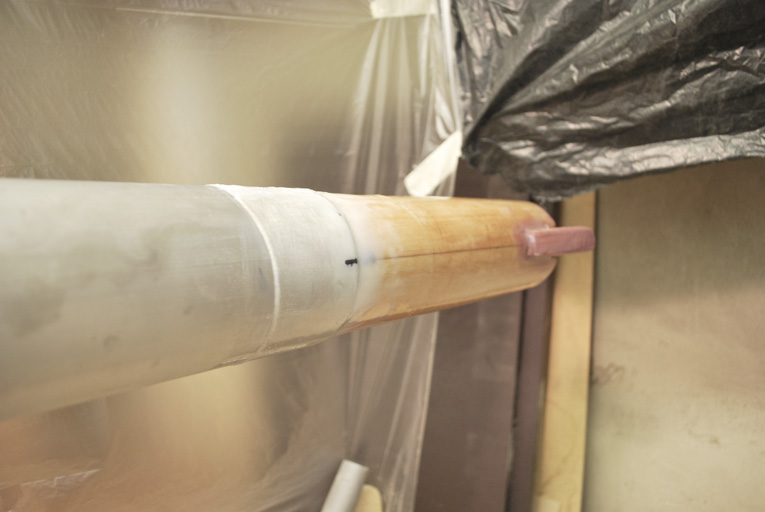
After couple of laborious days of planing-sanding-planing-sanding-swearing-sanding-planing-sweating-sanding-swearing-planing-sanding i finally managed to produce snugly fitting top and heel for the mast:

almost there…

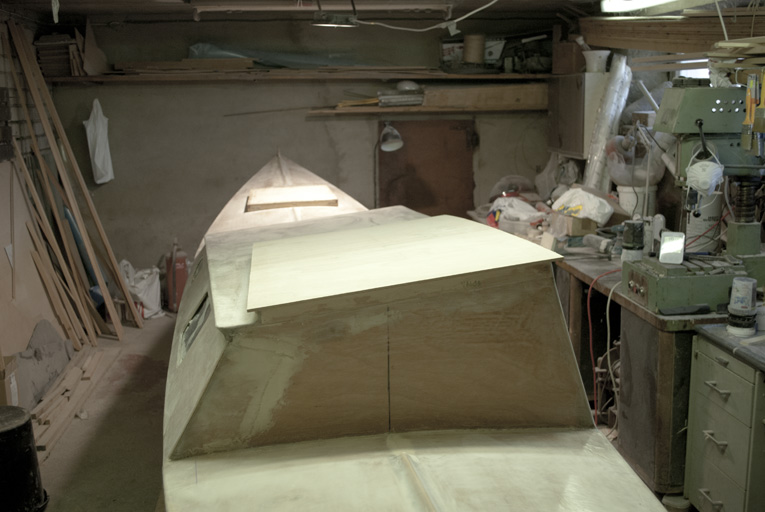
Its already August – soon enough nasty long, damp & dark winter will knock on the door… Still I have some glimpse of hope, as I finished port hull paint job — I only need to fit windows, main hatch hinges and rudders.


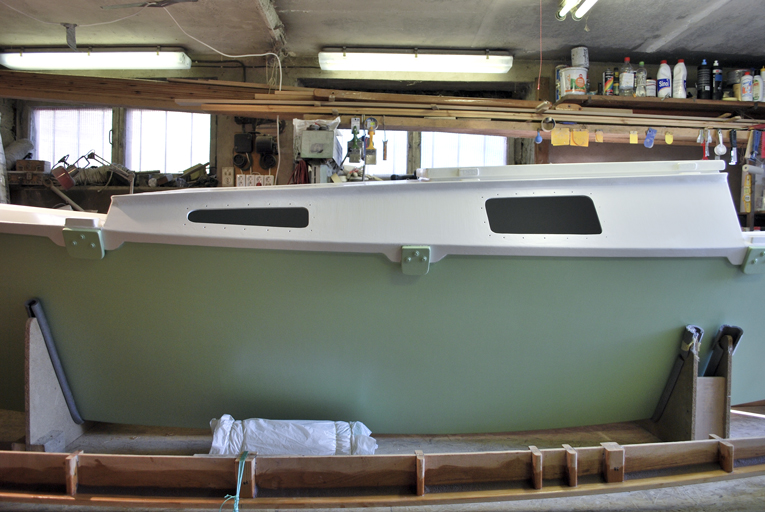
Port hull with fresh paintjob


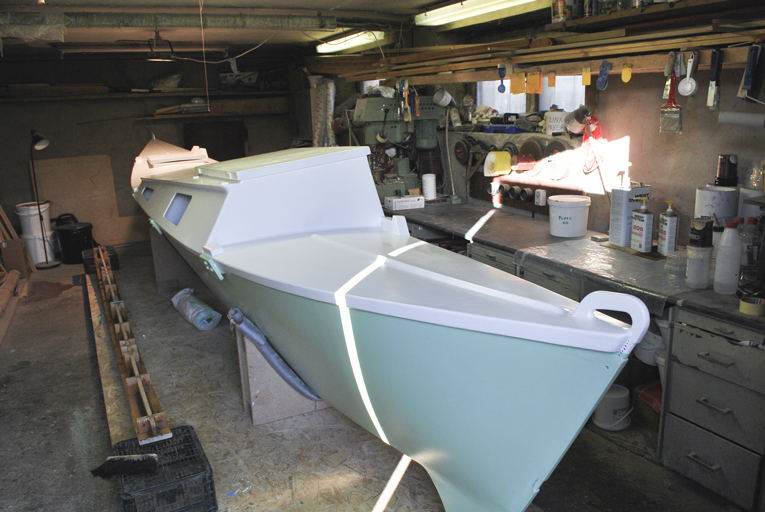
Just look at these neat curves 🙂


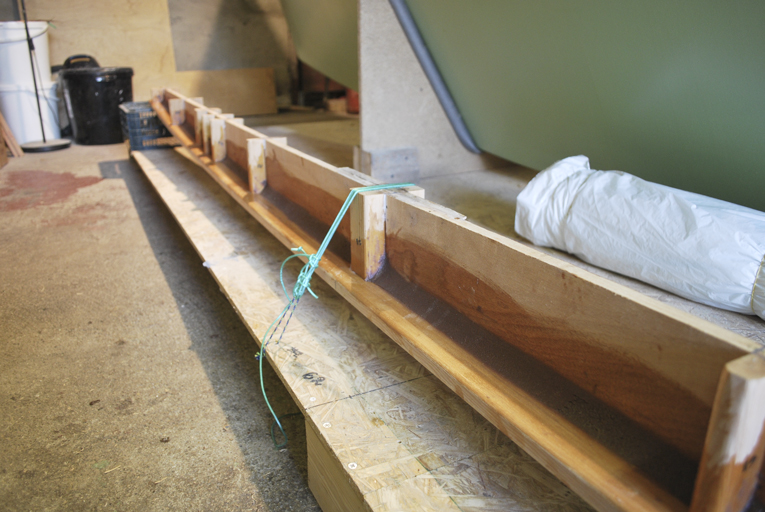
Just some few odd jobs left… here’s centre beam under pressure waiting epoxy to reach its final stage (slow hardener for gluing; 50% fast, 50% slow for fillets)


Starboard hull with its new paint (same as port hull — Tikkurila Temadur 20)

paintball

Playing with the paint & sniffing the fumes….

… two part epoxy based Tikkurila Temacoat RM40 serves as primer for the hull, I will let it to set for a few days, then there will be applied two part polyurethane Tikkurila Temadur 20 fas a topcoat. Interiors are already coated with several layers of Temacoat, which is a bit easier to apply in constrict spaces, as it do not go off too quickly after mixing and its a bit more viscose as well, a true virtue considering the situation where  painter has to squeeze himself into the rear section of cabin, size of a smaller nightstand, armed with pot of potent smelling paint, flashlight, small brush and watering eyes.

… a fancy DIY knob for main hatch locking system, made of 2 layers 6mm plywood (will see how it works…)

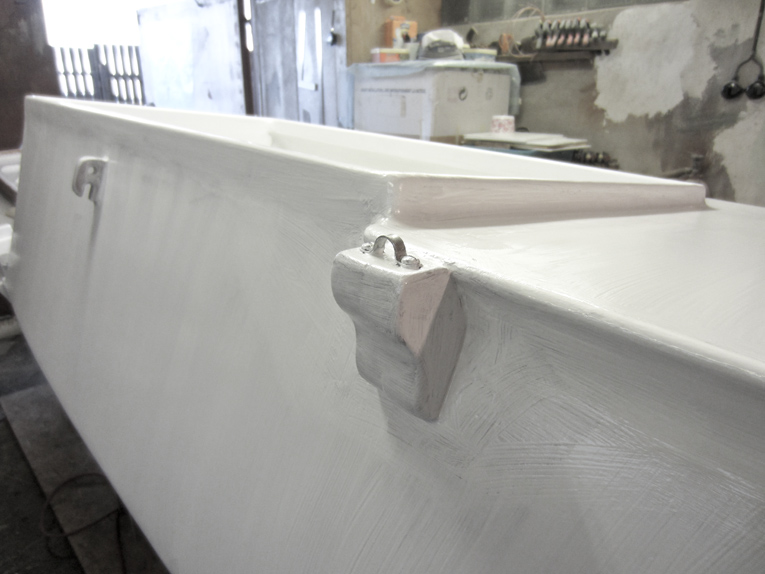
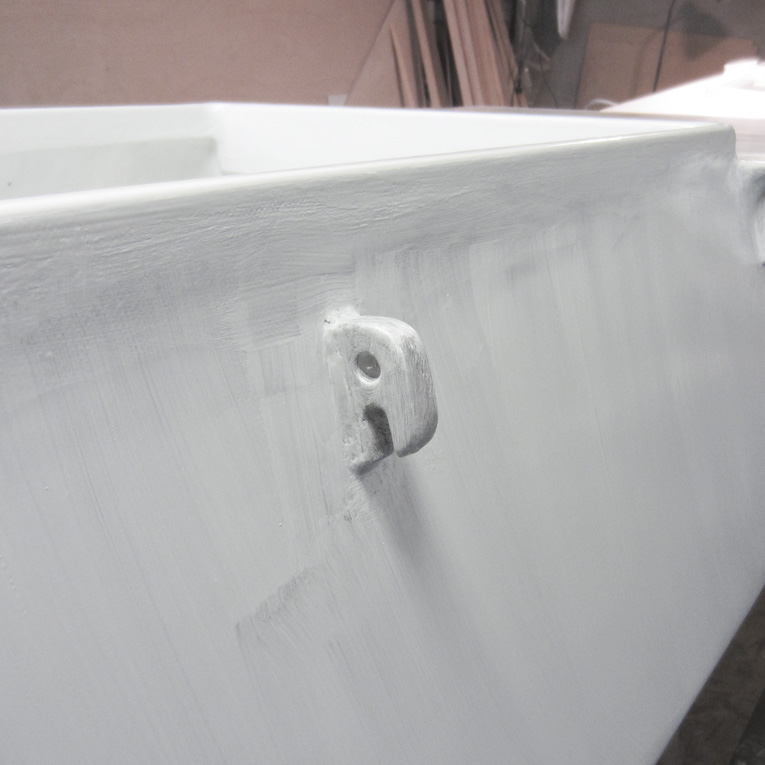
… and little bit of woodwork as well — a base for jib block, made from 2 pieces of oak, clued and screwed onto the hull.
I decided to abandon jib traveler and went for barber haulers.

Now I need one dry and warm day for painting the topsides and another for hull sides…

to do list

Port hull almost done, still lots to do…
… waiting in the list:

  • glass 2 cabin sides, glass tape main companionway & forward hatch coamings
  • glue beam sockets/pads
  • bolt & glue beam/shroud lashing pads
  • produce forward and center beam
  • produce mast top and step for aluminum tube
  • make tillers & gaff
  • lash rudders to hulls (port hull needs lashing holes as well)
  • fabricate slatted deck
  • produce forward & main hatch for port hull
  • install all the necessary small bits that will make run everything smoothly (supporting pads for deck, jib blocks and barber hauler, main hatch locking system, beam cleats etc)
  • sand & paint everything (including starboard hull)
  • install port hull windows
  • raise mast & get out onto water


bunks ready

Bunks are ready for port hull. Now there will be some paint job (Tikkurila Temacoat RM40) and stringer job before gluing the decks on. Looking good, hopefully I could keep up the pace…

key points

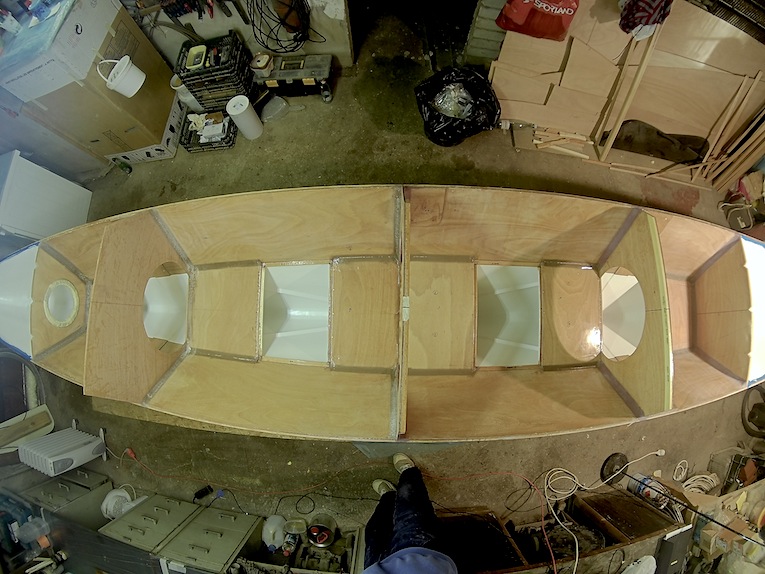
So… second hull got stitched up and yesterday I made some nice fillets for keel & bulkheads for 2 sections… I think its time to talk about little variations and changes I have made and plan to make into workflow, just to make whole process a little bit smoother and less time consuming.

  • Preparing hullsides – this time after gluing and coating hullsides, I sanded all the surface of inner faces and treated bulkheads likewise, as it was for starboard hull a truly utter PITA to sand them in assembled hull; also I beveled underside corner of sheer stringer with a planer, leaving sheer stringer double locations untouched – comfortable and easy way.
  • Nailing – as I have described previously I started using temporary screws or clamps to hold pieces in place during gluing, cause its pretty impossible to get those copper nail heads nicely flush with surface without using sledgehammer. But still occasionally I went for nails, but with variation I drilled ca millimeter deep holes with diameter of nail head for the nails to get nail heads flush with surface, otherwise its not easy later when sanding to maintain epoxy coating on top of the protruding nail heads.
  • Stitching – I abandoned the copper wire, using cable ties exclusively. The main reason I used them in first place was my antipathy towards all sorts of single use throwaway plastic products – but then I realized, that environmental cost of messing up with epoxy in some point would be much greater than those few disposed plastic straps. Second consideration was that copper wire is re-adjustable, which it is basically, but only for one or two times, after which it parts. But one will learn quickly not to over tighten the cable tie. Copper wire is little bit easier to tighten, but one learns quickly to fasten the cable tie without putting whole body behind it with a risk to accidentally move pieces to be glued from their desired locations.
    Copper wire ties tend to have another nasty habit, that is secretly to tear holes in your protective gloves, and when you have finished gluing, treated your hands with West System epoxy resin removing cream and started cleaning up the mess, then you will realize that there are long painstaking hours ahead cutting wire, filing off protruding leftover parts and fishing out those wires that have buried in their tiny sarcophages of hard rock cured epoxy because you didn’t wipe off excess of the glue properly.
  • Bunk bearer – like for starboard hull I glued bunk bearers into bulkheads before inserting them into hull, but this time, after hull was stitched up I glued triangular shape stringers to bunk level line, so no need for hard core boat building yoga to produce fillets for bunk undersides.
  • Cutting bunks – I didn’t saw much point for lofting a curved line for bunks, as the camber for the bunk edges is only a few mm for those couple dozens of cm.
  • Painting bunks undersides before gluing them on – do not forget to do that, Agur, you old chap!
  • Extra reinforcement & layout changes for bunk in companionway section – Wharram plans call fillets covered with glass tape for fixing the bunks, but I think it would not do harm to fully glass the bunk in companionway section – this is section of the bunk that will get most of the battering. Like Brad on his Beto I changed the lengths of fixed bunk plates in companionway section to make sitting in cabin a bit more comfortable. This has been done already for starboard hull and it worked great, so I will adapt this modification in port hull likewise.

Those modifications seem rather irrelevant, but again, when most of the (epoxy related) works are carried on by single person, then every little nuance start to play important role, especially those that help to reach results easier and faster.


port-hull

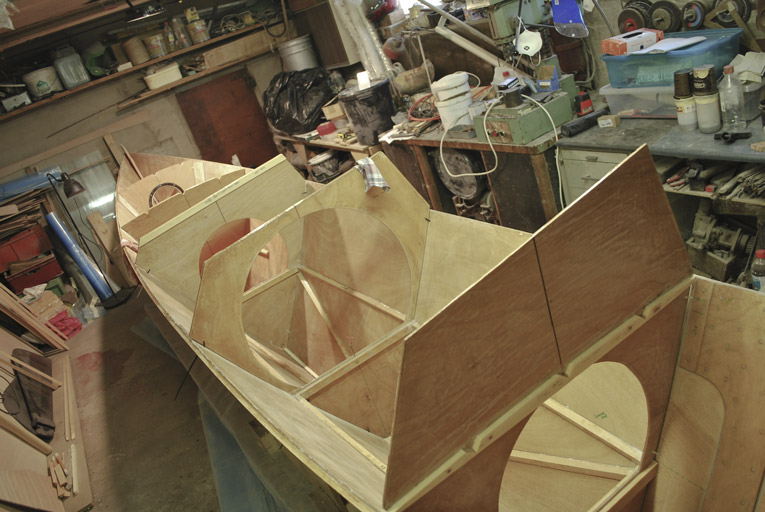
Port hull, all stitched up, with glued sheer stringers and additional bunk bearers.

key2

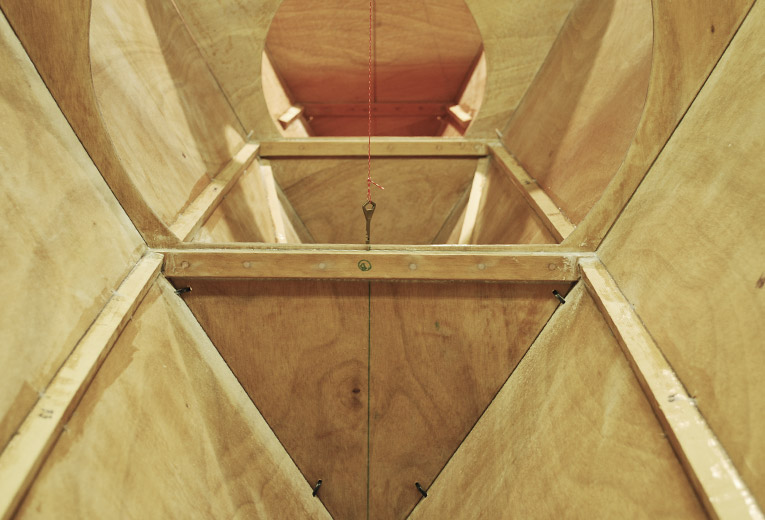
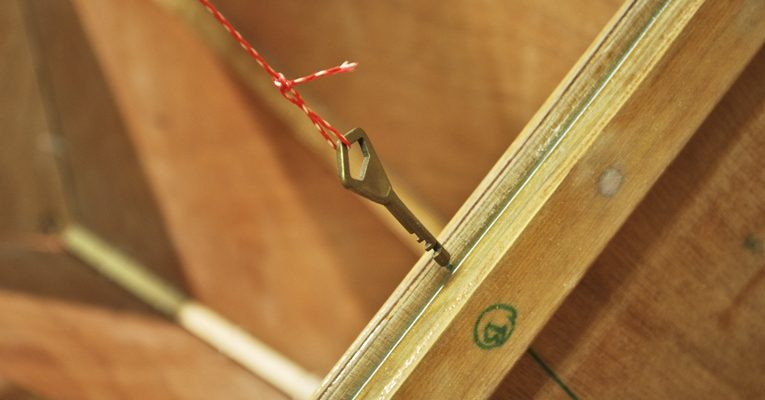
A key for levelling the hull.

few hundred meters of straight cuts

lumber

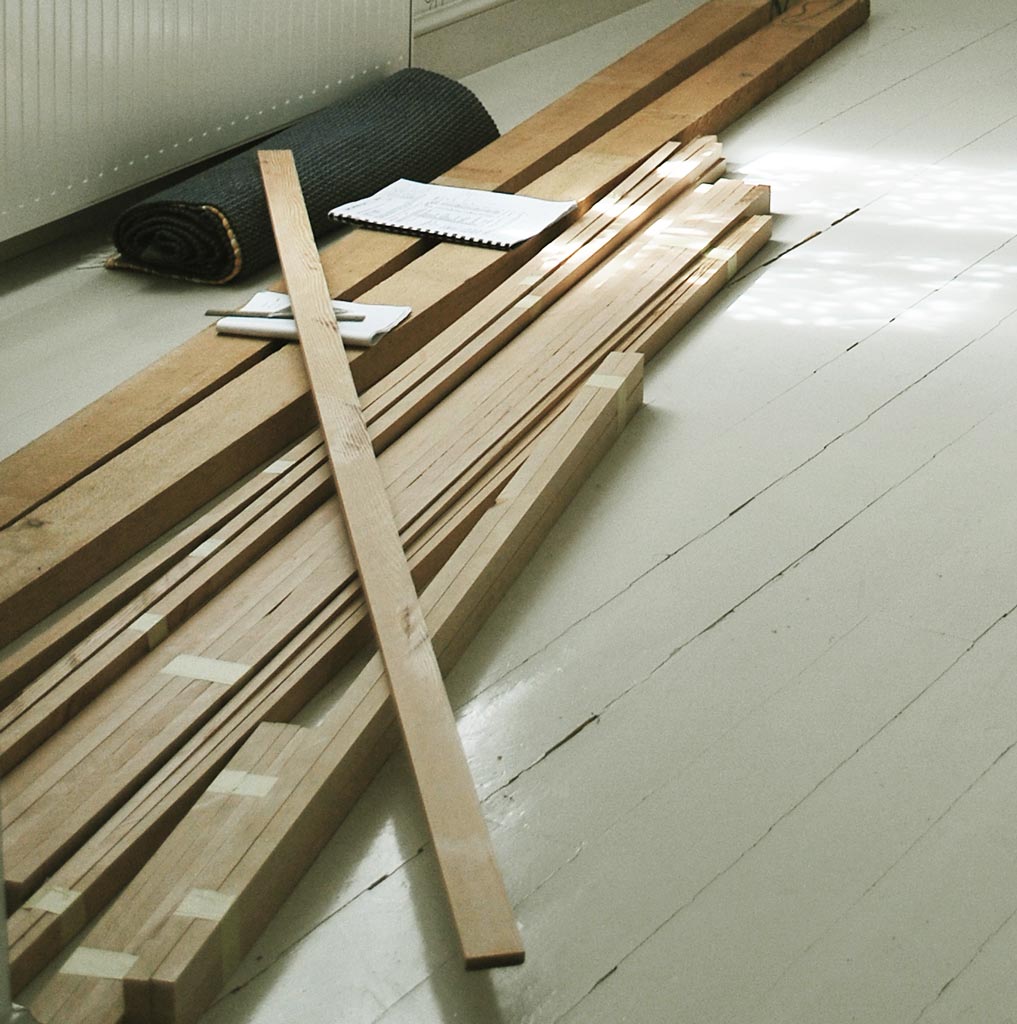
Few weeks ago I bought from Mass last pieces of Douglas-Fir needed to complete hulls. It means two 5,45m 105x52mm logs.

Im still missing pieces for the crossbeams: they need to be 3,81m long with cross section of 120x20mm. I have to hope a miracle on that!

Anyway, I had to use again lots of Veiko’s elbow grease to cut them in suitable battens and planks.

Thanks again Veiko and Jaanika! Your help is again appreciated a lot!