TIKI ITATAE vol 2. from AGUR VISUALS on Vimeo.
Check out previous time lapse video about stuffing the giant taco — starboard hull goes from 2D to 3D


TIKI ITATAE vol 2. from AGUR VISUALS on Vimeo.
Check out previous time lapse video about stuffing the giant taco — starboard hull goes from 2D to 3D
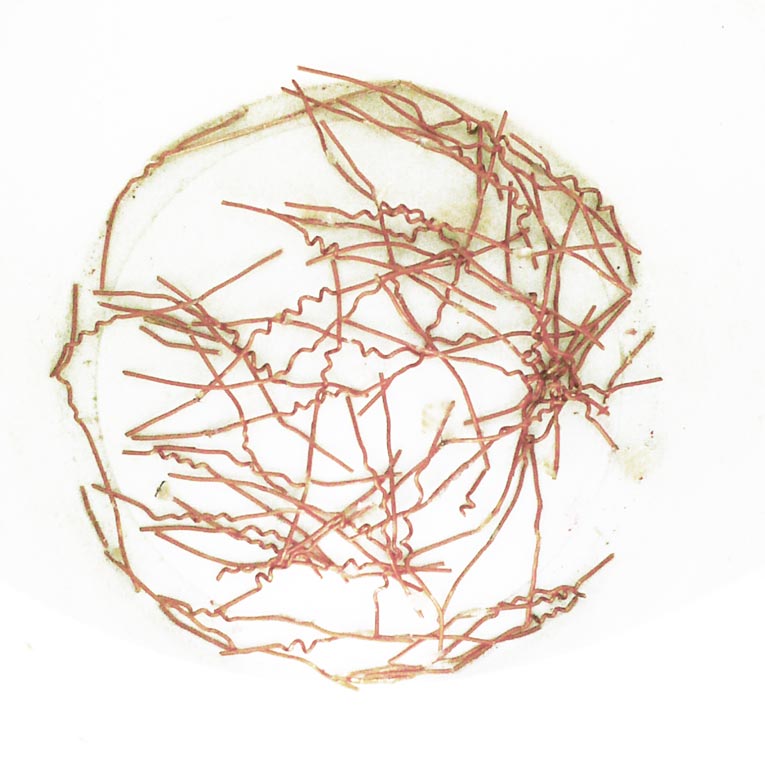
Now as I have removed stitches of the diagonal stiffeners, I would like to share some notes on that. Cause God or Devil is in the details…
This was first time for me to perform such kind of gluing method and again I had to learn it by hard way how to make things easier.
So what I would like to point out first is that if you would like to glue all the stiffeners with single evening its better to have helper. One is stirring and spreading the glue and the other is stitching. Yes, one could install the wires to the hull prior glue spreading – but its pretty nuisance to spread the glue between those prickling wires, which will tear up one’s nitrine cloves pretty soon… Actually, when deploying the stiffeners it does no harm to wear leather cloves on top nitrine ones against the prickling ends of the wire.
What I also learned is, that when tightening the wire, its worth to pull it slightly away from the stiffener in same time – in this manner there seem more force transferring into tightening rather than braking the wire.
What you may also like to take special care of is drilling the holes – its better to have them right on the edge of stiffener, when they are inside from the line, its hard to remove the wire after the glue has cured. When the holes are too far away from the stiffeners edge then there could be a bit trouble in tightening.
Wharram suggest to drill small holes for stiffeners stitches (previously stitching the hull there was suggestion to have holes approx. twice the size of the wire) – and I can see that then you have much less epoxy surrounding the wire in the hole which makes wriggling the wire out much easier.
Wriggling – get a notch on that. It concerns the removal of the wires. I seldom used pliers to pull out the wires.
As with most of the other thousand things in life, its rarely the laboured force that helps to achieve your goals.
So take your time, snap the wire outside, bend it back straight, unwind other side and then start to slightly wriggle and turn the wire and when you feel grip of the epoxy starting to loosen then its time to pull wire smoothly out. And yes of-course, during the gluing process its smart to remove as much of excess epoxy as possible, no doubt on that.
TIKI ITATAE from AGUR VISUALS on Vimeo.
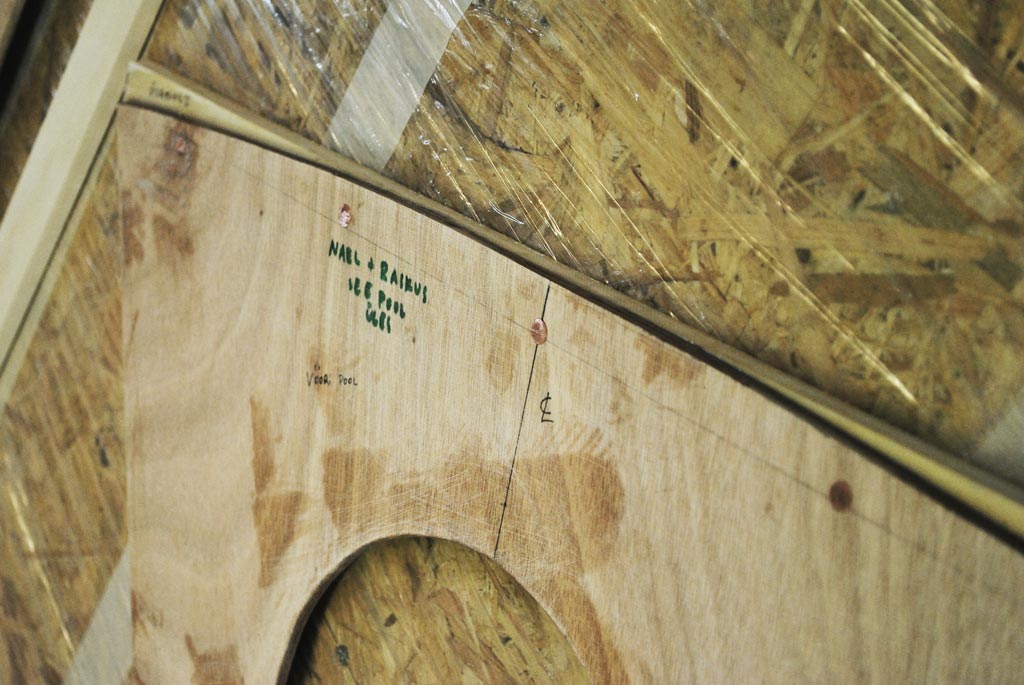
Gluing deck beams to bulkheads. Using epoxy and microfibres (as its bare wood).
Lesson learned: nailing the thing down could be pretty messy – deck beam tends to slip from its desired position, pressure of the nails stays kind of uneven, there is constant threat of splitting the wood in the end of the pieces (poplar, Populus tremula, in this case) and finally it takes to much of hammer-power to drive those nails home and this is something you ought not want to to in the edges of narrow wood pieces. So I pretty much missed that later part, because furthermore it seems that if I will hammer fiercely, then all the remaining glue oozes out of the joint finally. Ah yes, did I mentioned sanding – you have to get those copper nail heads and leftover nail tips in the other side pretty much even with surrounding surface in order to get decent outcome.
So, despite Wharram suggestion to use nails in gluing deck beams, butt blocks, sheerstringers etc., I decided to abandon the nails (as they are not structural elements anyway) and go for clamping or weights or using temporary screws, depending on situation. And as I mentioned in previous post I have gathered reasonable amount of wood clamps anyway.
PS! Only deck will be nailed to the hulls, as there are not any of intelligent solution for that, at least something that Im aware of.
PPS! Recently there was pretty intense discussion over the nails question in Wharram builders forum, jump the thread here.