to do list

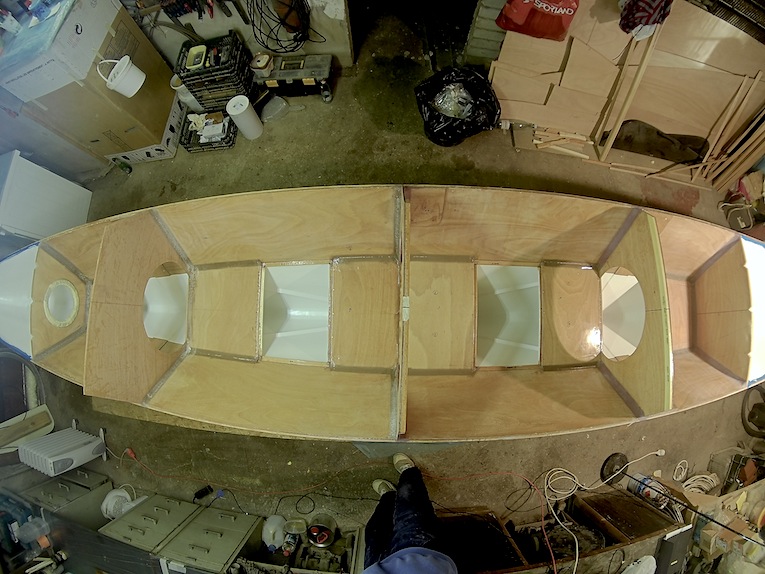
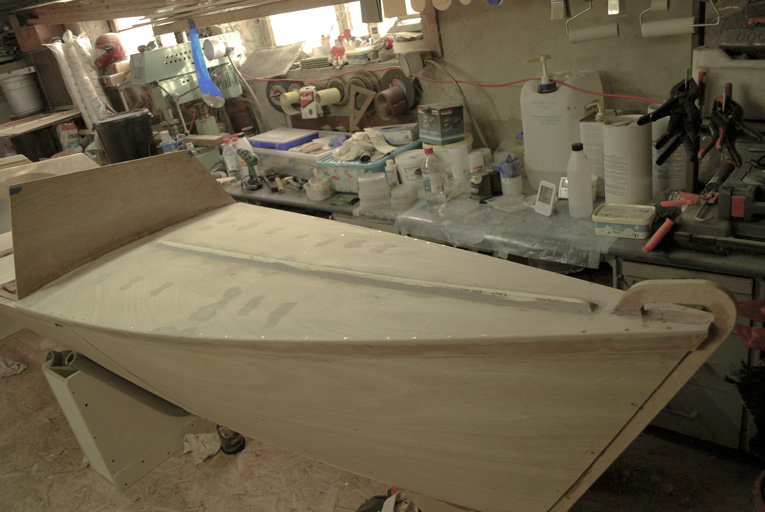
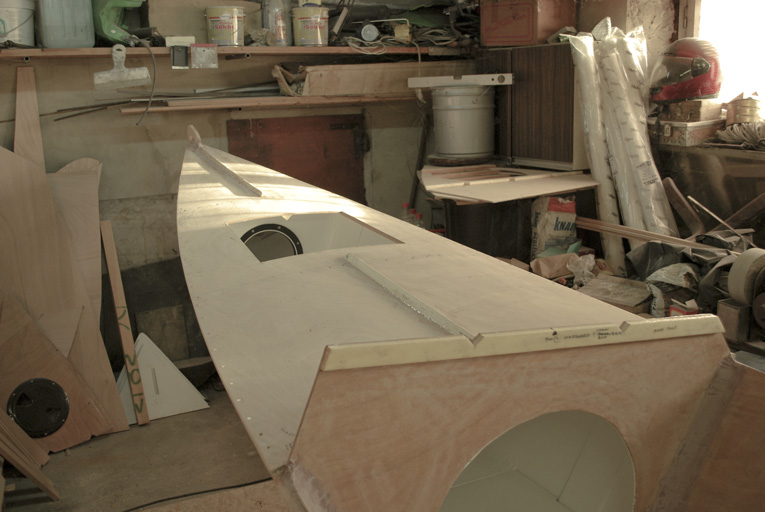
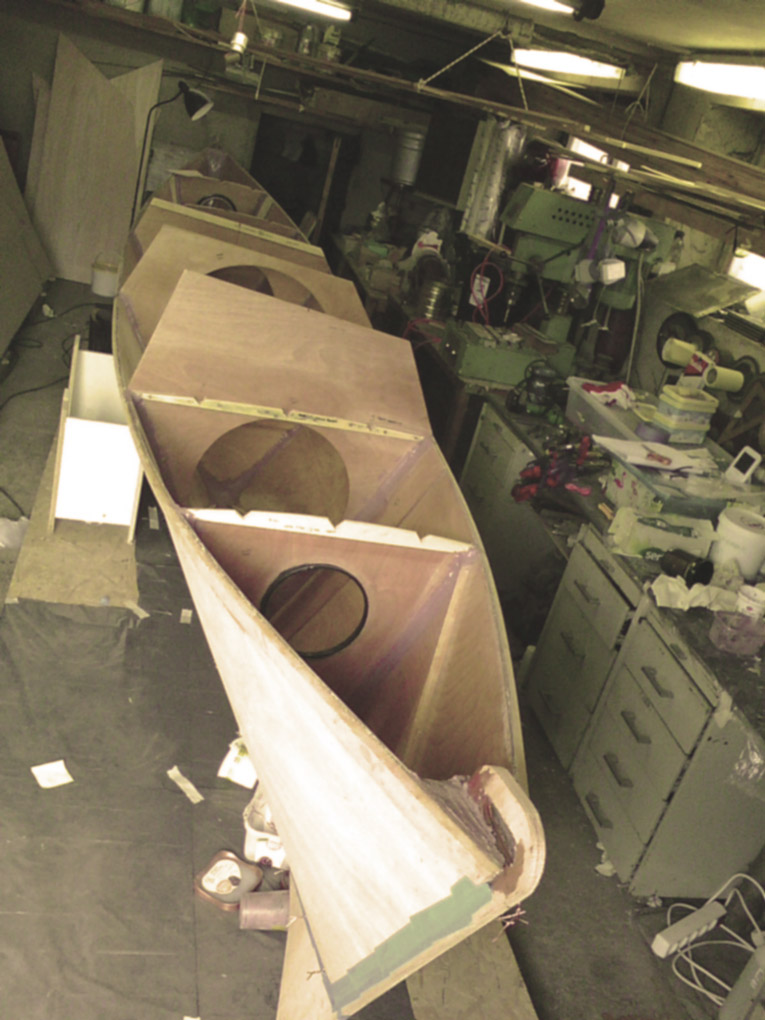
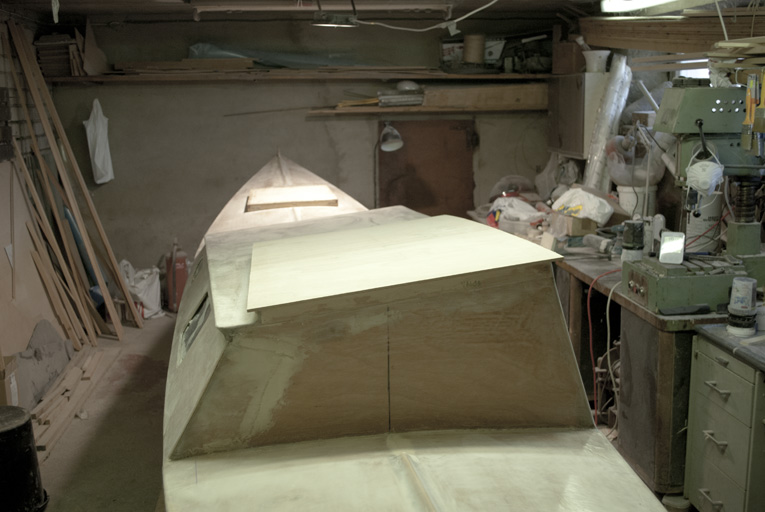
Port hull almost done, still lots to do…
… waiting in the list:

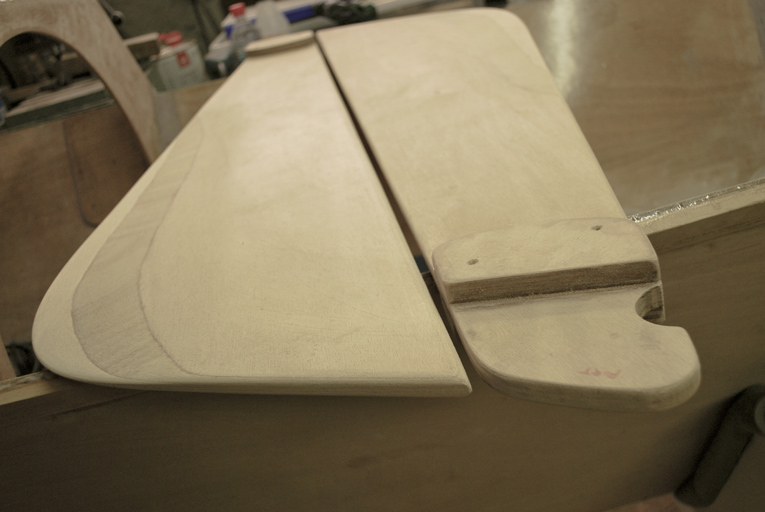
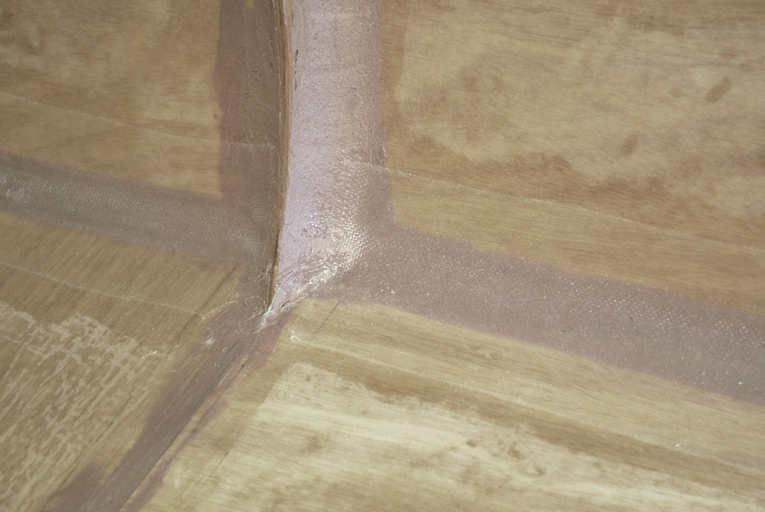
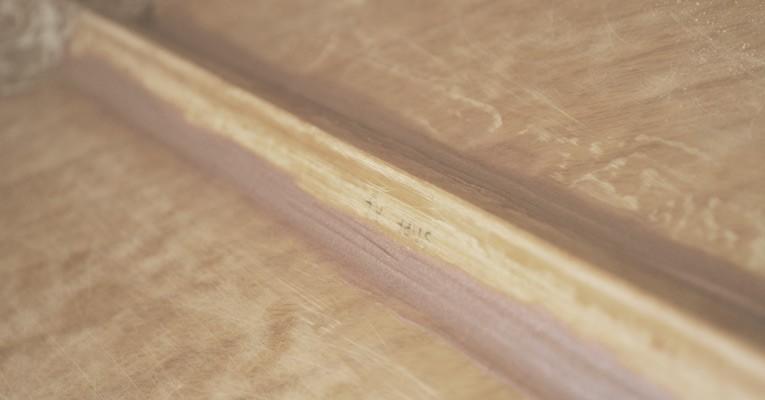
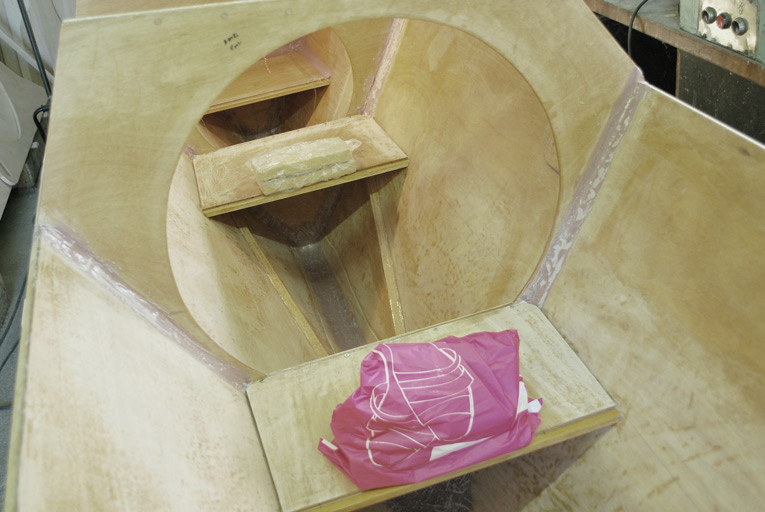
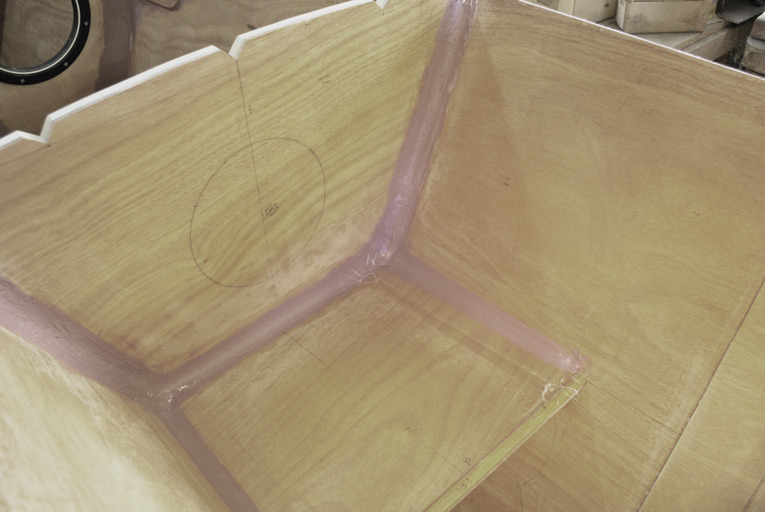
  • glass 2 cabin sides, glass tape main companionway & forward hatch coamings
  • glue beam sockets/pads
  • bolt & glue beam/shroud lashing pads
  • produce forward and center beam
  • produce mast top and step for aluminum tube
  • make tillers & gaff
  • lash rudders to hulls (port hull needs lashing holes as well)
  • fabricate slatted deck
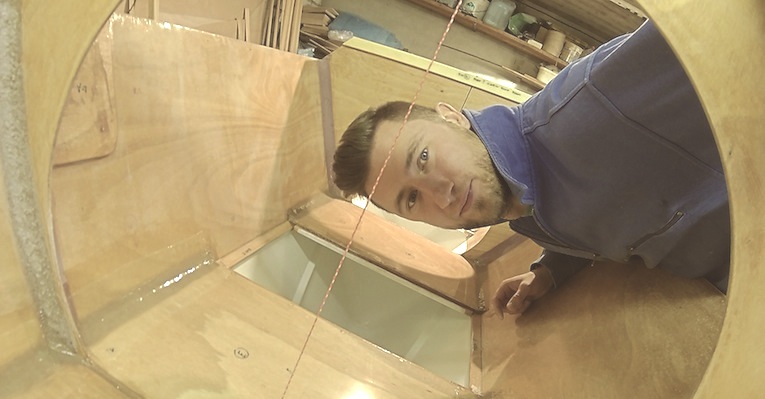
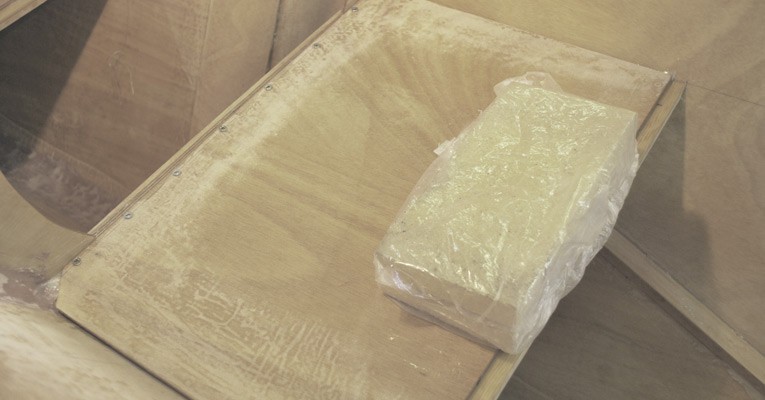
  • produce forward & main hatch for port hull
  • install all the necessary small bits that will make run everything smoothly (supporting pads for deck, jib blocks and barber hauler, main hatch locking system, beam cleats etc)
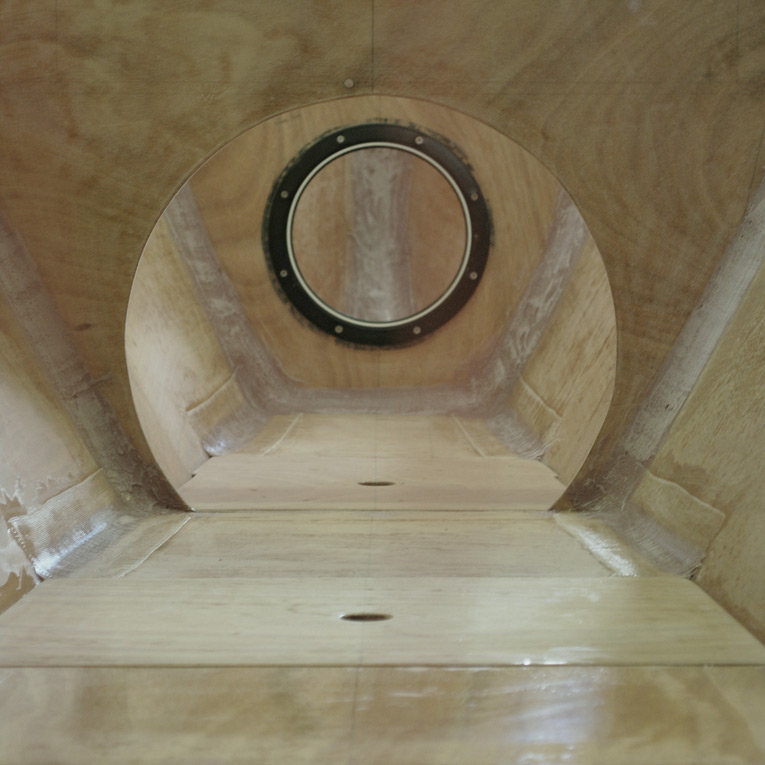
  • sand & paint everything (including starboard hull)
  • install port hull windows
  • raise mast & get out onto water


bunks ready

Bunks are ready for port hull. Now there will be some paint job (Tikkurila Temacoat RM40) and stringer job before gluing the decks on. Looking good, hopefully I could keep up the pace…

Forward from decks

tiki_0004 tiki_0000

So before stinging cold from Russia struck… I managed to glue fore deck as well. Aft deck was done already in November.
Now both of them are glued, trimmed back and rounded, ready for next phase.

During nighttime it drops down to -20 Celsius outside and it takes too much effort to heat garage sufficiently for epoxy work, so I spend some therapeutic hours shaping and smoothing rudder blades. Hopefully there will be soon some nice warm lows dispatched from North Atlantic so I could resume to gluing work, which means attaching the cabin sides and top, small round fillets for deck stringers, fillets for holes left by temporary screws I used occasionally during deck works.

tiki_0008

sleeping quarters

Attention please! Ladies and Gentleman, may I introduce you to your sleeping quarters.

A view towards stem…

sleepingQuarters

… and towards stern

sleepingQuarters2

Please do not forget to admire those nice fillets that will make you feel comfortable and cozy while you are enjoying your stay!

niceFillets

extra fillets

Im not sure if its overkill, but I manufactured some nice minuscule fillets for covering the stitch holes of diagonal stiffeners. Fancy stuff, my friends.

bunks

Gluing bunks. Deviated from the building instructions a bit – I did not stitch the bunks, instead I went for temporary screws and some nice bricks. Also I did not loft the curvatures like Wharram suggest, therefore I took the measures in situ and cut out the bunks accordingly with strait edges against the broadsides. The camber of the broadsides leaves just a few millimeter wide gap between bunk and side, which would be easy enough to fill with thickened epoxy.

bunks

Fillets. After colloidal silica and epoxy mix has been cured next step was sculpting some nice radiuses (low density filler) for upper- and underside of the bunks. Later one made me wish I was born as a bat – a job not suitable for sweating out the hangover 😉
I waited until upper side radius was almost cured, then laid gently 100mm 175g glass tape, smoothing with light strokes of brush until it was leaning tight against surface after which epoxy was brushed over.

bunkTapes

PS! Peanut butter. If its not necessary to squeeze fillet into some narrow gap then peanut butter consistency would work best. It paid off to spend an extra minute to measure out the right consistency. At least for me.

pushing fillets

Today I filleted and glassed the stern, which means I have finished filleting bulkheads and keel. It took me about a week and lots of boat-yoga to finish this section of work.

I must admit that I did not overwhelmingly enjoyed this head down to the knees epoxy cooking… but nevertheless it is great pleasure to see how step by step those wobbling plywood panels shape up into a sturdy and beautiful boat… all done by my own two little pale hands 😉

And my condolences to this poor quay whose path may cross with this hefty stem fillet…

stemFillet


And again I can not get enough of those dare lines of Tiki’s – now all filleted and reinforced…

lines