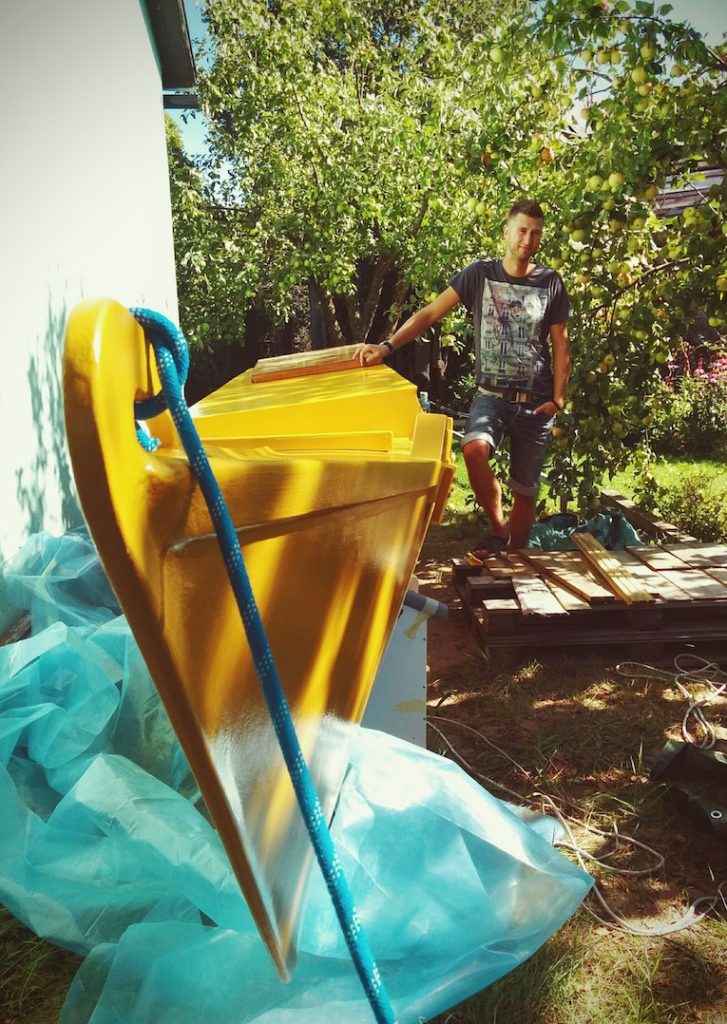
Read my face: three years in the garage and now…
PS! Arno, Ranno and Veiko – thanks for helping me with the mast trial 🙂


Read my face: three years in the garage and now…
PS! Arno, Ranno and Veiko – thanks for helping me with the mast trial 🙂
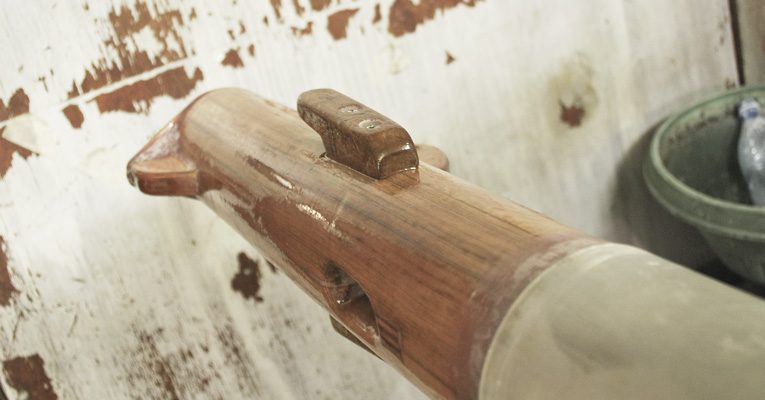
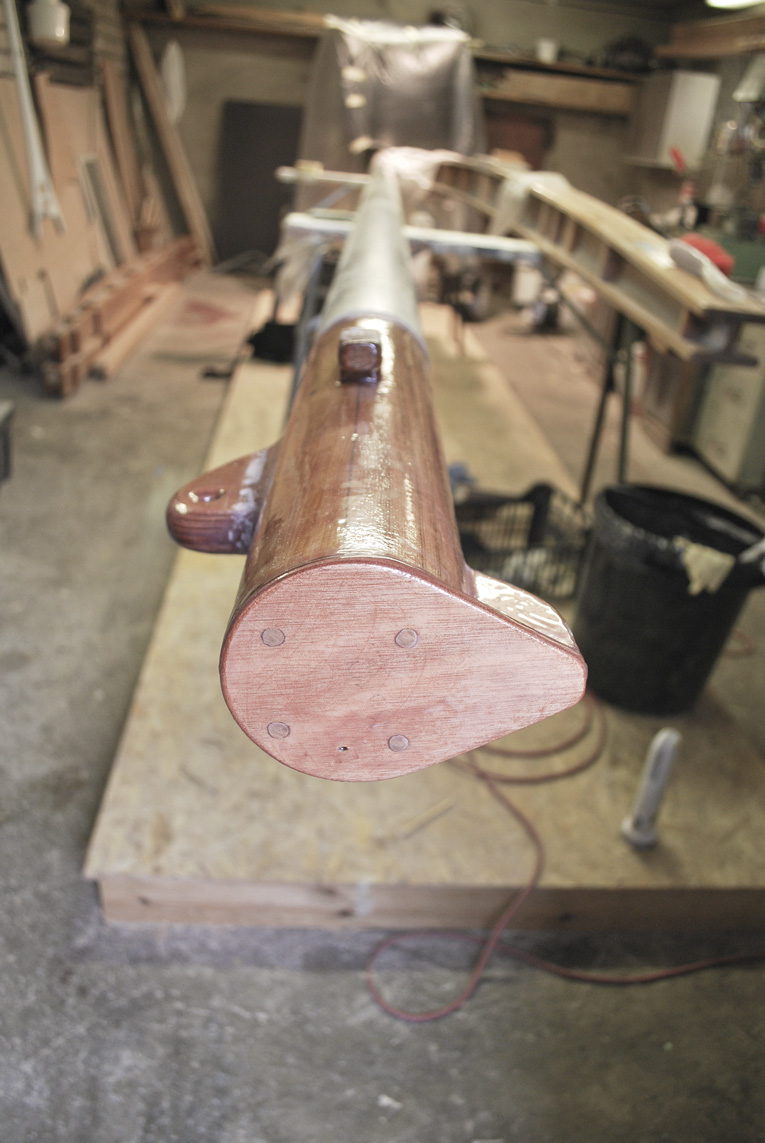
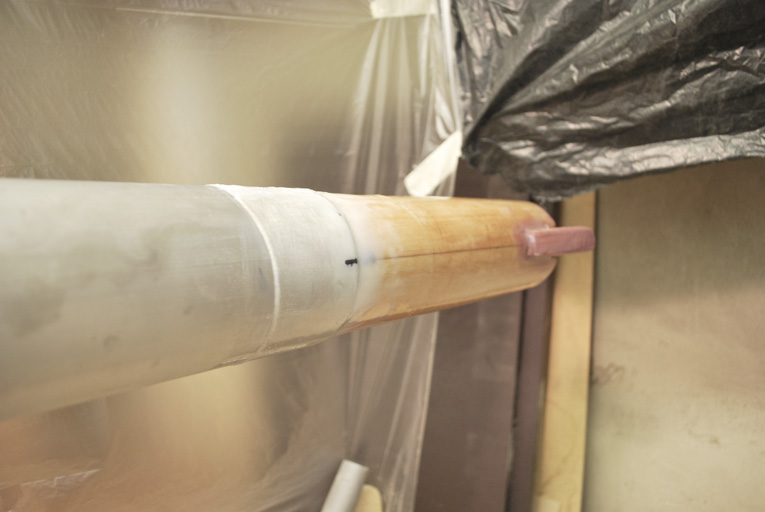
After couple of laborious days of planing-sanding-planing-sanding-swearing-sanding-planing-sweating-sanding-swearing-planing-sanding i finally managed to produce snugly fitting top and heel for the mast:
Over a long period of time finally we had a nice weather today, so I headed out with 2 friends & Itatae to measure fixing block locations for beams.
She looks cute ain’t she 🙂
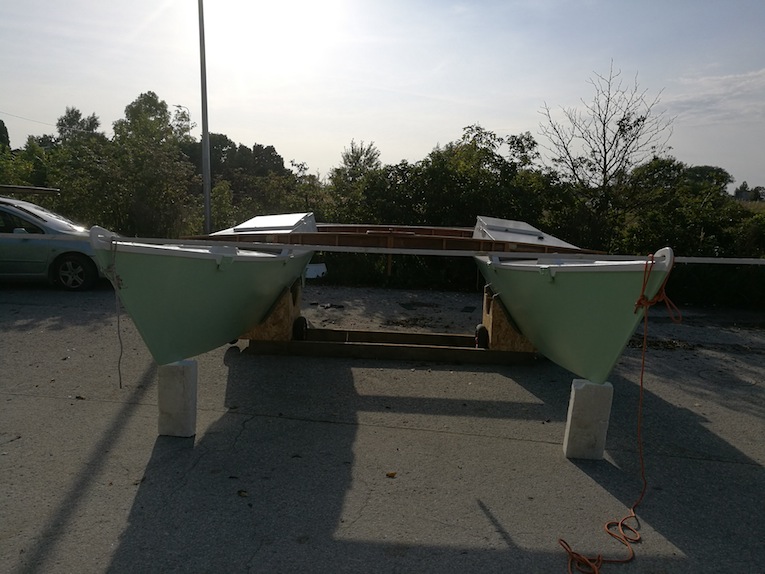


A pretty grand moment 🙂
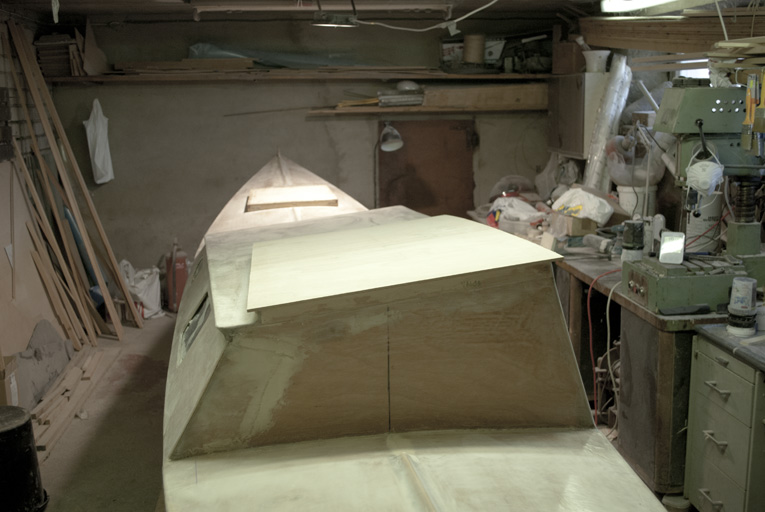
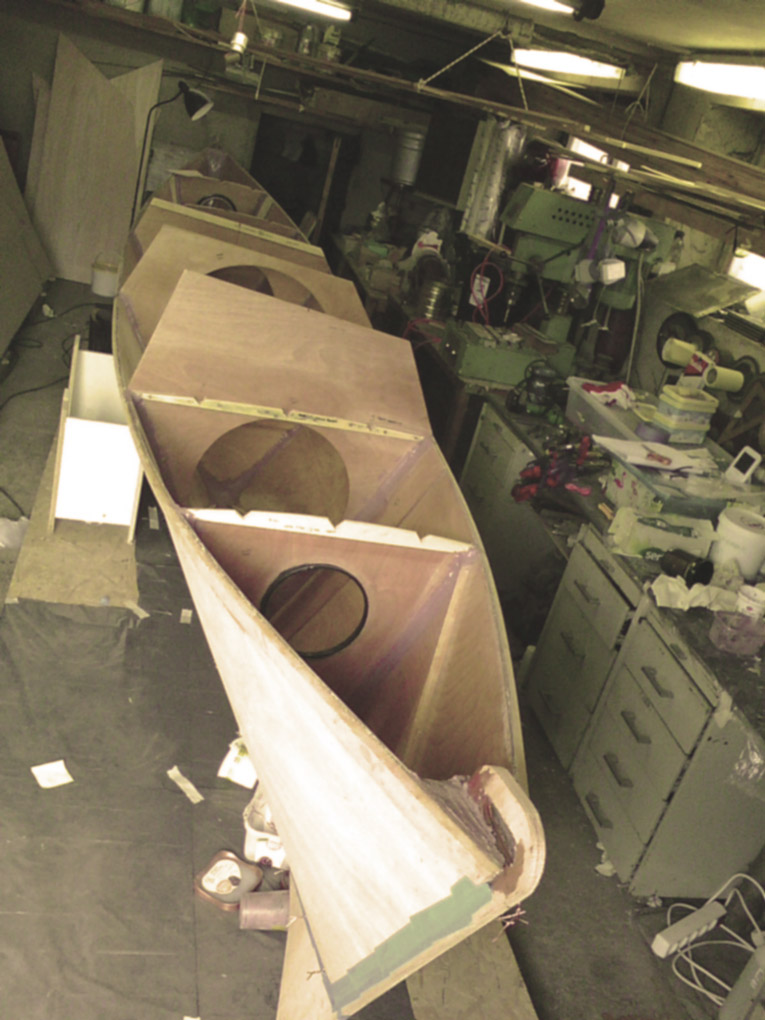
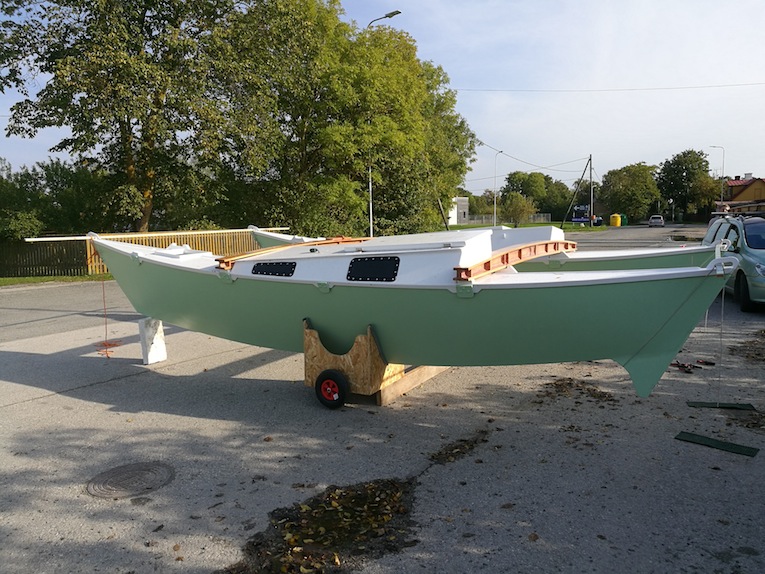
Port hull almost done, still lots to do…
… waiting in the list:
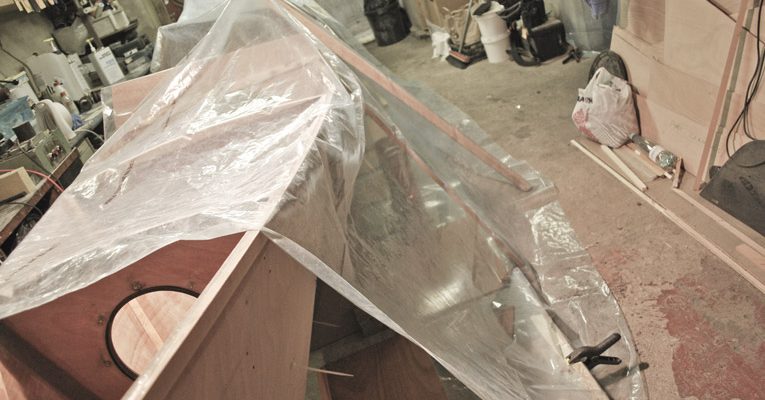
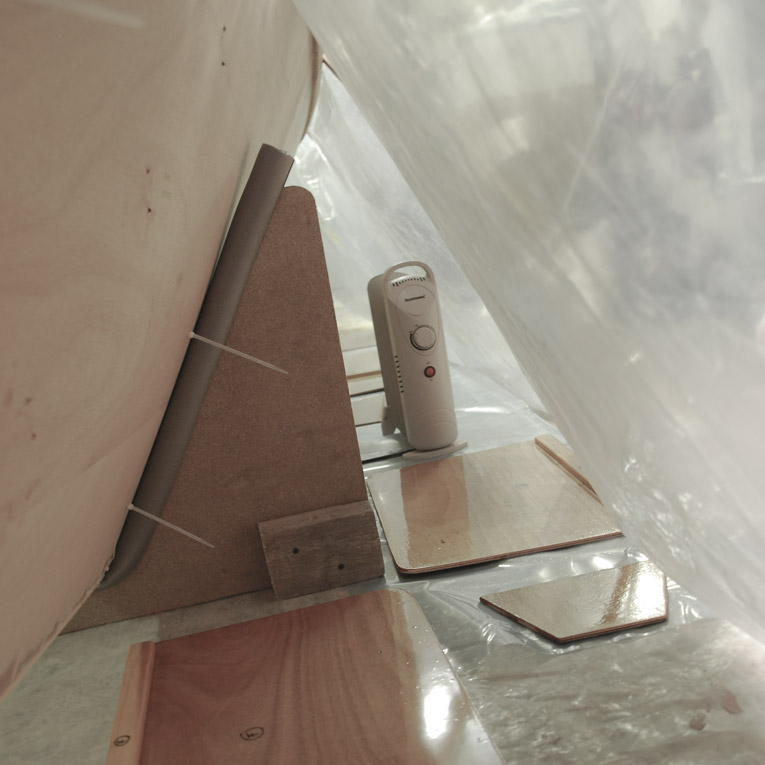
Epoxy cooking in winter conditions… coating bunk undersides.
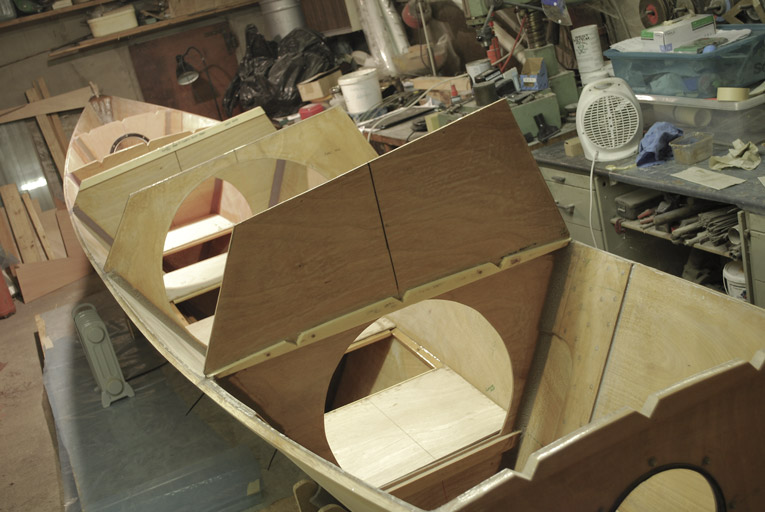
There has been pretty few progress since port hull went 3D, but thanks to yesterday’s long hours in garage all the bunks and stringers are ready for next phase, which means a little bit of sanding and then painting underneath of bunks and watertight compartments as well, before gluing bunks in.
A fellow amateur Tiki builder Brad shared his experience in Southwinds magazine. Check out his story in page 44.
shot by mr Gab
Attention please! Ladies and Gentleman, may I introduce you to your sleeping quarters.
A view towards stem…
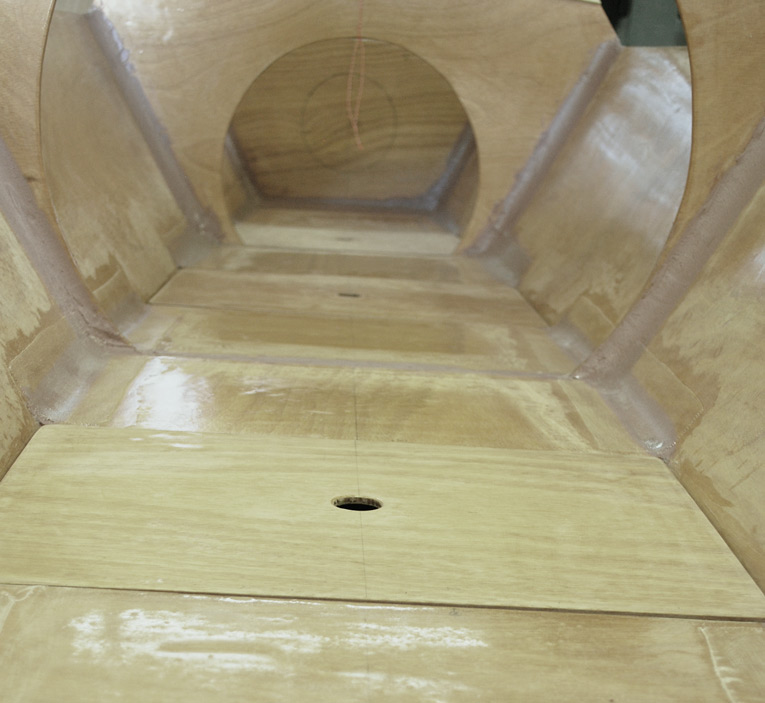
… and towards stern
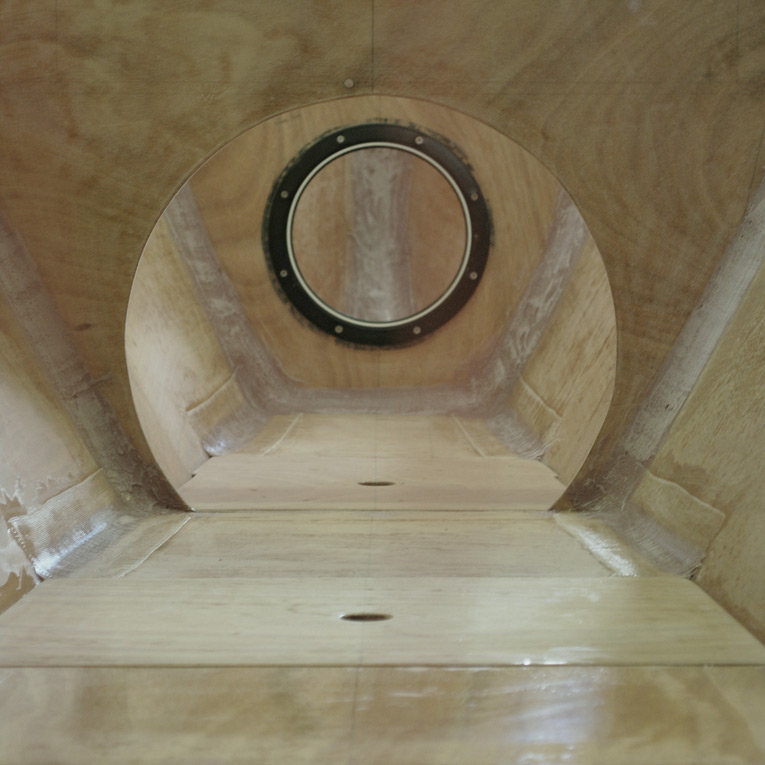
Please do not forget to admire those nice fillets that will make you feel comfortable and cozy while you are enjoying your stay!
Some tweets about stuff I have used.
First, spreading the epoxy… for a large surfaces, like broadsides I found pretty convenient to use wallpaper spreading rolls. You have to clean them thoroughly afterwards, though.
Yes comrades, I sure did experiment with various rollers available in housing stores and none of them satisfied me enough (maybe those fancy West System roller set 800 & 801 would give a more fancier outcome). I found myself experimenting with plastic spreaders likewise, but not so much of success, as resin tend to turn kind of foamy…
Bulkheads, bunks, stiffeners etc has been coated with using brushes. With a certain amount of trial & error I finally kinda get the knack: first I pour out a resin trail, then brush it longitudinally with rather strong strokes (with divaricate bristles) subsequently I will spread the resin crosswise and diagonally from initial track, using smooth and not so vicious strokes. I still have not acquired the skill of producing a perfect smooth surface, there will be still some waviness left, but the outcome has been significantly improved since I implemented this technique.

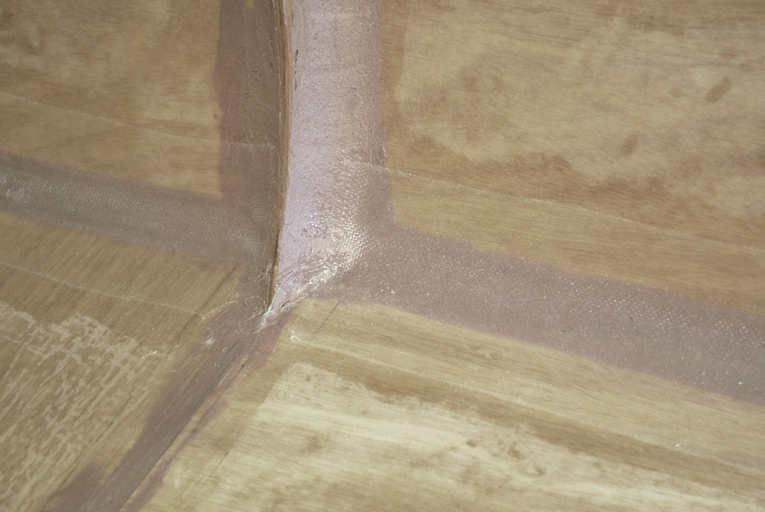
Radius fillets for bulkheads, keel and bunks…. PITA for me in first place as I tried to use radius tools cut out from plywood. Those are too inflexible, so suitable only for amateur builders blessed with Houdini genes.
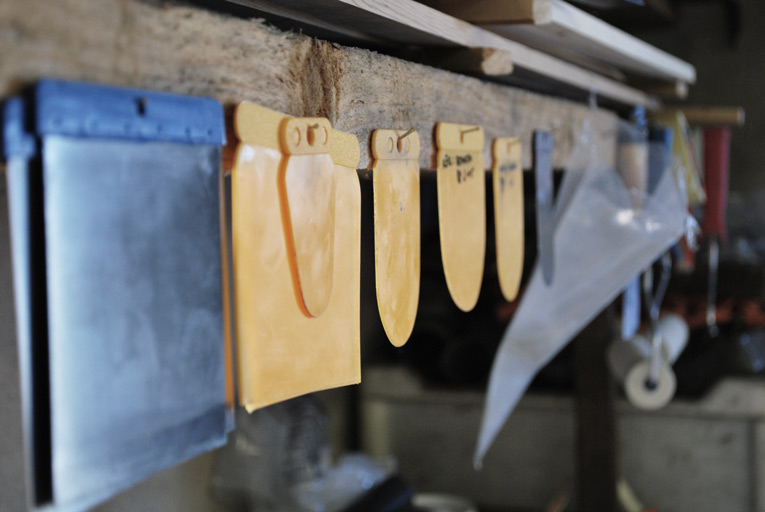
Also I found myself experimenting with radius tools cut out from the canisters of car window washing liquid – too flexible… Finally I stumbled upon nice bright yellow plastic spreaders in construction store that I shaped onto desired radiuses. They work like a charm. Now I would sculpt those fillets until end of my days… Well kidding, two hull worth of radiuses will do fine 🙂
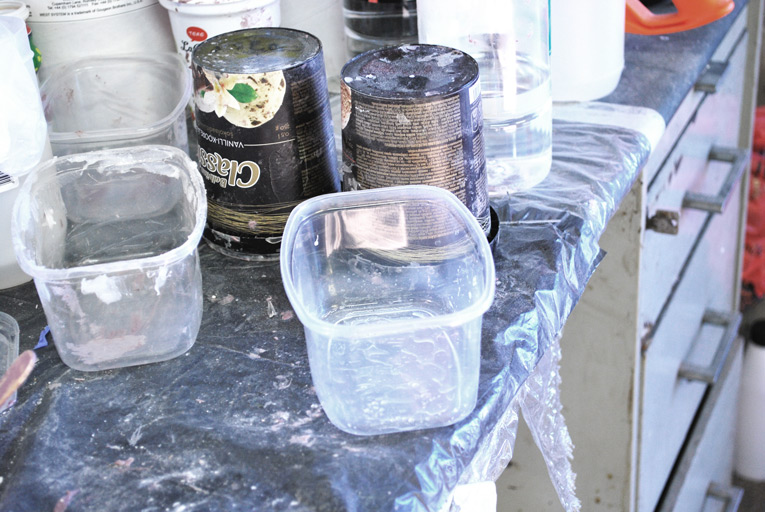
For mixing epoxy I found nice ice cream cups (black ones in the pic) which are very flexible and ductile, so most of the times I have succeeded in braking off cured epoxy after the work has done. Most of the times I would pour mixed epoxy into plastic can which is usually used by decent house wives for storing the raw cranberry jam in the deep freezer. This can has a bit more surface than a ice cream cup, so epoxy does not go off so quickly. It makes great utensil for mixing the fillers as well. Also reusable most of the times.
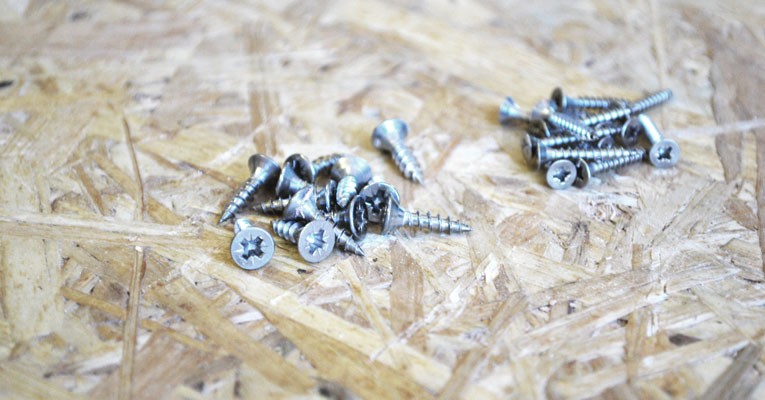
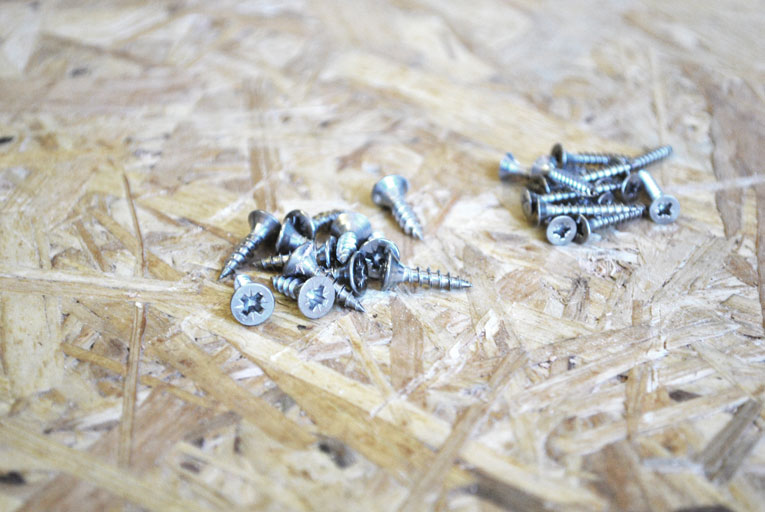
Gluing stuff… In one of my previous post I already explained why I deviated away from using copper nails as a temporary fasteners. So I went and bought a bunch of stainless steel screws. Stainless because I presumed that I may not retrieve all the screws after epoxy has cured. And the practice demonstrated that my assumption was not so wrong after all. Few of those scrawny screws (right on the photo) decided to stay in. Despite the fact that I had cleared the heads from clue with acetone rag, still some clue managed to spoil those tiny lobes. Lesson learned… so I abandoned those and started to use screws with bigger heads (in the middle of the photo). Those are 3mm diameter & 12 mm long and do the job.
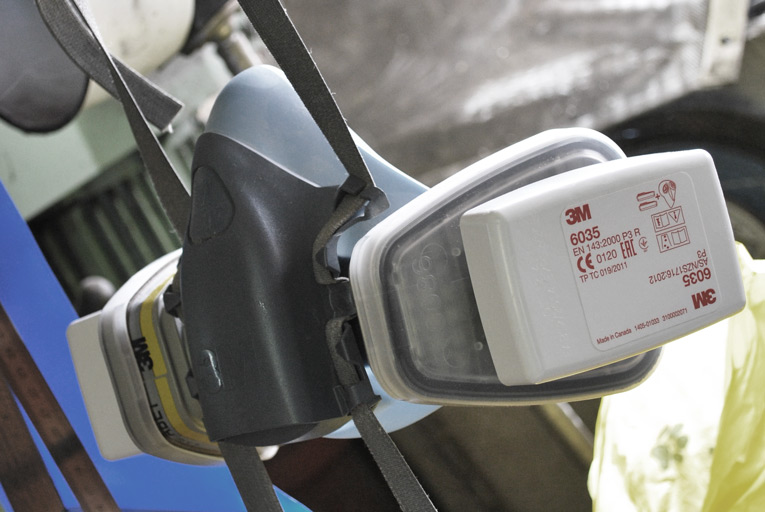
Last but not least – when messing around with epoxy or with random orbit sander don’t forget to wear a proper mask. I have 3M half-mask with detachable organic compound and dust filters, which I could combine depending the situation. 3M has a selection of masks in various sizes, so you can choose best fit for you. Im pretty pleased with one I got.

Today I filleted and glassed the stern, which means I have finished filleting bulkheads and keel. It took me about a week and lots of boat-yoga to finish this section of work.
I must admit that I did not overwhelmingly enjoyed this head down to the knees epoxy cooking… but nevertheless it is great pleasure to see how step by step those wobbling plywood panels shape up into a sturdy and beautiful boat… all done by my own two little pale hands 😉
And my condolences to this poor quay whose path may cross with this hefty stem fillet…
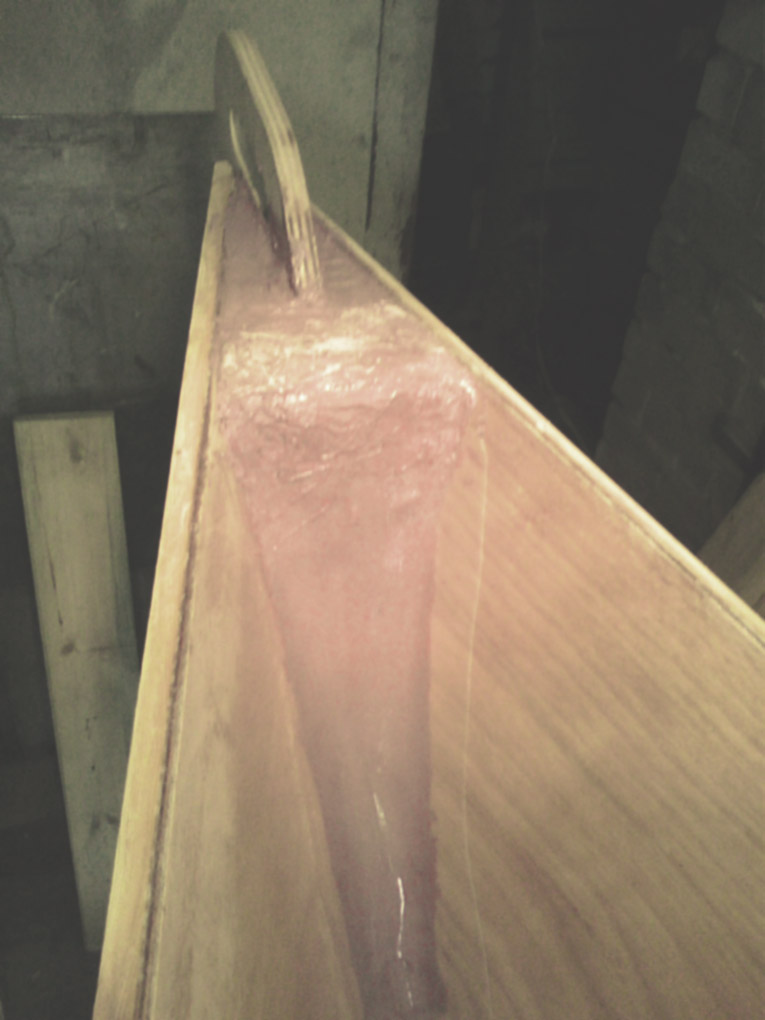
And again I can not get enough of those dare lines of Tiki’s – now all filleted and reinforced…