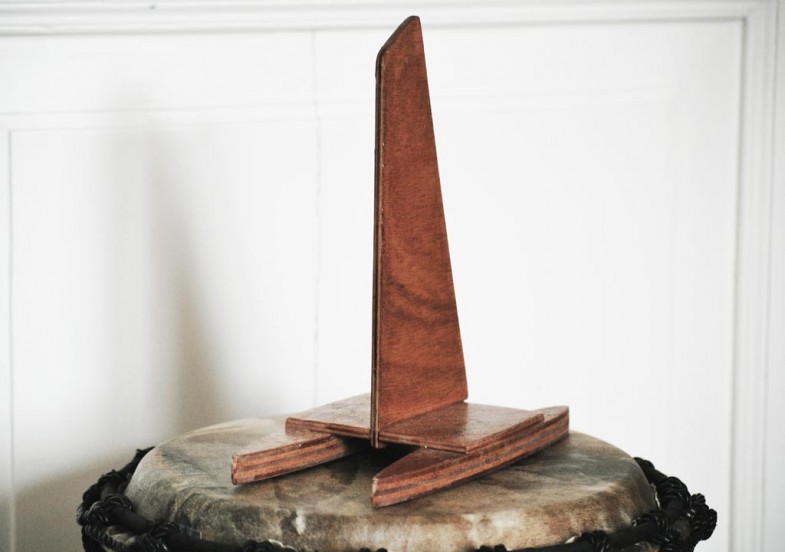
rudder lashings

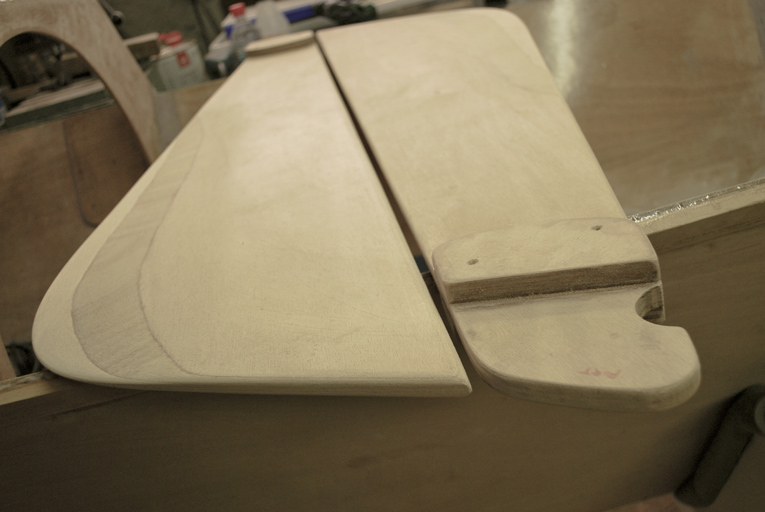
So, hull sides got finally glassed, therefore I decided to reward myself with little rudder play.

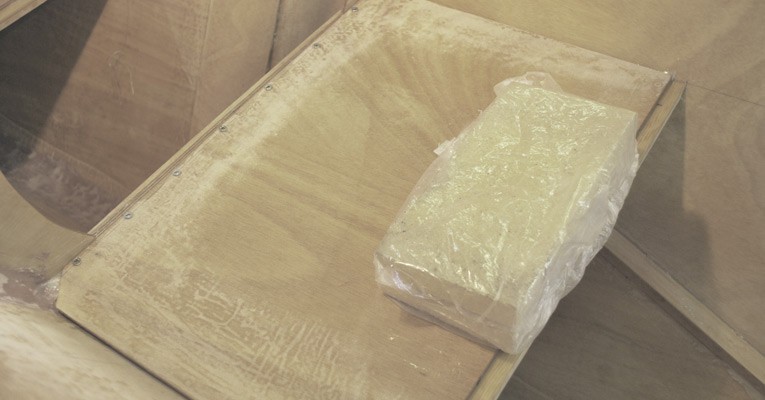
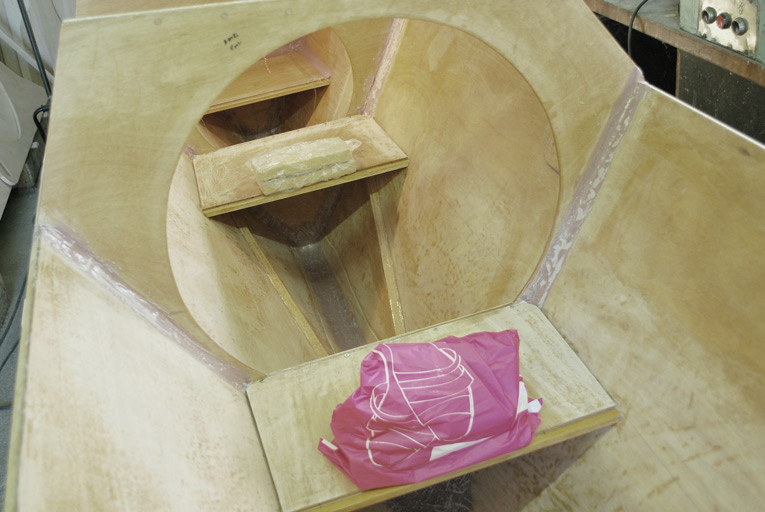
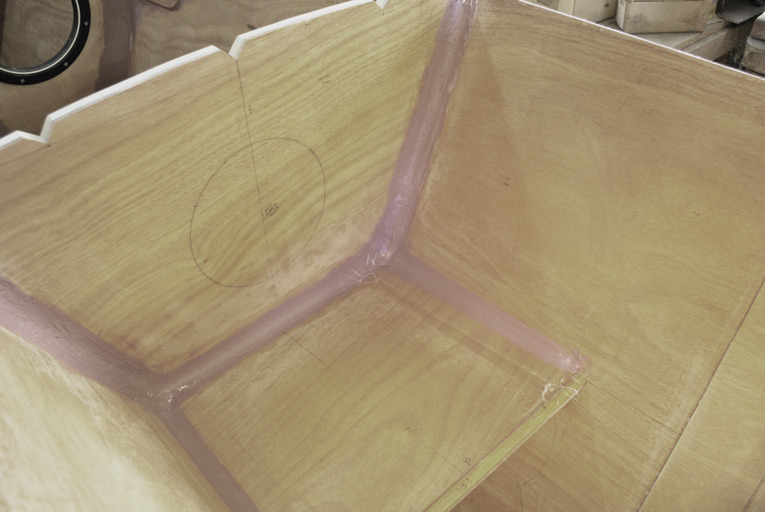
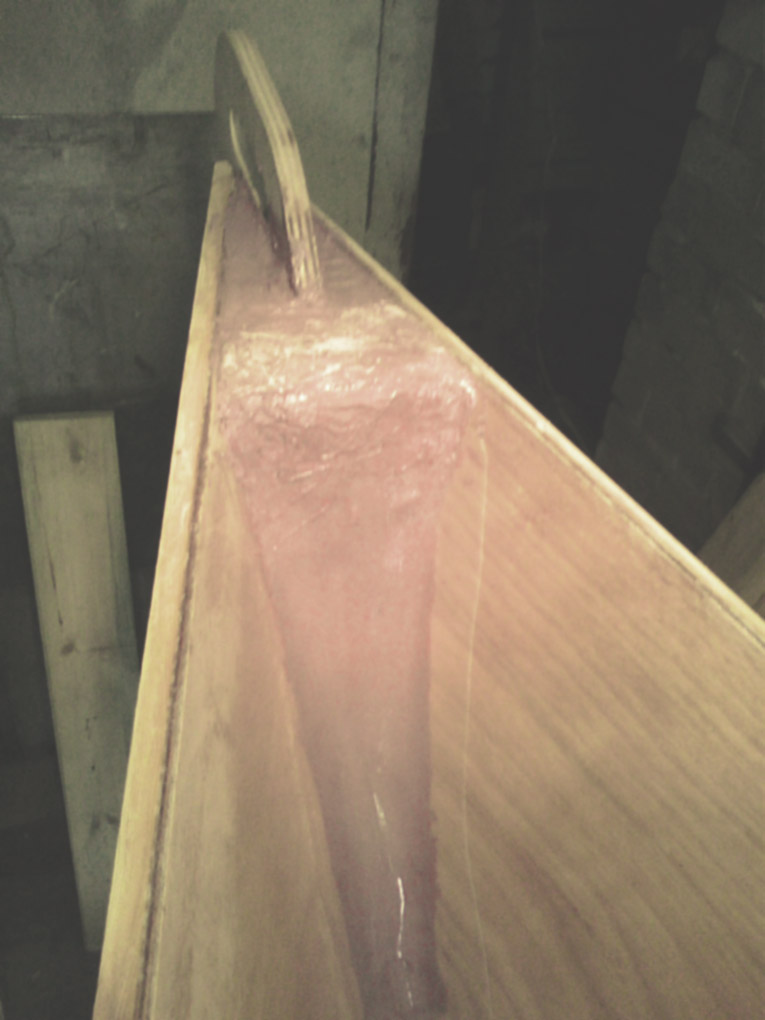
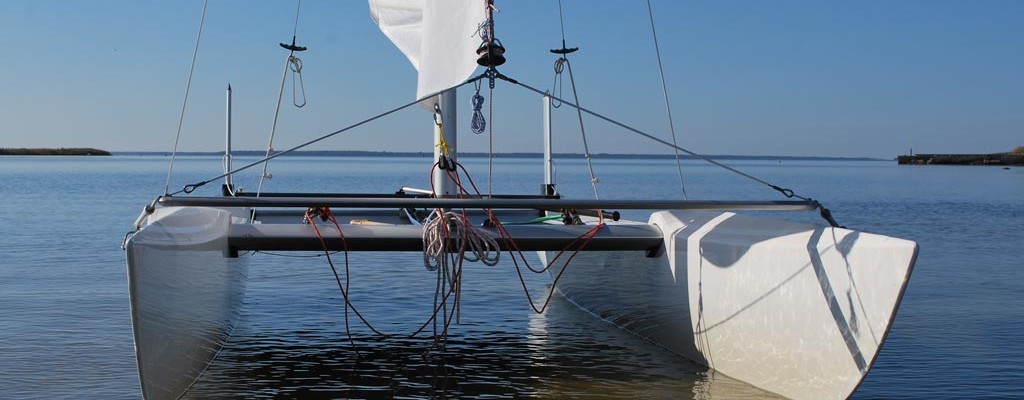
Here is shot from trial fitting of rudder lashings.

I like those simple & genius rudder fittings… There is some kind of primal pleasure in splicing rudder to the stern… and not paying some extra silver for expensive rostfrei attachments….

Photo0065

upside down

Dear Diary,

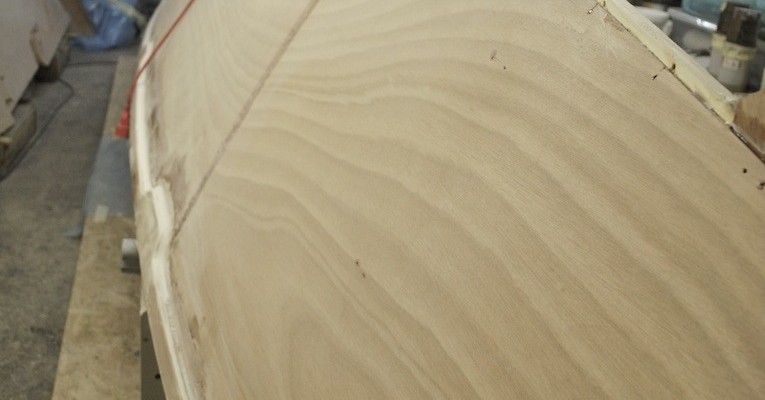
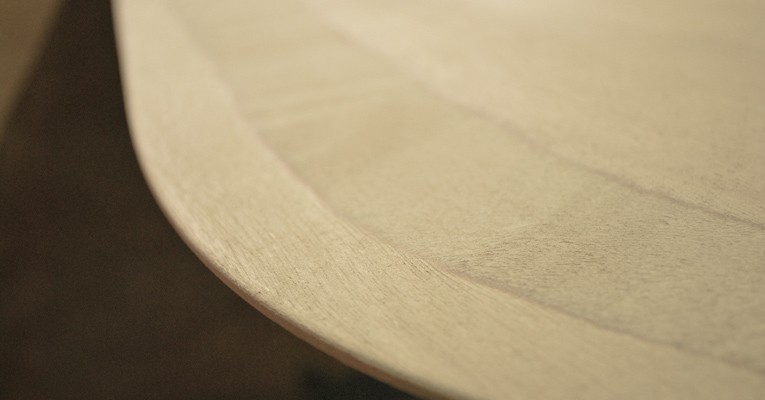
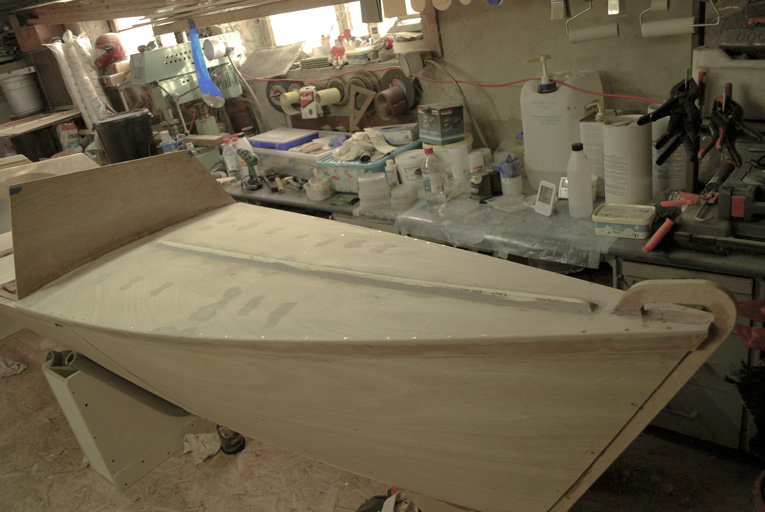
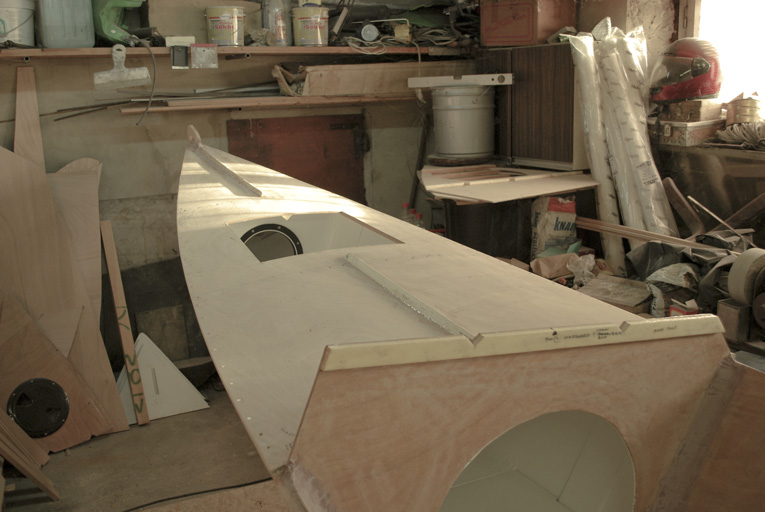
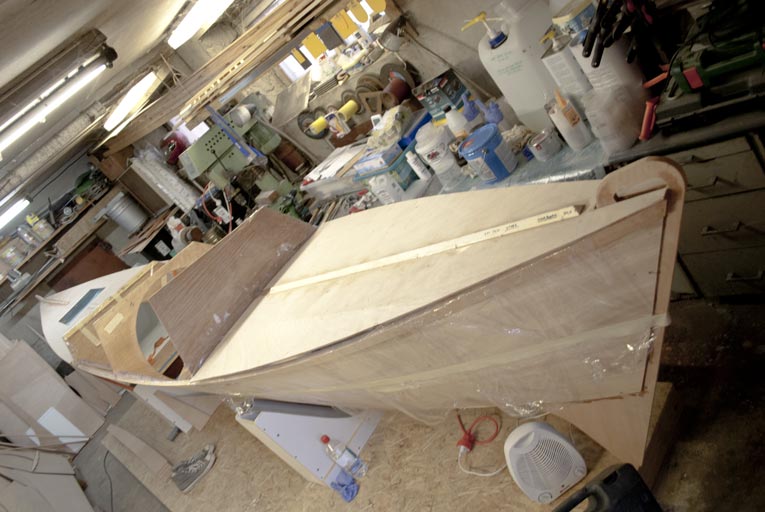
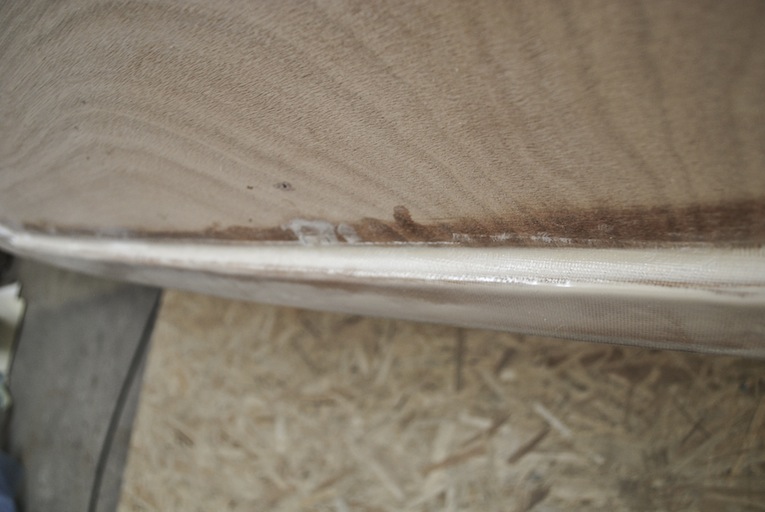
it has been long time since I last wrote to you… but, still, there have been some advancement in the Garage. What I managed to achieve is — despite of too cold spring (bad for epoxy cooking) and too hot early summer (hard to stay put in shady garage) — gluing coaming for main hatchway and constructing main hatch, glassing topsides of the hull (decks and cabin). Later process has been pretty emotional :p — getting glass over the upper deck stringers without air bubbles and sticking it onto underside of the sheerstringer was business that one may call PITA. Nevertheless, work itself is the best teacher and when I finally got into glassing the forward deck I managed to execute the process with minimal losses i.e. decently smooth finish, which requires minimal sanding later on.

So lets have a quick glance of the mess I have created (hull is turned so we could have a clear view of the sight).

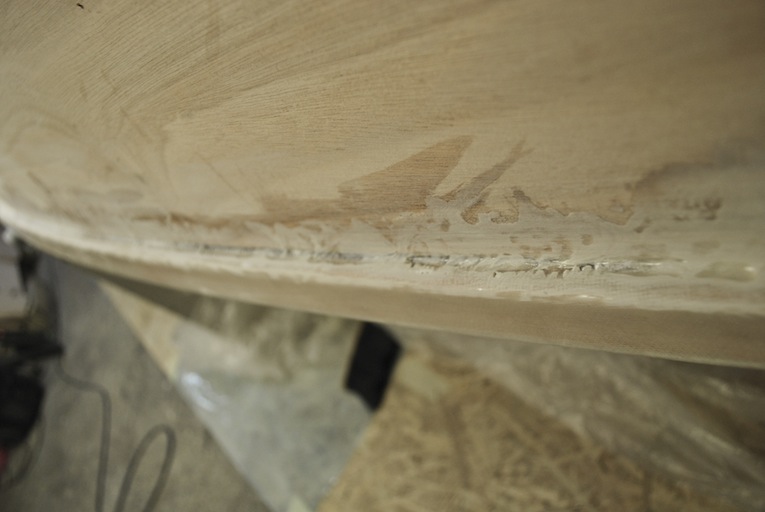
1. exhibit A
– after fiberglass on deck and sides of the sheerstringer was wetted, next move was to try tap it into place underside of the sheerstringer using a brush. With not much of luck. Things got under control when I brushed undersides over with epoxy and WS Microlight filler.
Note that I have already covered up some of the traces (using good old elbow grease and 60 grit sandpaper).
sheerstringer_0002

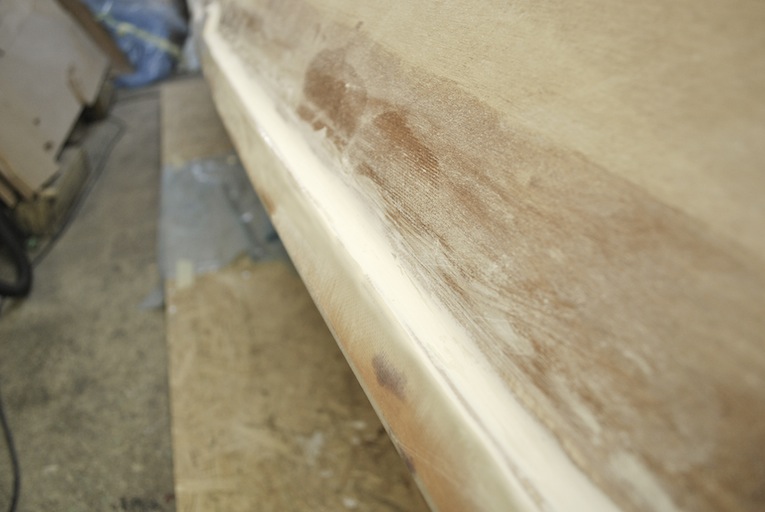
2. exhibit B
– so here you can see me trying to get glassfiber down from cabin sides stick to underside of the sheerstringer, but this time, I didn’t cut the glass flush with the corner – instead I let the epoxy set for a while, then after it got really sticky, I removed the excess and applied fillet (Microlight) right a way on top of it.
Again, this evidence have had some touch ups already.
sheerstringer_0003

3. exhibit C
Well now I can be proud of myself and honor my humble figure with Distinguished Service Order as I demonstrated unprecedented capability to evolve and learn from past mistakes whereas this time (forward deck) I produced nice and neat fillets (Microlight) and let them set semi-hard before I moved to sheerstringers undersides with glassing. I removed the excess of the fiberglass just before applying saturation coat (mixed again with Microlight to avoid sagging).
sheerstringer_0005

PS! Decks and cabin sides saturation coat were thickened with Microlight, which is rather easy to work with (whether applying or sanding it).

So now the itinerary offers me adventure down under – fillets around the keel, aft deck sheerstringer undersides, stem & stern, sanding, fiberglass tape, sanding, glass for one side, sanding, glass for other side, sanding again…

hard core cat sailing

Just tumbled upon to an old video about Estorace, as it was perceived through the eyes of N500 team, free class.
Estorace is beach cat marathon around Estonia from border of Russia to border of Latvia – a 270 nautical miles of sailing-masochist dream.

Basically, you have to follow two simple rules: sail as hard as you can and stay attached to the boat!

No Mercy
No Sex
No Facebook

Good old days….

Forward from decks

tiki_0004 tiki_0000

So before stinging cold from Russia struck… I managed to glue fore deck as well. Aft deck was done already in November.
Now both of them are glued, trimmed back and rounded, ready for next phase.

During nighttime it drops down to -20 Celsius outside and it takes too much effort to heat garage sufficiently for epoxy work, so I spend some therapeutic hours shaping and smoothing rudder blades. Hopefully there will be soon some nice warm lows dispatched from North Atlantic so I could resume to gluing work, which means attaching the cabin sides and top, small round fillets for deck stringers, fillets for holes left by temporary screws I used occasionally during deck works.

tiki_0008

balance

tiki_0001
So whats the balance for now… With a bit more than half a year I have managed to assemble starboard hull up to the decks. Later ones have been prepared for gluing.


tiki_0002
Next item in the plan is to paint undersides of the bunks before starting with cabin sides. All nicely prepared, waiting for the right vibes…


tiki_0008
Broadsides & bulkheads of the port hull were cut out already in summer. So for a change of scenery I started with gluing deck-beams and bunk bearers, also I prepared nice thickened-epoxy holes for taking inspection hatch bolts. Maybe its overkill… on starboard bulkheads I used just screws.


tiki_0006
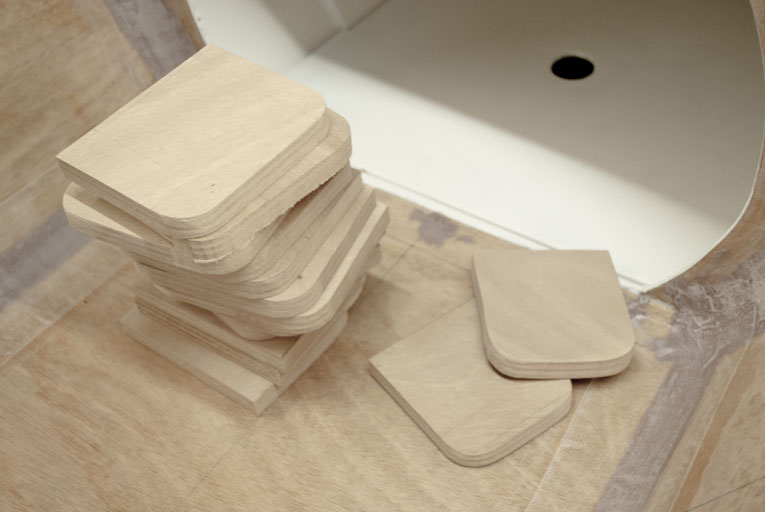
Last week I spend some therapeutic hours and cut out small pieces from the 15mm ply, namely lashing pads and butt blocks for beams…


tiki_0004
… then continued with beam web pairs, which also ended previous sanative session with a cruel fact that I miss few inches of ply sheet in order to complete all three pairs. Apparently when I produced rudders, stem & stern posts in spring, I went for too excessive safety margins…
Bugger!

400 hour benchmark

Meanwhile I have prepared decks for gluing, this means attaching the stingers, epoxy coating and painting undersides. Loathed paintjob… This Tikkurila Temadur is indeed a quite nasty stuff working in under-ventilated garage I have there, but since it sticks into epoxy pretty well I guess I have to be pleased with it, no intention to get lost in the poly-carbonates maze again…This time I made my life a bit easier and bought proper thinner as well, which means I do not have to worry about short pot life anymore and also I can avoid slight coagulating problems I had previously when I was working too slow.

Anyway what I have recognized is that I have hit the 400 hour benchmark already, since I have worked at least 16 hours per week during summer months and at least 8 hours per week during spring & autumn. By no means I would like to contest Wharram estimates, Im pretty convinced that one could relay Tiki 21 within 400 hour time frame whether he is highly skilled or just a novice bloke who is desperately in rush to get onto the water soon as possible.
In my case… well I haven’t been a prompt starter all of my life. I need to develop a kind of feel of the process, tools and materials, only when I’m certain that those fresh spread wings will carry I would dear to dive head fist into the matter. Otherwise there is high probability that I will mess something up completely.
I had to castrate my inner perfectionist pretty much in the start anyway.

But furthermore I’m still struggling to fully disclose this little universe boiling there down in the garage. I guess its rarely not just a boat building for numerous amateur comrades out there. Building a 21 foot catamaran isn’t  just a pastime endeavor for most us novices, Im pretty sure.
It just means just too many countless hours of researching, watching YouTube wow-to videos, fearing, hoping, being paranoid over the measurements, recollecting, digging out rare materials, spending money to gadgets you cannot do without, buckling down eternity on your knees with jigsaw, spending agonizing hours in folded position like a maniac flamingo, trying to spread fillets, then sanding fillets, after which reshaping fillets again because you messed up little bit in first time, and then again you are sanding those fillets and then back again behind your computer trying to make sense of all those controversial advice, opinions, dogmas, principles and tricks served in forums, DIY videos and blogs. Your knees hurt, your legs let you down, those dozens of tiny muscles you haven’t been aware of so far, those hurt as well, your nostrils are clogged, as well your brain, it has gone off due a short circuit, that’s because constantly you had to use both hemispheres simultaneously.
So whats the point of all? Its not easy to find a straightforward answer to this, I guess its just constellation of many small, often invisible things, thin threads spinning into taut line which may make up your safety rope in the end. All you have to to is just grab it and see where it pulls, or from where it pulls you out…

first paintjob

Spend some fumy hours in garage and painted 2 stern & 3 stem sections. When deck is fitted it would take Houdini to paint those afterwards.

My choice of weapons is based on local knowledge (advice from recognized boat builder & ice sailing enthusiast Vaiko Vooremaa). So I went for white Tikkurila Temadur 20, which is semi-matt two-component polyurethane paint. This smelly magic has a MED (Marine Equipment Directiv) approval, which means if decrypted that from now on I could store in those compartments pretty hostile substances – from chicken manure to nuclear waste if I may happen to cruise around Fukushima. I have brushed this vigorous stuff 3-4 thin subsequent layers… so I could pull this Fukushima plan off indeed.

The result isn’t worth of presenting in Louvre, but compartments future lodgers, like coils of rope, spare sails and corned beef hardly ever have possessed spectacular taste for fine art.

PS! After spending few sweaty afternoons in workshop with polyurethane paint I started to understand the compassionate look of the color shop dealer when I told him that: no I do not have a paint-gun, nor do any of my friend does not have this fine gadget, and yes, Im gonna use just a brush and solid determination of honey badger with hypomanic disorder.


paintjob2


paintJob1

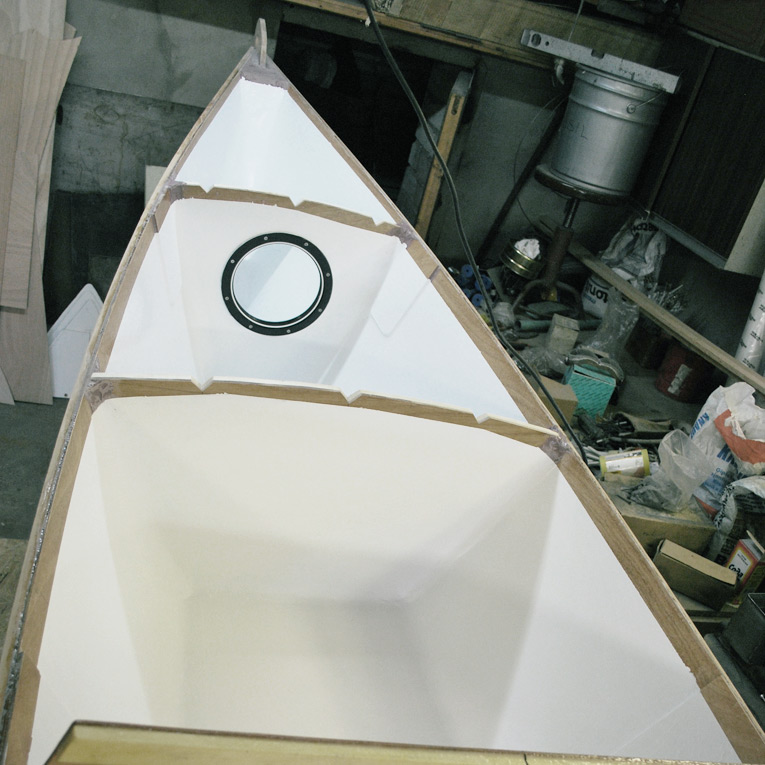
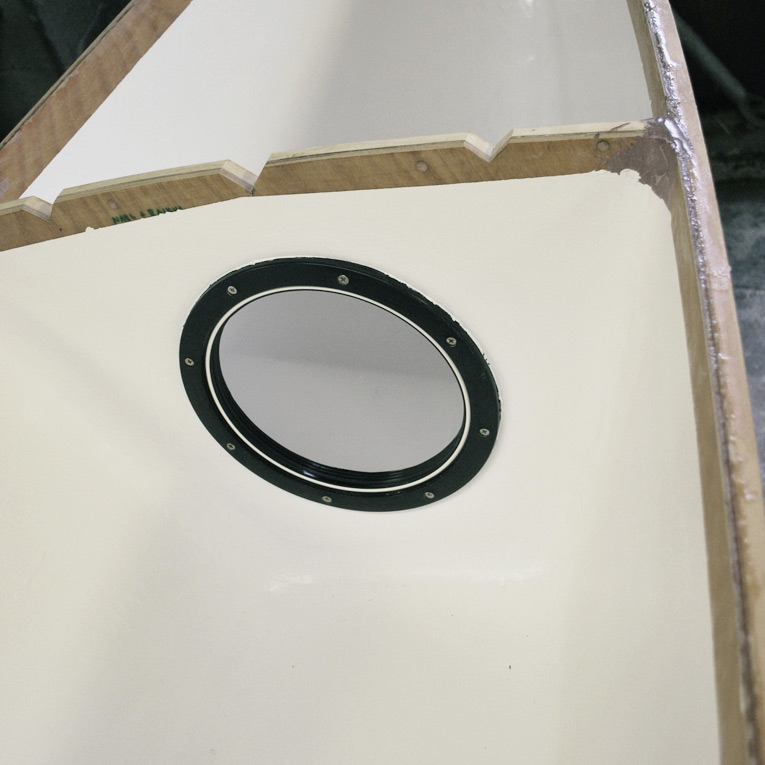
sleeping quarters

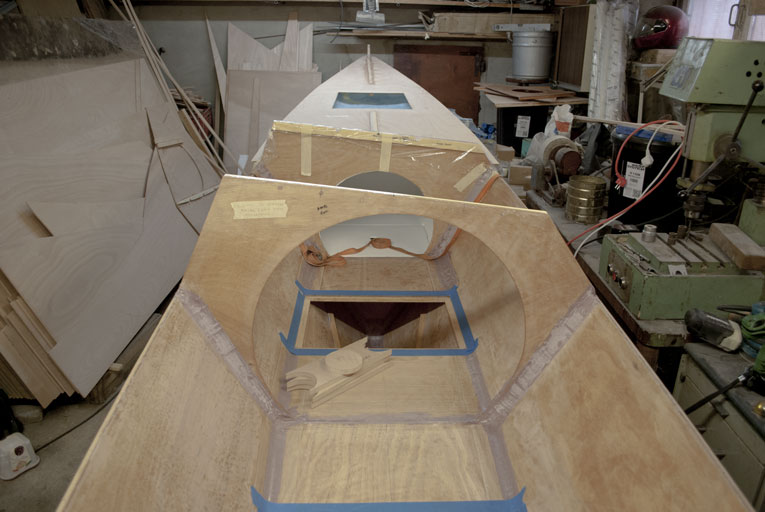
Attention please! Ladies and Gentleman, may I introduce you to your sleeping quarters.

A view towards stem…

sleepingQuarters

… and towards stern

sleepingQuarters2

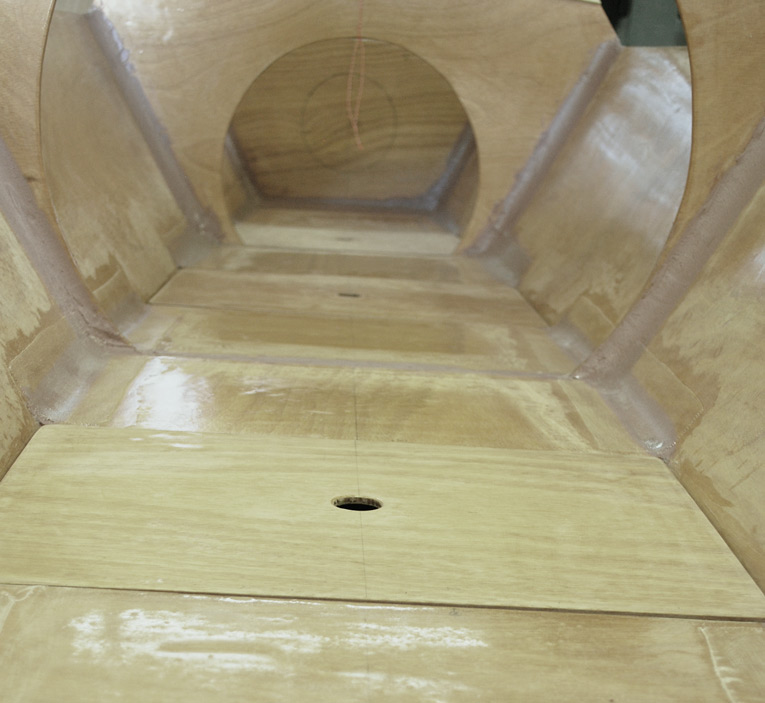
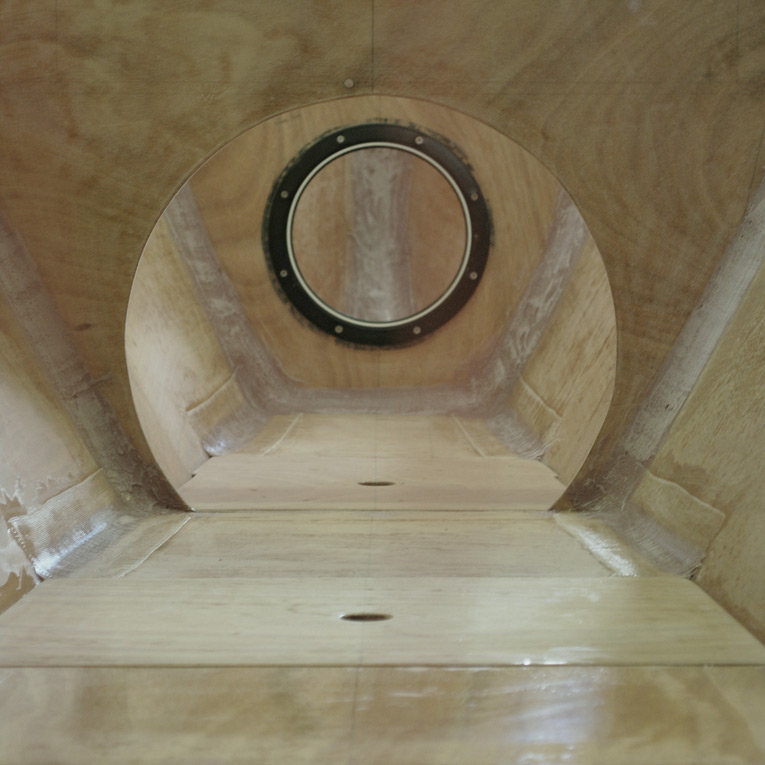
Please do not forget to admire those nice fillets that will make you feel comfortable and cozy while you are enjoying your stay!

niceFillets

Santa’s little helper

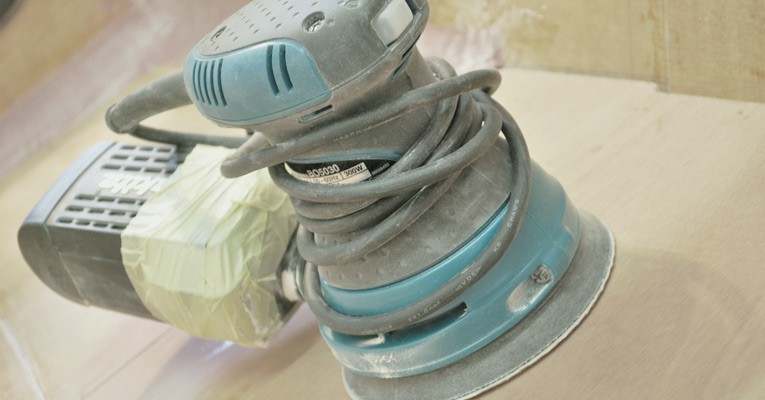
Ah yes, sanding – the most romantic part of boat building. Initially I tried to conquer surfaces using sheet orbital sander… One may get the results faster using a bit elbow grease… Then I found nice discounted Makita eccentric orbital sander, without bells and whistles, just button for on/off. Works like a charm, for the record.

Im pretty tightwad concerning buying various fancy tools one may or may not need, but I tell you that, its pretty nice to hold in hand such a tool that minimizes the possibility to mess up and nullify whole work you previously have achieved 😉

corners

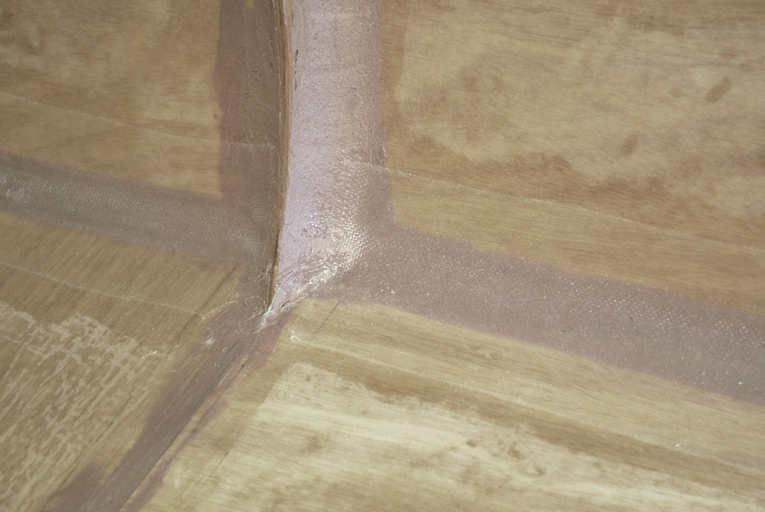
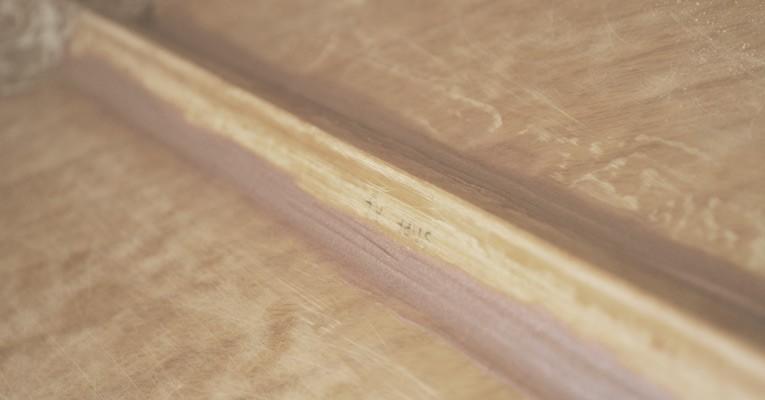
Just a little item to remember before heading head first into building of second hull: all those poke up corners of deckbeams, bunkbraces, bunkbearers, deck stingers and diagonal stiffeners should be beveled little bit. Yes, its a bit extra work, but it pays off as those beveled corners will be much easier to coat with epoxy. Furthermore its more stress free to sand them later, constantly concerned about possible risk of sand off the coating from the corner.


not having to be worring about sanding epoxy coating off from the sharp corner.

bits and pieces

Some tweets about stuff I have used.

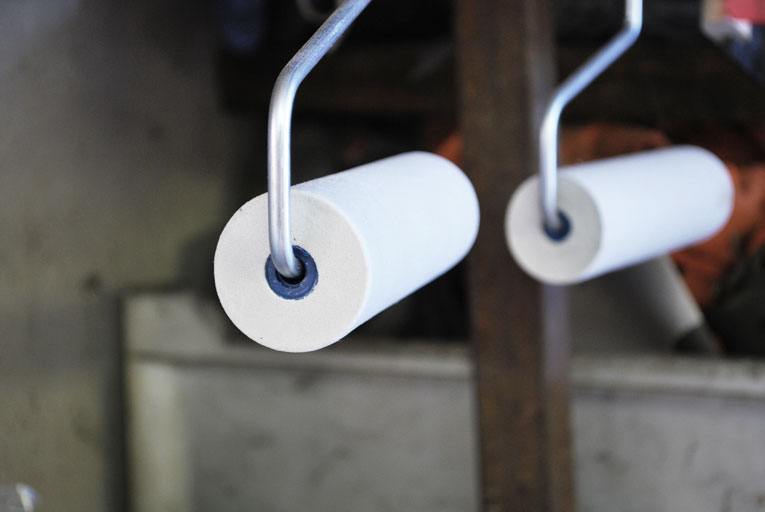
First, spreading the epoxy… for a large surfaces, like broadsides I found pretty convenient to use wallpaper spreading rolls. You have to clean them thoroughly afterwards, though.
Yes comrades, I sure did experiment with various rollers available in housing stores and none of them satisfied me enough (maybe those fancy West System roller set 800 & 801 would give a more fancier outcome). I found myself experimenting with plastic spreaders likewise, but not so much of success, as resin tend to turn kind of foamy…

Bulkheads, bunks, stiffeners etc has been coated with using brushes. With a certain amount of trial & error I finally kinda get the knack: first I pour out a resin trail, then brush it longitudinally with rather strong strokes (with divaricate bristles) subsequently I will spread the resin crosswise and diagonally from initial track, using smooth and not so vicious strokes. I still have not acquired the skill of producing a perfect smooth surface, there will be still some waviness left, but the outcome has been significantly improved since I implemented this technique.

rullid

Radius fillets for bulkheads, keel and bunks…. PITA for me in first place as I tried to use radius tools cut out from plywood. Those are too inflexible, so suitable only for amateur builders blessed with Houdini genes.
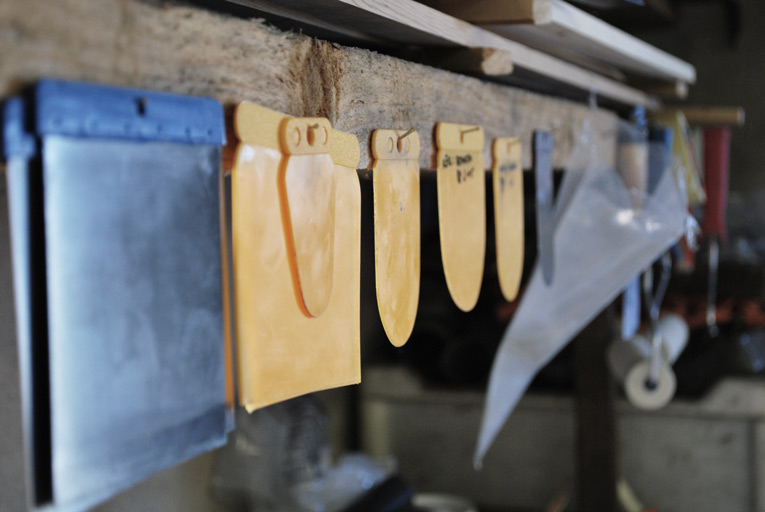
Also I found myself experimenting with radius tools cut out from the canisters of  car window washing liquid – too flexible… Finally I stumbled upon nice bright yellow plastic spreaders in construction store that I shaped onto desired radiuses. They work like a charm. Now I would sculpt those fillets until end of my days… Well kidding, two hull worth of radiuses will do fine 🙂

spreaders

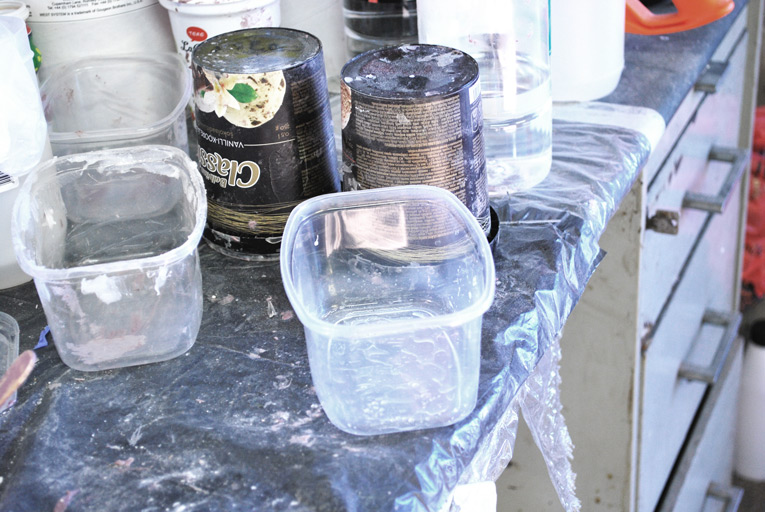
For mixing epoxy I found nice ice cream cups (black ones in the pic) which are very flexible and ductile, so most of the times I have succeeded in braking off cured epoxy after the work has done. Most of the times I would pour mixed epoxy into plastic can which is usually used by decent house wives for storing the raw cranberry jam in the deep freezer. This can has a bit more surface than a ice cream cup, so epoxy does not go off so quickly. It makes great utensil for mixing the fillers as well. Also reusable most of the times.

cups

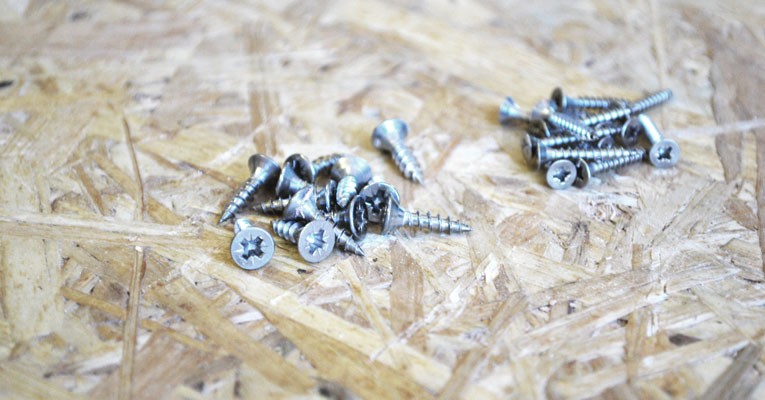
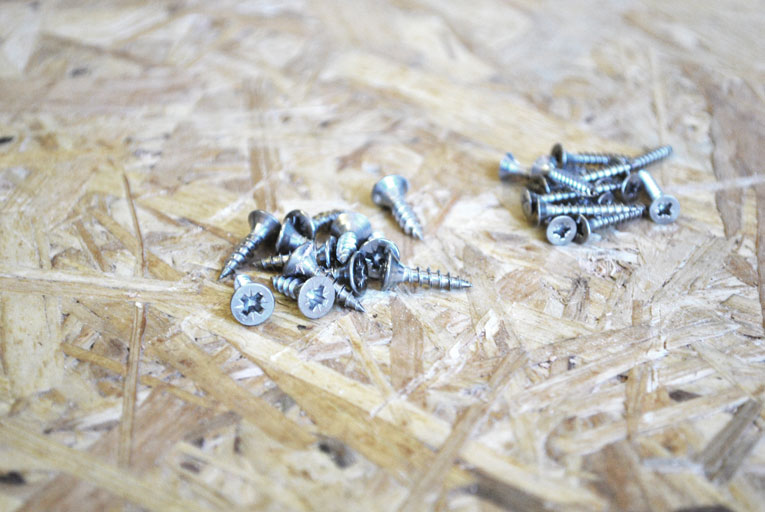
Gluing stuff… In one of my previous post I already explained why I deviated away from using copper nails as a temporary fasteners. So I went and bought a bunch of stainless steel screws. Stainless because I presumed that I may not retrieve all the screws after epoxy has cured. And the practice demonstrated that my assumption was not so wrong after all. Few of those scrawny screws (right on the photo) decided to stay in. Despite the fact that I had cleared the heads from clue with acetone rag, still some clue managed to spoil those tiny lobes. Lesson learned… so I abandoned those and started to use screws with bigger heads (in the middle of the photo). Those are 3mm diameter & 12 mm long and do the job.

kruvid

Last but not least – when messing around with epoxy or with random orbit sander don’t forget to wear a proper mask. I have 3M half-mask with detachable organic compound and dust filters, which I could combine depending the situation. 3M has a selection of masks in various sizes, so you can choose best fit for you. Im pretty pleased with one I got.

mask

extra fillets

Im not sure if its overkill, but I manufactured some nice minuscule fillets for covering the stitch holes of diagonal stiffeners. Fancy stuff, my friends.

bunks

Gluing bunks. Deviated from the building instructions a bit – I did not stitch the bunks, instead I went for temporary screws and some nice bricks. Also I did not loft the curvatures like Wharram suggest, therefore I took the measures in situ and cut out the bunks accordingly with strait edges against the broadsides. The camber of the broadsides leaves just a few millimeter wide gap between bunk and side, which would be easy enough to fill with thickened epoxy.

bunks

Fillets. After colloidal silica and epoxy mix has been cured next step was sculpting some nice radiuses (low density filler) for upper- and underside of the bunks. Later one made me wish I was born as a bat – a job not suitable for sweating out the hangover 😉
I waited until upper side radius was almost cured, then laid gently 100mm 175g glass tape, smoothing with light strokes of brush until it was leaning tight against surface after which epoxy was brushed over.

bunkTapes

PS! Peanut butter. If its not necessary to squeeze fillet into some narrow gap then peanut butter consistency would work best. It paid off to spend an extra minute to measure out the right consistency. At least for me.

pushing fillets

Today I filleted and glassed the stern, which means I have finished filleting bulkheads and keel. It took me about a week and lots of boat-yoga to finish this section of work.

I must admit that I did not overwhelmingly enjoyed this head down to the knees epoxy cooking… but nevertheless it is great pleasure to see how step by step those wobbling plywood panels shape up into a sturdy and beautiful boat… all done by my own two little pale hands 😉

And my condolences to this poor quay whose path may cross with this hefty stem fillet…

stemFillet


And again I can not get enough of those dare lines of Tiki’s – now all filleted and reinforced…

lines

reinforcing the keel

TIKI ITATAE – reinforcing the keel from AGUR VISUALS on Vimeo.

Today I continued with fillets. This time were the keel fillets in to-do list, those will be glassed as well.

I use West System 407 Low Density filler. For applying correct radius I produced plywood spatulas. But they are inflexible, so I guess I shall replace them with metal spreaders shaped in desired form…

Check out previous time lapse videos about stuffing the giant taco — starboard hull goes from 2D to 3D and filleting bulkhead radiuses.


stitch’n’glue thoughts

unstitched

Now as I have removed stitches of the diagonal stiffeners, I would like to share some notes on that. Cause God or Devil is in the details…

This was first time for me to perform such kind of gluing method and again I had to learn it by hard way how to make things easier.

So what I would like to point out first is that if you would like to glue all the stiffeners with single evening its better to have helper. One is stirring and spreading the glue and the other is stitching. Yes, one could install the wires to the hull prior glue spreading – but its pretty nuisance to spread the glue between those prickling wires, which will tear up one’s nitrine cloves pretty soon… Actually, when deploying the stiffeners it does no harm to wear leather cloves on top nitrine ones against the prickling ends of the wire.

What I also learned is, that when tightening the wire, its worth to pull it slightly away from the stiffener in same time – in this manner there seem more force transferring into tightening rather than braking the wire.

What you may also like to take special care of is drilling the holes – its better to have them right on the edge of stiffener, when they are inside from the line, its hard to remove the wire after the glue has cured. When the holes are too far away from the stiffeners edge then there could be a bit trouble in tightening.

Wharram suggest to drill small holes for stiffeners stitches (previously stitching the hull there was suggestion to have holes approx. twice the size of the wire) – and I can see that then you have much less epoxy surrounding the wire in the hole which makes wriggling the wire out much easier.

Wriggling – get a notch on that. It concerns the removal of the wires. I seldom used pliers to pull out the wires.

As with most of the other thousand things in life, its rarely the laboured force that helps to achieve your goals.

So take your time, snap the wire outside, bend it back straight, unwind other side and then start to slightly wriggle and turn the wire and when you feel grip of the epoxy starting to loosen then its time to pull wire smoothly out. And yes of-course, during the gluing process its smart to remove as much of excess epoxy as possible, no doubt on that.


longing for Doris

Universe rarely allows you to enjoy multiple pleasures simultaneously, thus the same with my cats. I had to exchange my ‘Dostojevskilik Doris’ to money in order to finance my Tiki 21 building.

So as summer finally sneaked in, I felt little sting in my heart… she rides so smooth, peek by yourself:

Topcat ‘Dostojevskilik Doris’ skimming over Haapsalu bay from AGUR VISUALS on Vimeo.

Doris is Topcat K3 and I could say without much of exaggeration that She has been finest daggerboardless beach cat I have ever owned or sailed. The simplicity of assembly, the ingenious kick-up rudder system which allows you to rise rudders vertically without subsequent weather helm. Which does not only make blasting over shallow water more safe, but is especially handy for solo sailing in strong and gusty wind. One can rose the leeward rudder blade in some amount (sometimes I rose a little bit of windward rudder as well). This calms the boat down little bit, so it does not heel so suddenly. And there will be not much of significant leeway as the boat goes fast in strong winds and therefore giving you enough inertia to play with when you are beating against the wind.

Ah yes, I have to mention those narrow profile hulls, that perform really well in beating against the wind on choppy seas. Based on my experience I could say that Topcat points much higher than other daggerboardless catamarans. Whether they would be Hobie 14, Hobie 16, Hobie 15, Hobie Wave, Nacra 570 or Dart 16 — beachcats that I have sailed.

tomcat gets acquaint with the cat

Well, first of all, as the saying goes…you ought to measure 7 times and then cut
1
f@£%!&ck, all the measures are in imperial units doubled with metric system!! it freaks out my inner dyslectic
2

Oh Sheit, here comes the X!
3

Anyway, at least I got 50 kg of EPOXY if anything goes wrong….
4

Ah well, it feels good to cut out the puzzle pieces… finally…
5

But its not only the double measures presented in imperial and metric units that mess up my mind… seems that we here in continental Europe have a slightly different concept about length of the 8′ standard plywood sheet as well… a 65mm difference… have to use my brain again 🙁 (Wharram have set some of the Tiki broadside measures using plywood length as a base).

6

Continue reading

semifinal

bhPrepared

Got cut out butt blocks, stem & stern posts, and all the bulkheads of both hulls. Epoxy coated starboard hull bulkheads are fitted with deck & cabin roof beams and bunk bearers. Now its left lots of elbow grease to measure and cut out the broadsides of both hulls.


few hundred meters of straight cuts

lumber

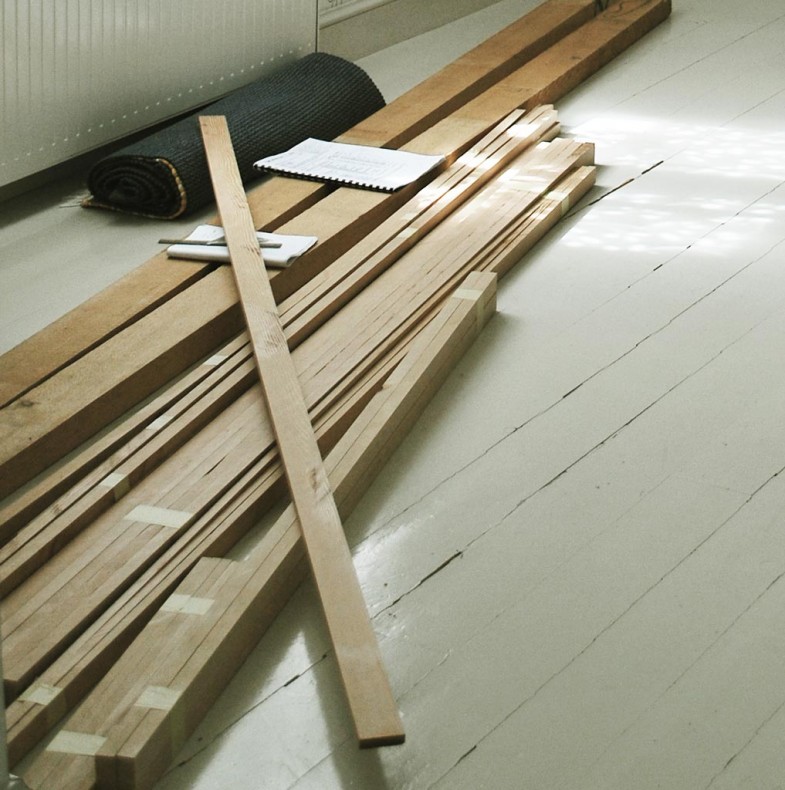
Few weeks ago I bought from Mass last pieces of Douglas-Fir needed to complete hulls. It means two 5,45m 105x52mm logs.

Im still missing pieces for the crossbeams: they need to be 3,81m long with cross section of 120x20mm. I have to hope a miracle on that!

Anyway, I had to use again lots of Veiko’s elbow grease to cut them in suitable battens and planks.

Thanks again Veiko and Jaanika! Your help is again appreciated a lot!

the garage

… the garage and the loose opportunity window

None of this would had been happened if Olev, Rauno and Ene hadn’t let me and those dozen plywood sheets, numerous pine strips and epoxy canisters down below of their house. In to the garage 🙂

Again, thank you for this!

ÄITÄH TEILE!

preparation

bulkheadPreparation

What can I say… preparation is crucial! No Im not kidding – weather it would be coating or gluing, 70% of the time it will be preparing the thingy into right mode.

What I have learned is:

* take your time and check the measures or you learn it the hard way 😉

* check the coherence of the fittings: are you gluing this fine looking piece of hand crafted wood to a place where it really belongs?

* write everything down on the pieces: which piece of wood would like to mate with certain part of ply and which side down it prefers do to this!

* draw the lines – it makes hell of easier to lay down the glue

* prepare all the stuff you need for gluing/coating: brushes, spreaders, rollers – all clean and ready to go… not to mention nitrine gloves , rags for cleaning, mixing cups & sticks… its much easier to have those in hand rather than dig around in your work bench and litter everything with uncured epoxy, believe me :);

* and a clock! yes exactly, a whatch: this is for keeping an eye on time during mixing of resin and hardener. I went for 45 seconds per squirt of resin/hardener in normal conditions, usually a bit longer. It is really easy to loose sense of time, especially when you are mixing your tenth cup of epoxy of the day and it is rather tempting to have much shorter minutes counting in your inner biological clock…;

* last but not least: if you are inexperienced, do yourself a favor and deal with small patches in first place! After you have acquired some experience with epoxy then you may have start bragging around with the stuff :);

gluing learning curve

bulkheadGlueing

Gluing deck beams to bulkheads. Using epoxy and microfibres (as its bare wood).

Lesson learned: nailing the thing down could be pretty messy – deck beam tends to slip from its desired position, pressure of the nails stays kind of uneven, there is constant threat of splitting the wood in the end of the pieces (poplar, Populus tremula, in this case) and finally it takes to much of hammer-power to drive those nails home and this is something you ought not want to to in the edges of narrow wood pieces. So I pretty much missed that later part, because furthermore it seems that if I will hammer fiercely, then all the remaining glue oozes out of the joint finally.  Ah yes, did I mentioned sanding – you have to get those copper nail heads and leftover nail tips in the other side pretty much even with surrounding surface in order to get decent outcome.

So, despite Wharram suggestion to use nails in gluing deck beams, butt blocks, sheerstringers etc., I decided to abandon the nails (as they are not structural elements anyway) and go for clamping or weights or using temporary screws, depending on situation. And as I mentioned in previous post I have gathered reasonable amount of wood clamps anyway.

PS! Only deck will be nailed to the hulls, as there are not any of intelligent solution for that, at least something that Im aware of.

PPS! Recently there was pretty intense discussion over the nails question in Wharram builders forum, jump the thread here.

clamps

Wood clamps… you can not possibly have them too many! I have them few dozens – bought them in several batches over a monthly period… so this investment does not hurt so much 🙂

miniTiki

minitiki

I executed my first experiment with epoxy. Its my miniTiki above.

I decided to use West System, which is not cheapest, but its manufacture line seems most coherent and of course because it is very well known and proven brand in wood-epoxy boat building world. For an amateur like me it makes lots of sense to acquire all the epoxy, hardener, fillers, glass and other various bits and pieces from one manufacturer. I found that application information (including video tutorials) was most easily to be found for West System products. Not to mention that here in Estonia there are not much of other brands in retail.

I got my stuff from Bang & Bonsomer Estonia, although they seem to deal mostly with big guys, they were most helpful and I got all the components needed to produce desired epoxy magic.

measuring tip

measures

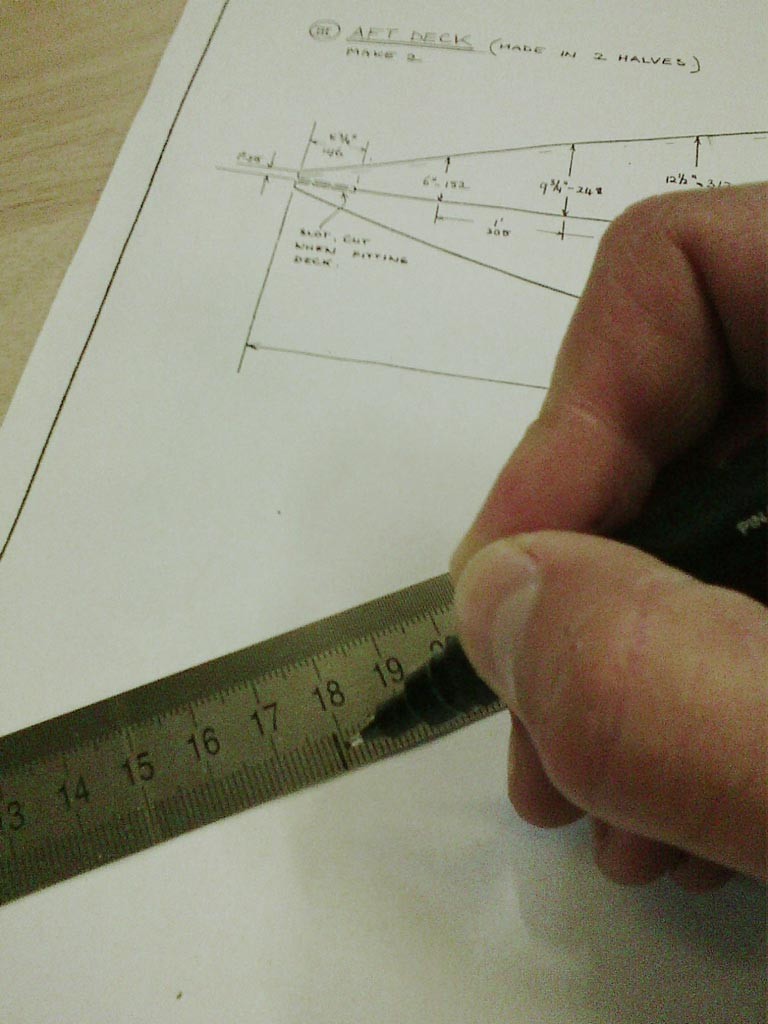
Here is little tip I used during lofting the bulkheads, broadsides etc. Check the measure from the plans, mark it on the ruler, transfer it on the wood. It frees up little bit of cache which you can use for double checking weather you mark the right measure onto the correct spot. After transferring the measure, wipe off the marker and continue with new number.

first wood stripes

Yesterday I spend more than few hours in Veiko and Jaanika workshop, stripping the first Douglas Fir plank into the desired battens. Some few hundred straight cuts we had executed on this day. Overall everything went quite well. One plank revealed a major resin pocket, but nothing catastrophic. And yes, Douglas-Fir has a very distinctive smell and on the circular saw it throws minuscule specks, so wearing a cloves and eye protection is a good idea if you have a habit to stare the process in close hand.

NB! I really appreciate your effort, friends!