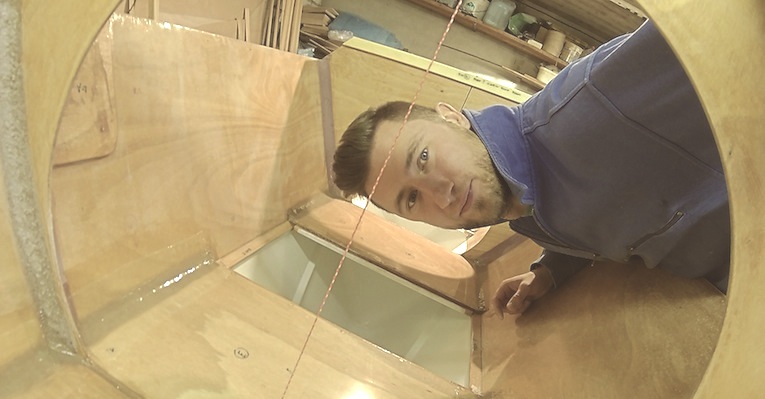
Read my face: three years in the garage and now…
PS! Arno, Ranno and Veiko – thanks for helping me with the mast trial 🙂


Read my face: three years in the garage and now…
PS! Arno, Ranno and Veiko – thanks for helping me with the mast trial 🙂
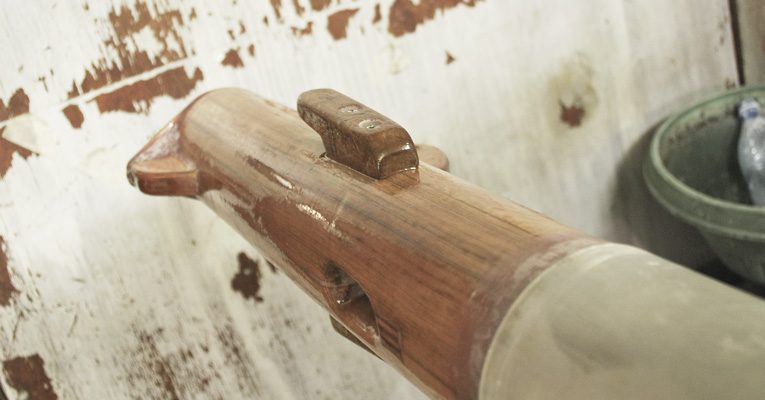
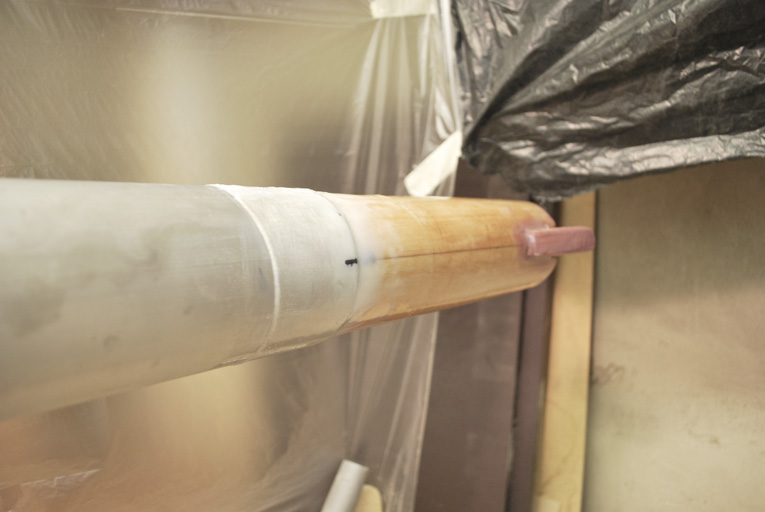
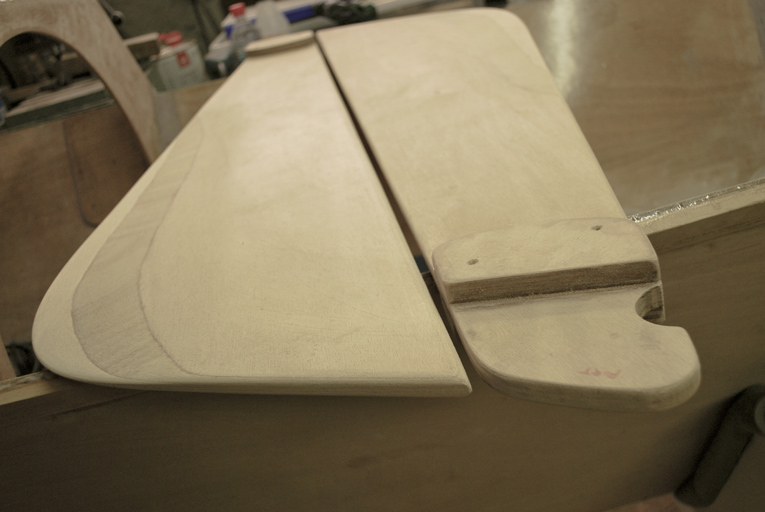
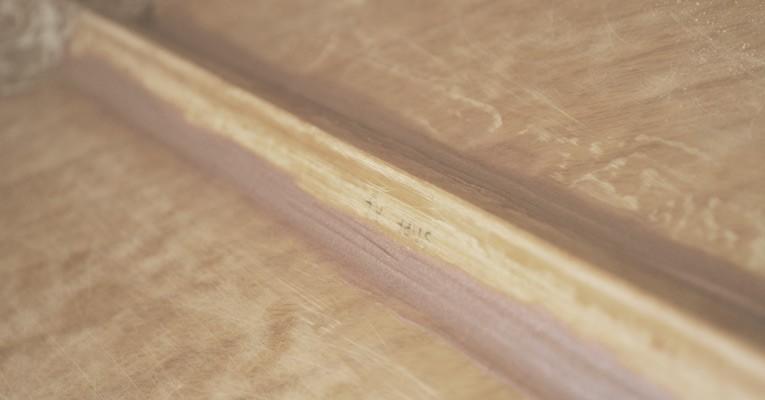
After couple of laborious days of planing-sanding-planing-sanding-swearing-sanding-planing-sweating-sanding-swearing-planing-sanding i finally managed to produce snugly fitting top and heel for the mast:
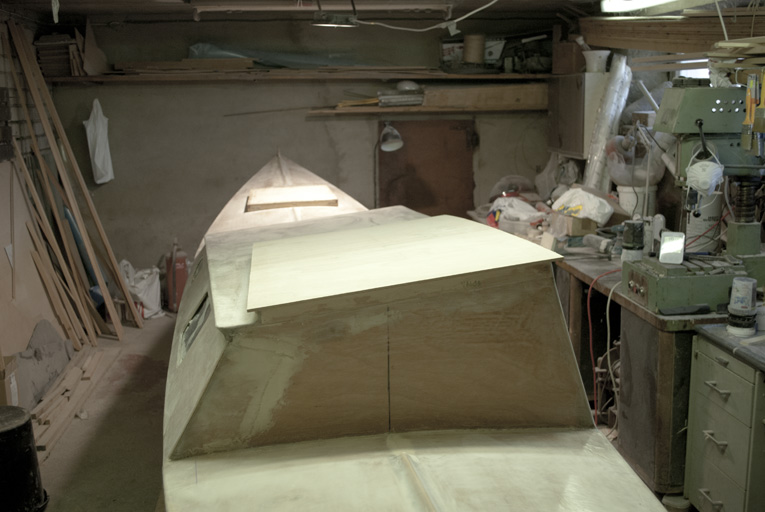
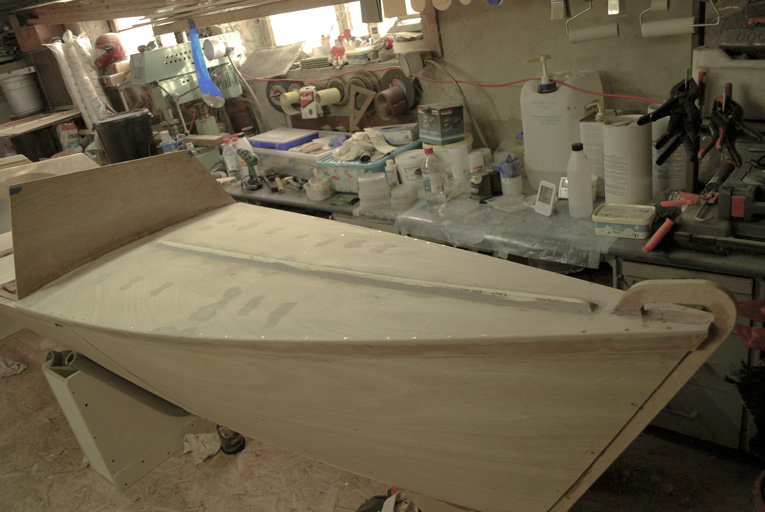
Port hull almost done, still lots to do…
… waiting in the list:
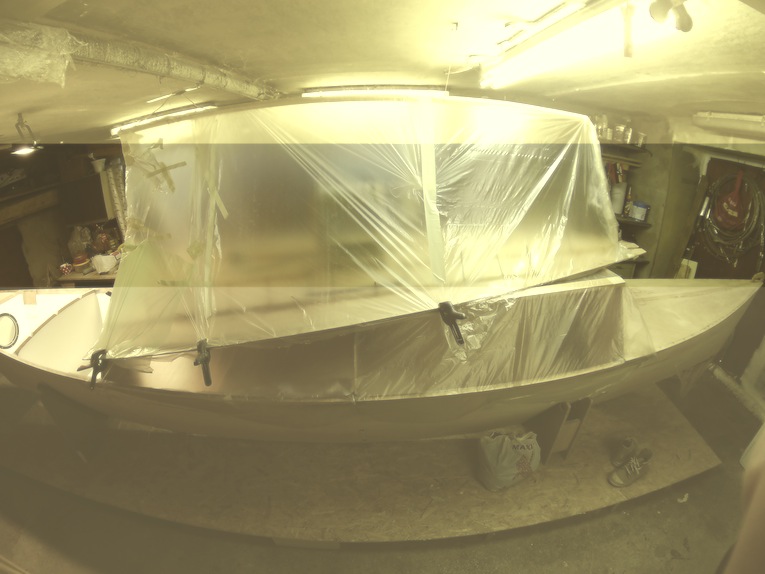
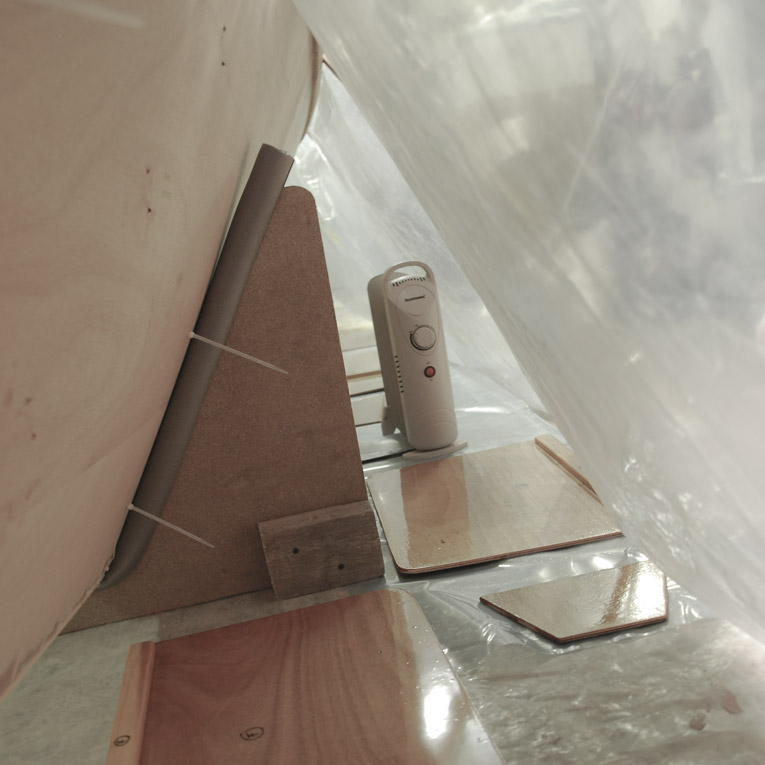
Those freshly glued front deck stringers got nice and cozy overnight stay under this i-love-to-hassle-with-masking-tape tent
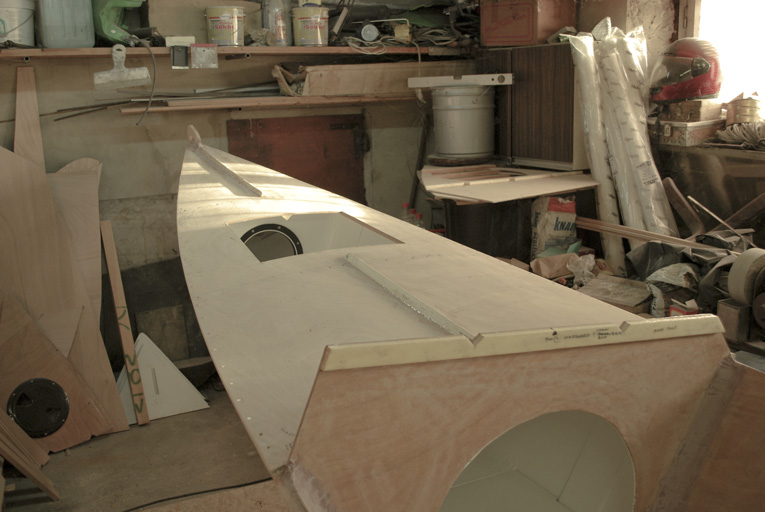
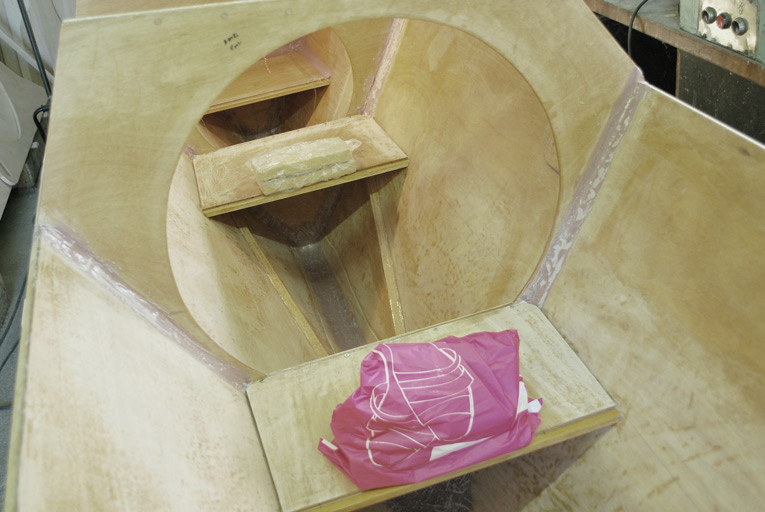
Bunks are ready for port hull. Now there will be some paint job (Tikkurila Temacoat RM40) and stringer job before gluing the decks on. Looking good, hopefully I could keep up the pace…
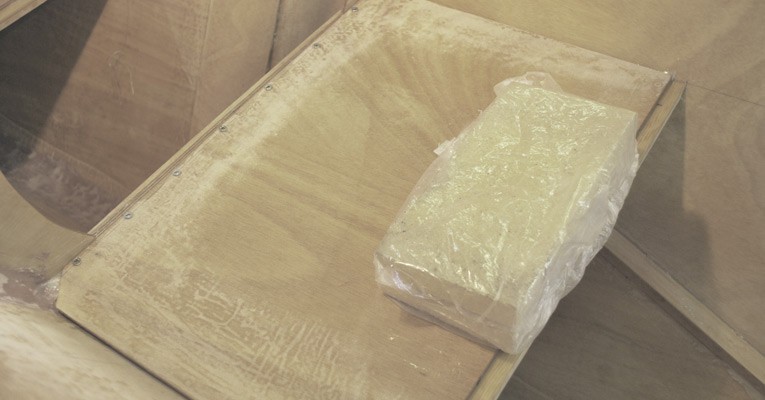
Epoxy cooking in winter conditions… coating bunk undersides.
There has been pretty few progress since port hull went 3D, but thanks to yesterday’s long hours in garage all the bunks and stringers are ready for next phase, which means a little bit of sanding and then painting underneath of bunks and watertight compartments as well, before gluing bunks in.
A fellow amateur Tiki builder Brad shared his experience in Southwinds magazine. Check out his story in page 44.
So… second hull got stitched up and yesterday I made some nice fillets for keel & bulkheads for 2 sections… I think its time to talk about little variations and changes I have made and plan to make into workflow, just to make whole process a little bit smoother and less time consuming.
Those modifications seem rather irrelevant, but again, when most of the (epoxy related) works are carried on by single person, then every little nuance start to play important role, especially those that help to reach results easier and faster.
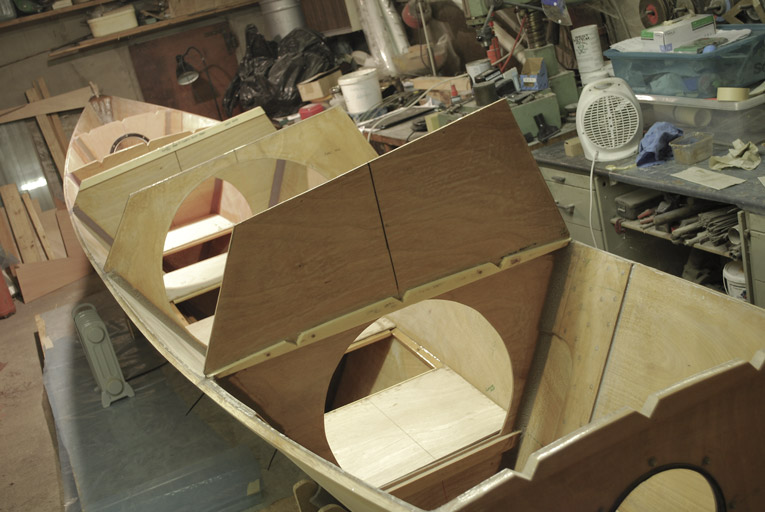
Port hull, all stitched up, with glued sheer stringers and additional bunk bearers.
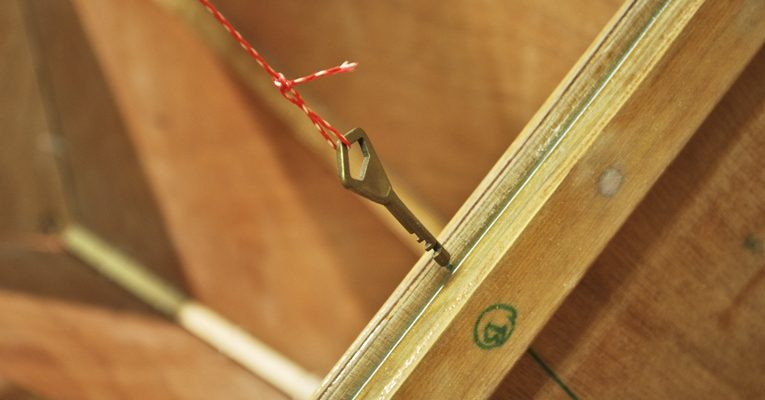
A key for levelling the hull.
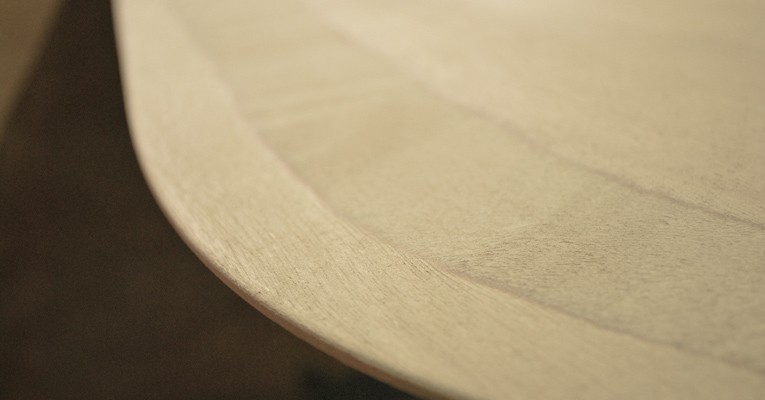
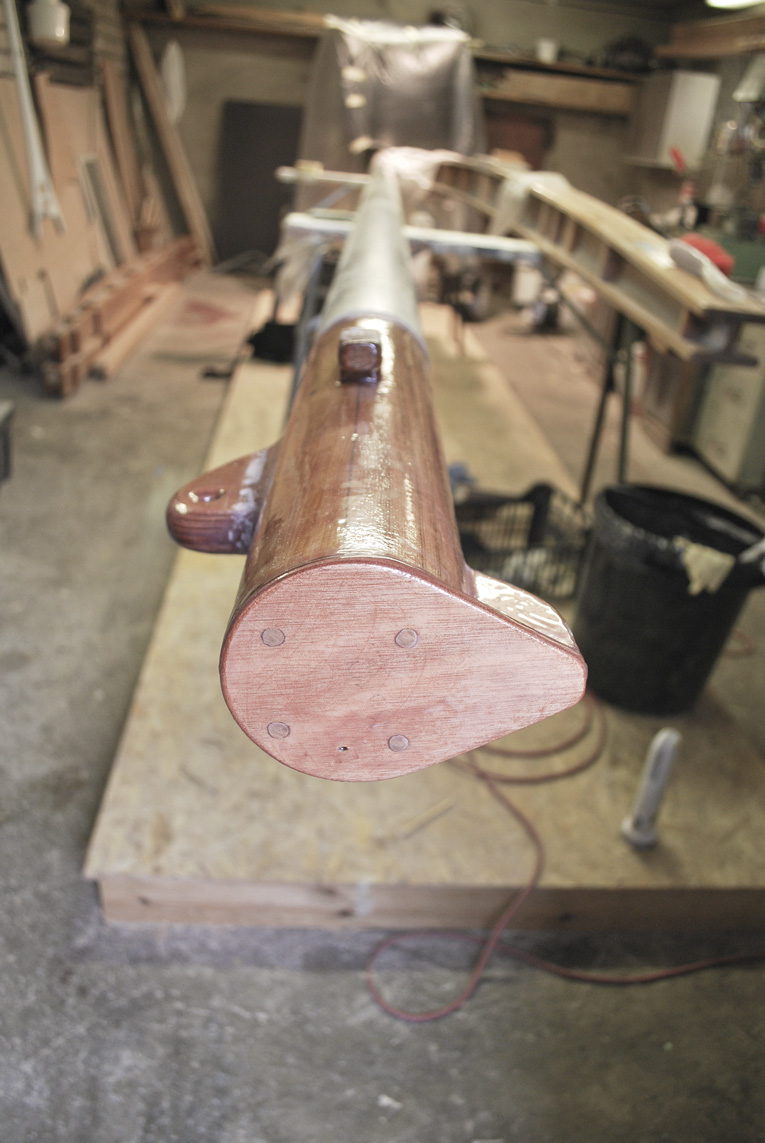
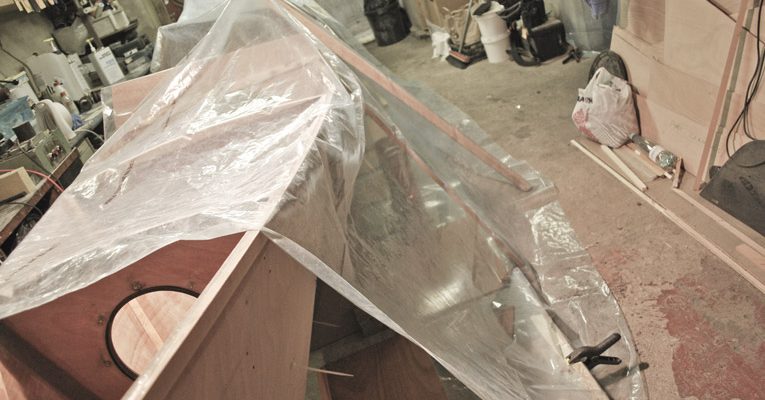
So before stinging cold from Russia struck… I managed to glue fore deck as well. Aft deck was done already in November.
Now both of them are glued, trimmed back and rounded, ready for next phase.
During nighttime it drops down to -20 Celsius outside and it takes too much effort to heat garage sufficiently for epoxy work, so I spend some therapeutic hours shaping and smoothing rudder blades. Hopefully there will be soon some nice warm lows dispatched from North Atlantic so I could resume to gluing work, which means attaching the cabin sides and top, small round fillets for deck stringers, fillets for holes left by temporary screws I used occasionally during deck works.

Meanwhile I have prepared decks for gluing, this means attaching the stingers, epoxy coating and painting undersides. Loathed paintjob… This Tikkurila Temadur is indeed a quite nasty stuff working in under-ventilated garage I have there, but since it sticks into epoxy pretty well I guess I have to be pleased with it, no intention to get lost in the poly-carbonates maze again…This time I made my life a bit easier and bought proper thinner as well, which means I do not have to worry about short pot life anymore and also I can avoid slight coagulating problems I had previously when I was working too slow.
Anyway what I have recognized is that I have hit the 400 hour benchmark already, since I have worked at least 16 hours per week during summer months and at least 8 hours per week during spring & autumn. By no means I would like to contest Wharram estimates, Im pretty convinced that one could relay Tiki 21 within 400 hour time frame whether he is highly skilled or just a novice bloke who is desperately in rush to get onto the water soon as possible.
In my case… well I haven’t been a prompt starter all of my life. I need to develop a kind of feel of the process, tools and materials, only when I’m certain that those fresh spread wings will carry I would dear to dive head fist into the matter. Otherwise there is high probability that I will mess something up completely.
I had to castrate my inner perfectionist pretty much in the start anyway.
But furthermore I’m still struggling to fully disclose this little universe boiling there down in the garage. I guess its rarely not just a boat building for numerous amateur comrades out there. Building a 21 foot catamaran isn’t just a pastime endeavor for most us novices, Im pretty sure.
It just means just too many countless hours of researching, watching YouTube wow-to videos, fearing, hoping, being paranoid over the measurements, recollecting, digging out rare materials, spending money to gadgets you cannot do without, buckling down eternity on your knees with jigsaw, spending agonizing hours in folded position like a maniac flamingo, trying to spread fillets, then sanding fillets, after which reshaping fillets again because you messed up little bit in first time, and then again you are sanding those fillets and then back again behind your computer trying to make sense of all those controversial advice, opinions, dogmas, principles and tricks served in forums, DIY videos and blogs. Your knees hurt, your legs let you down, those dozens of tiny muscles you haven’t been aware of so far, those hurt as well, your nostrils are clogged, as well your brain, it has gone off due a short circuit, that’s because constantly you had to use both hemispheres simultaneously.
So whats the point of all? Its not easy to find a straightforward answer to this, I guess its just constellation of many small, often invisible things, thin threads spinning into taut line which may make up your safety rope in the end. All you have to to is just grab it and see where it pulls, or from where it pulls you out…
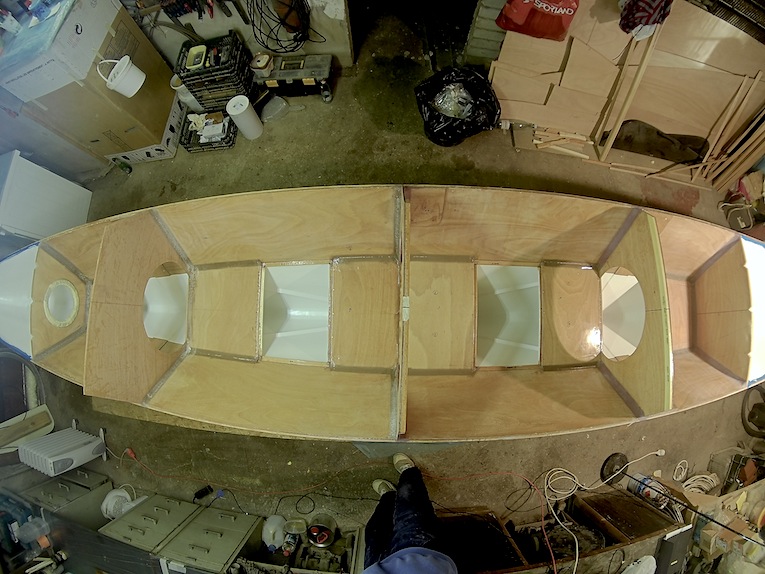
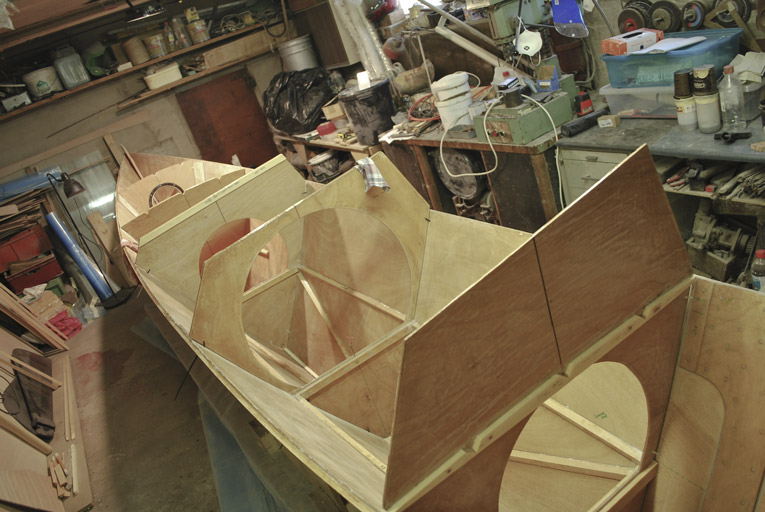
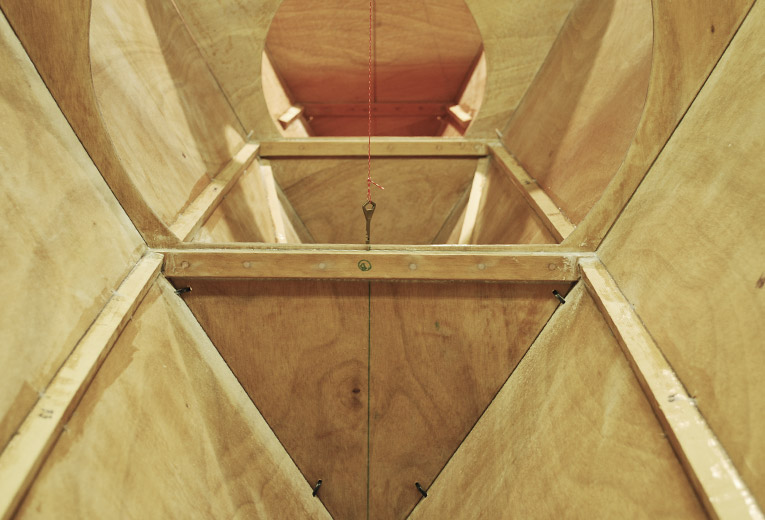
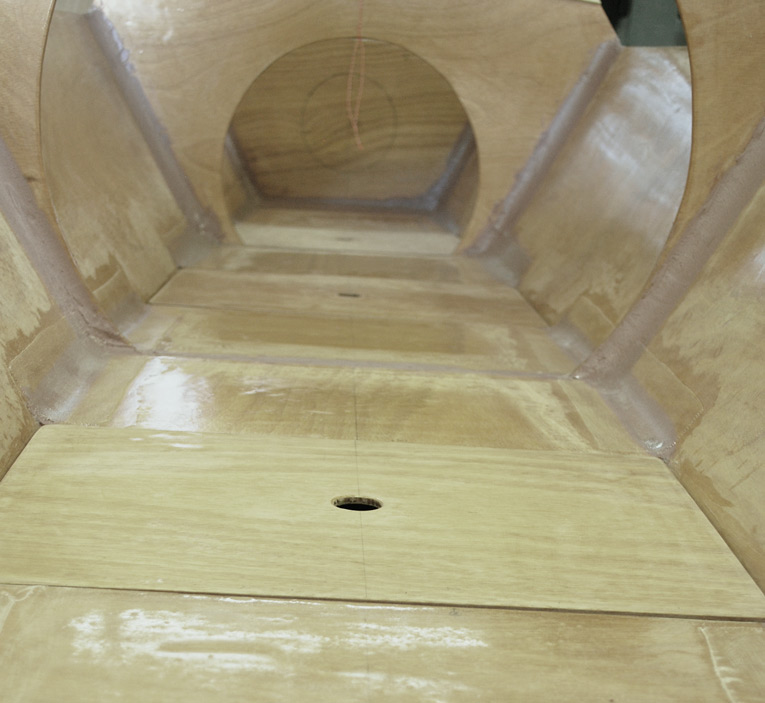
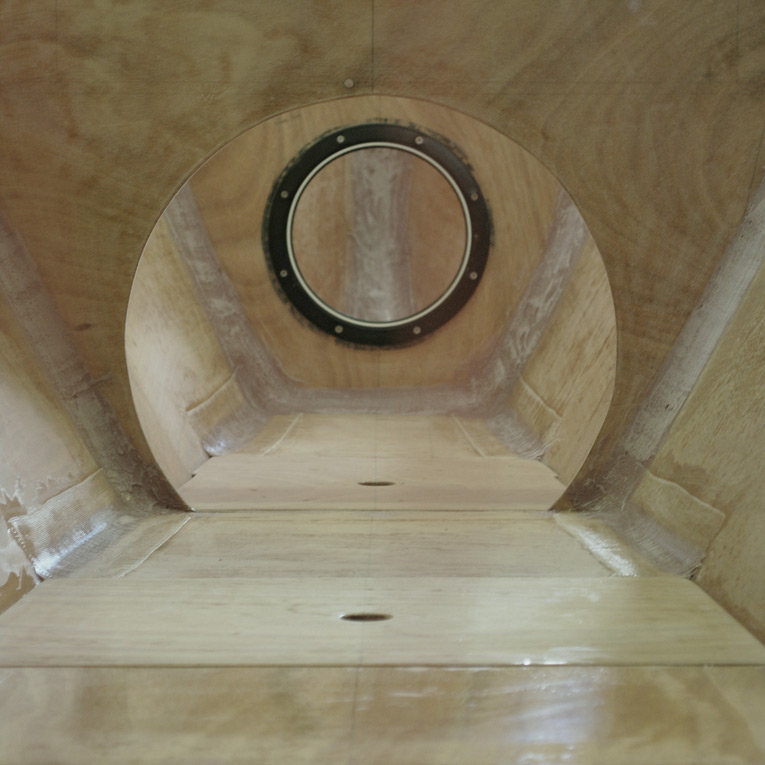
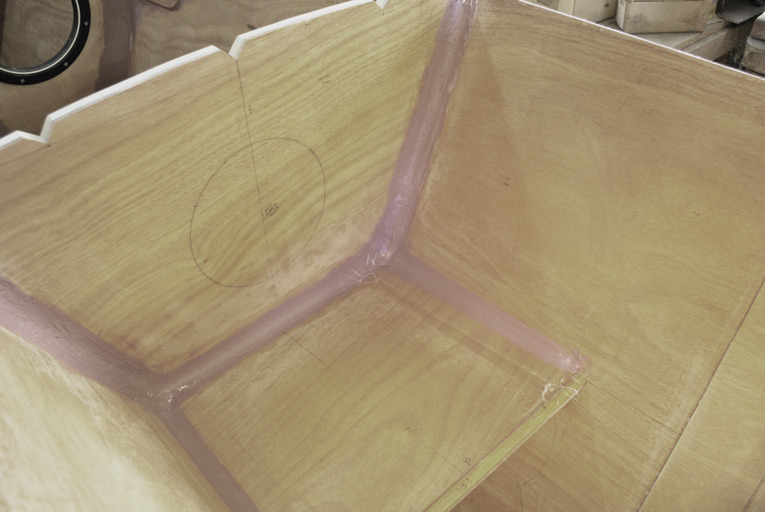
Attention please! Ladies and Gentleman, may I introduce you to your sleeping quarters.
A view towards stem…
… and towards stern
Please do not forget to admire those nice fillets that will make you feel comfortable and cozy while you are enjoying your stay!
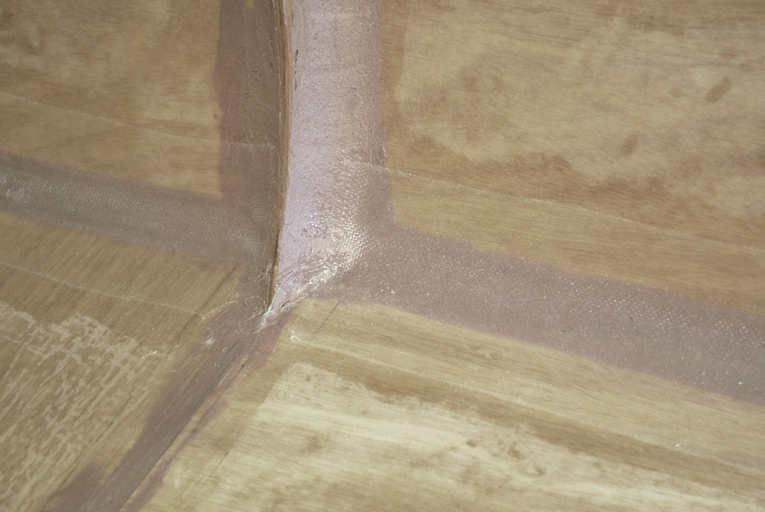
Im not sure if its overkill, but I manufactured some nice minuscule fillets for covering the stitch holes of diagonal stiffeners. Fancy stuff, my friends.
Gluing bunks. Deviated from the building instructions a bit – I did not stitch the bunks, instead I went for temporary screws and some nice bricks. Also I did not loft the curvatures like Wharram suggest, therefore I took the measures in situ and cut out the bunks accordingly with strait edges against the broadsides. The camber of the broadsides leaves just a few millimeter wide gap between bunk and side, which would be easy enough to fill with thickened epoxy.
Fillets. After colloidal silica and epoxy mix has been cured next step was sculpting some nice radiuses (low density filler) for upper- and underside of the bunks. Later one made me wish I was born as a bat – a job not suitable for sweating out the hangover 😉
I waited until upper side radius was almost cured, then laid gently 100mm 175g glass tape, smoothing with light strokes of brush until it was leaning tight against surface after which epoxy was brushed over.
PS! Peanut butter. If its not necessary to squeeze fillet into some narrow gap then peanut butter consistency would work best. It paid off to spend an extra minute to measure out the right consistency. At least for me.