After couple of laborious days of planing-sanding-planing-sanding-swearing-sanding-planing-sweating-sanding-swearing-planing-sanding i finally managed to produce snugly fitting top and heel for the mast:
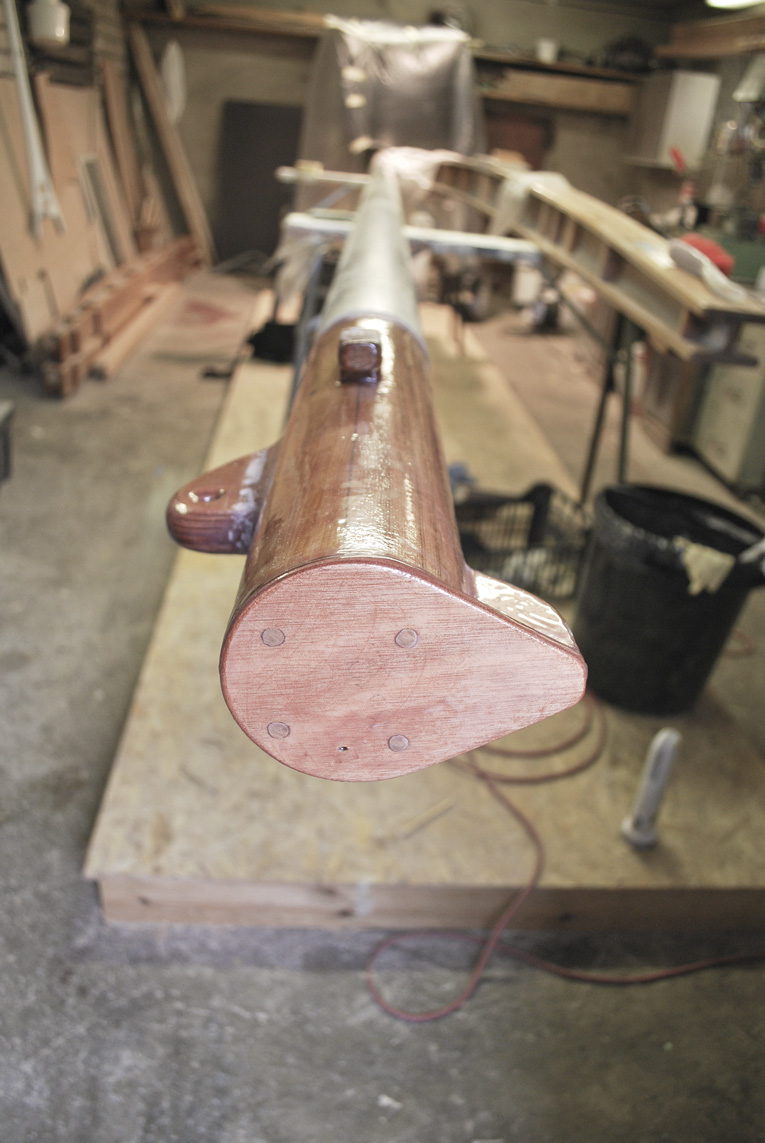
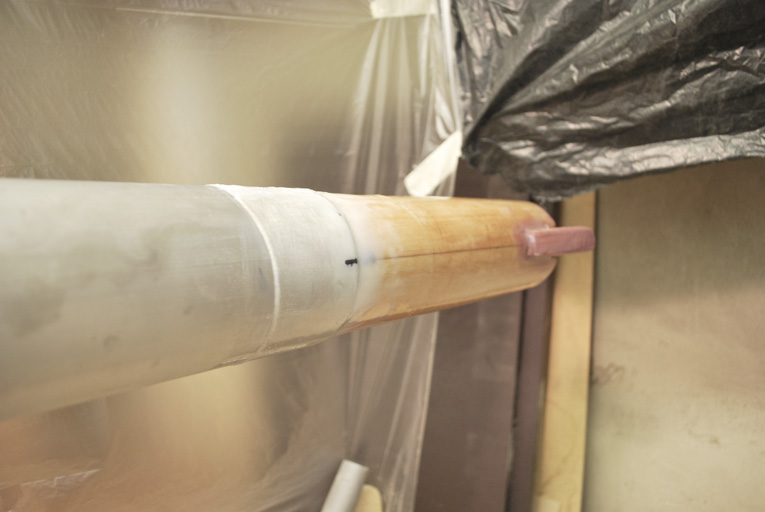


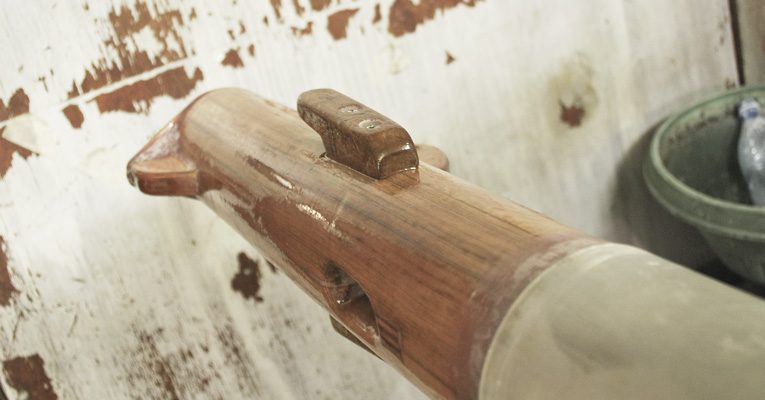
After couple of laborious days of planing-sanding-planing-sanding-swearing-sanding-planing-sweating-sanding-swearing-planing-sanding i finally managed to produce snugly fitting top and heel for the mast:
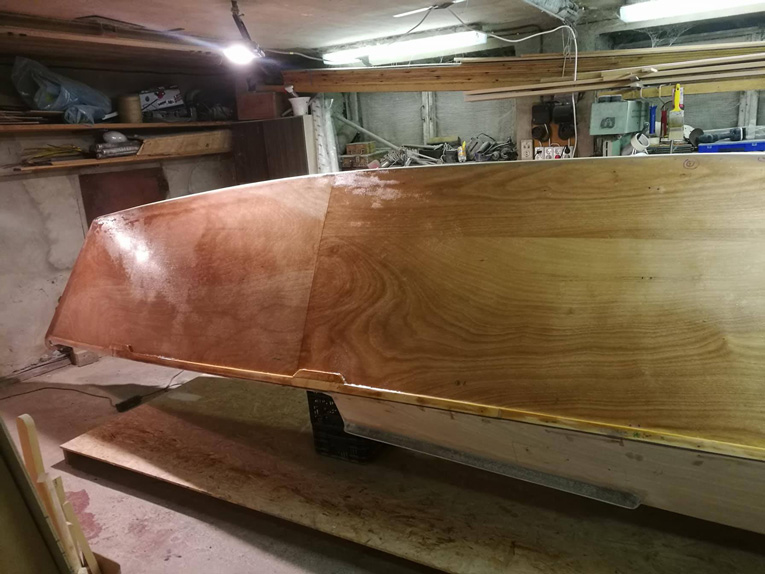
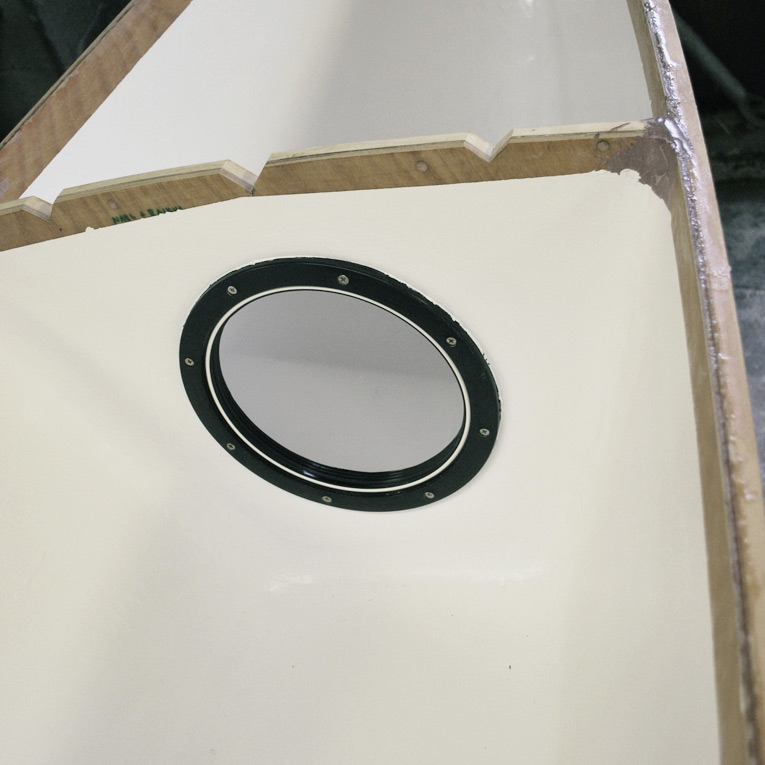
Its already August – soon enough nasty long, damp & dark winter will knock on the door… Still I have some glimpse of hope, as I finished port hull paint job — I only need to fit windows, main hatch hinges and rudders.
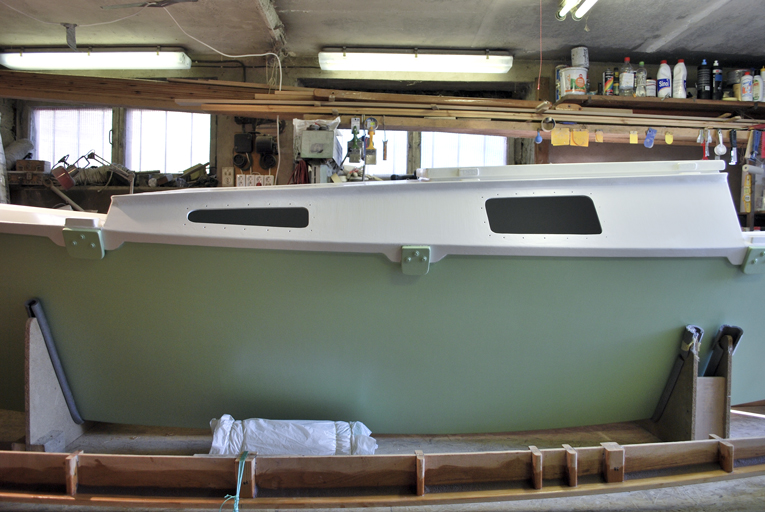
Port hull with fresh paintjob
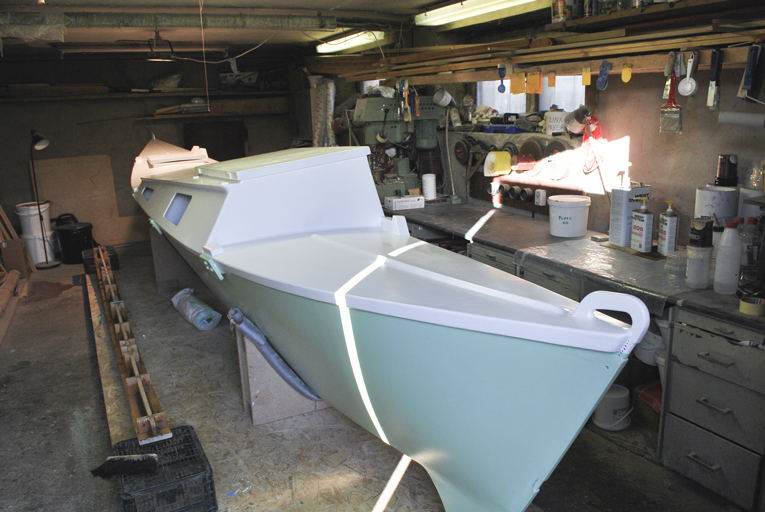
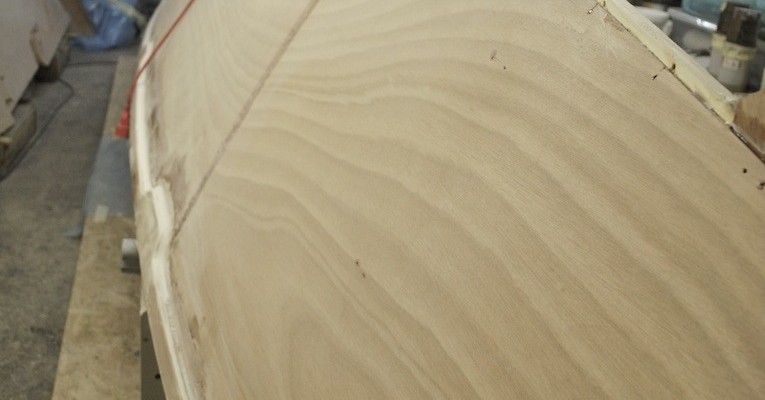
Just look at these neat curves 🙂
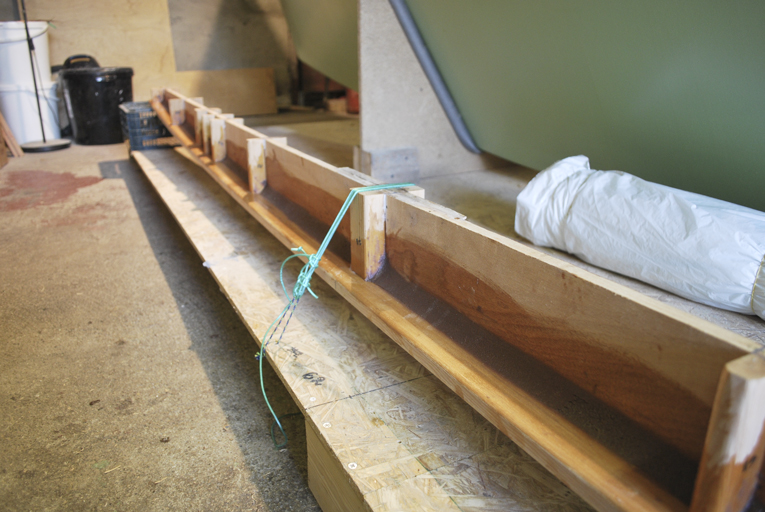
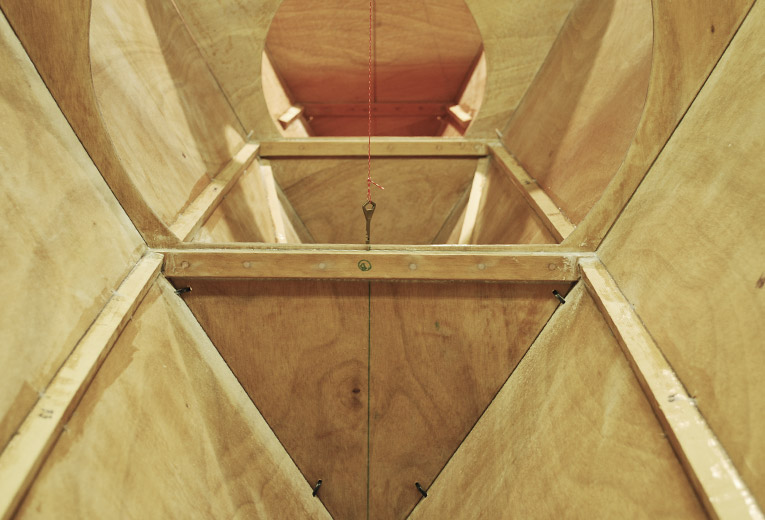
Just some few odd jobs left… here’s centre beam under pressure waiting epoxy to reach its final stage (slow hardener for gluing; 50% fast, 50% slow for fillets)

Starboard hull with its new paint (same as port hull — Tikkurila Temadur 20)
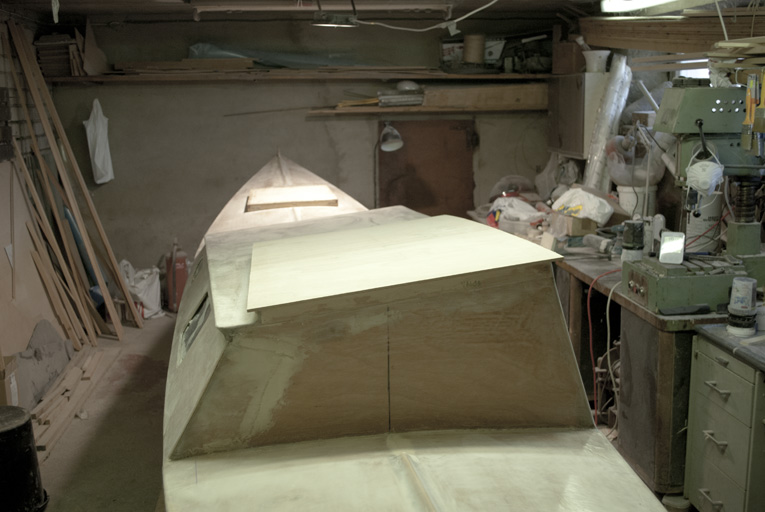
Port hull almost done, still lots to do…
… waiting in the list:
Hi folks, it has been a while, since my last blog post, but nevertheless Tiki project hasn’t stayed idle. Day by day Itatae has gathered some flesh into bones.
Here is latest report…

Taking time to smooth out the wrinkles makes it easier later.
Well thats nice, isnt it…

Last drops of epoxy and last bits of glass joined with painstaking care 😛
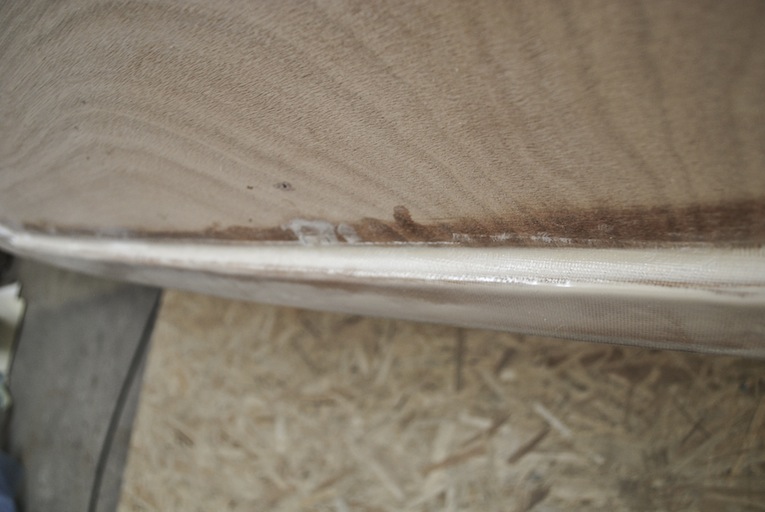
Hefty overhang for stem (trimmed later with carpet knife before resin is fully set)
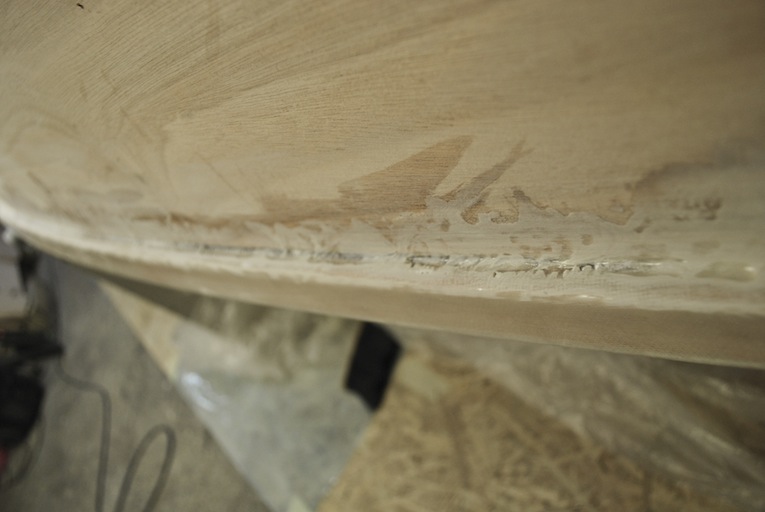
Finshed product.
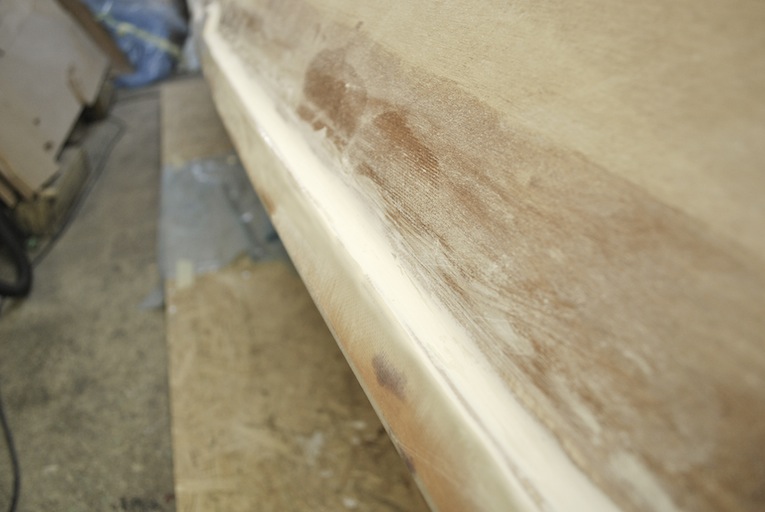
Finshed product with Microlight filler coat.
Back on heels.

She will look nice, doesn’t she…
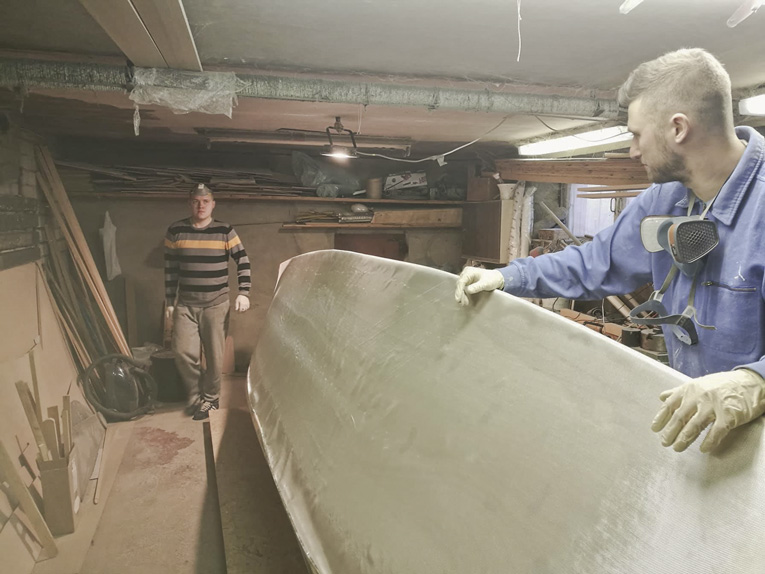
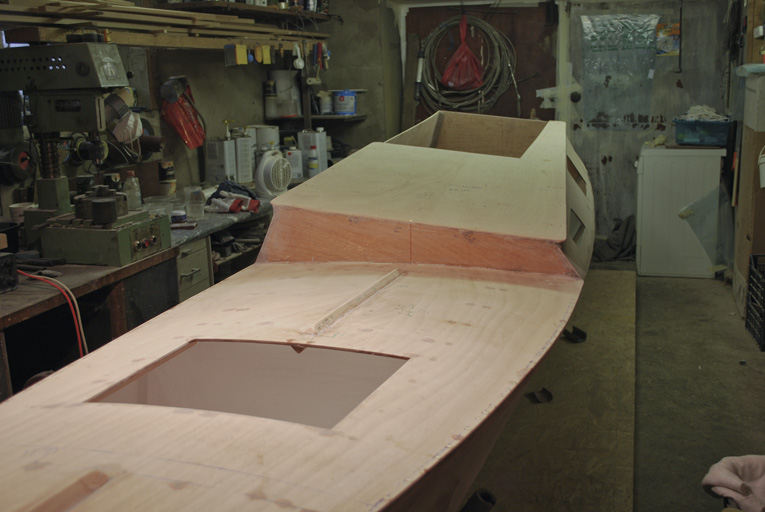
With extra pairs of helping hands it was rather pleasing act to glue on the forward deck.
Thanks a lot, mates!
Bunks are ready for port hull. Now there will be some paint job (Tikkurila Temacoat RM40) and stringer job before gluing the decks on. Looking good, hopefully I could keep up the pace…
Epoxy cooking in winter conditions… coating bunk undersides.
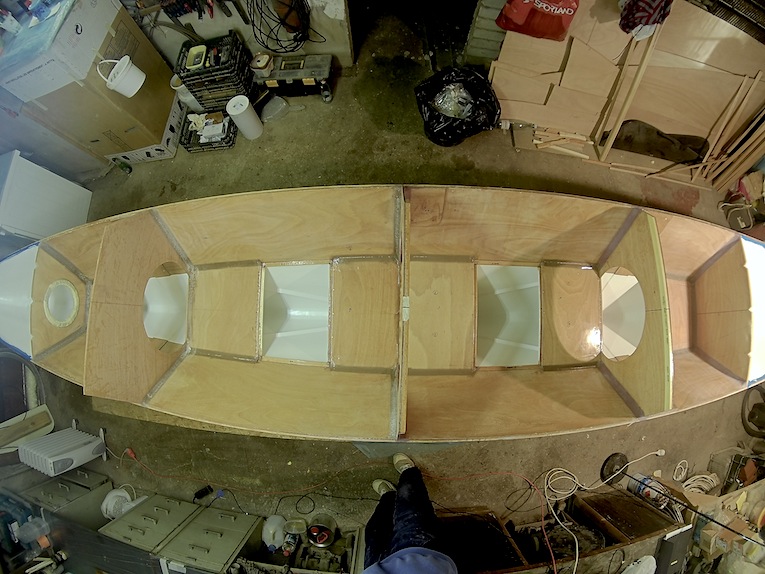
There has been pretty few progress since port hull went 3D, but thanks to yesterday’s long hours in garage all the bunks and stringers are ready for next phase, which means a little bit of sanding and then painting underneath of bunks and watertight compartments as well, before gluing bunks in.
A fellow amateur Tiki builder Brad shared his experience in Southwinds magazine. Check out his story in page 44.
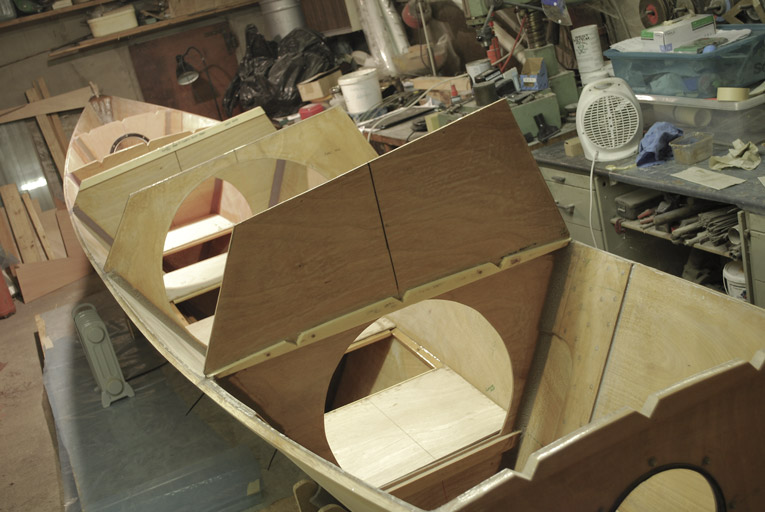
So… second hull got stitched up and yesterday I made some nice fillets for keel & bulkheads for 2 sections… I think its time to talk about little variations and changes I have made and plan to make into workflow, just to make whole process a little bit smoother and less time consuming.
Those modifications seem rather irrelevant, but again, when most of the (epoxy related) works are carried on by single person, then every little nuance start to play important role, especially those that help to reach results easier and faster.
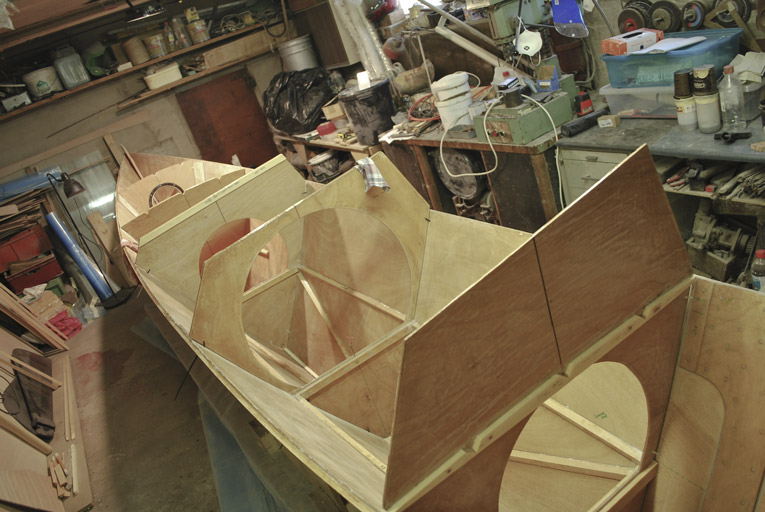
Port hull, all stitched up, with glued sheer stringers and additional bunk bearers.
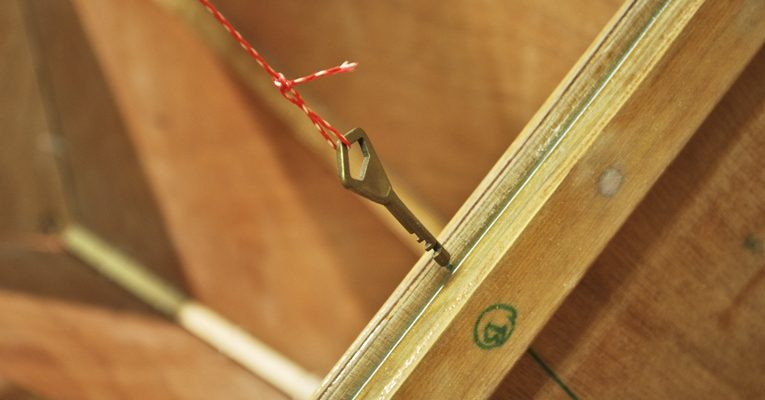
A key for levelling the hull.
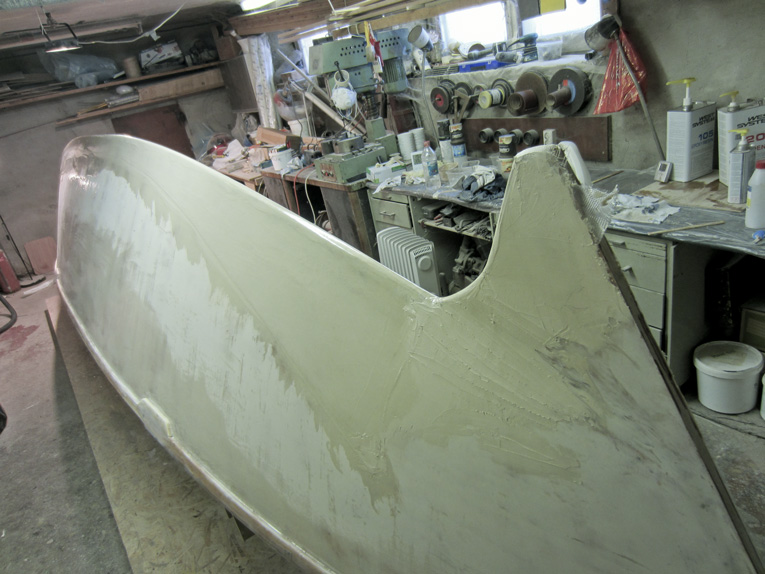
Starboard hull waiting for some sanding and then paint job and off you go… (… I need to figure out how to configure jib sheet block attachment and main hatch locking system, though…)
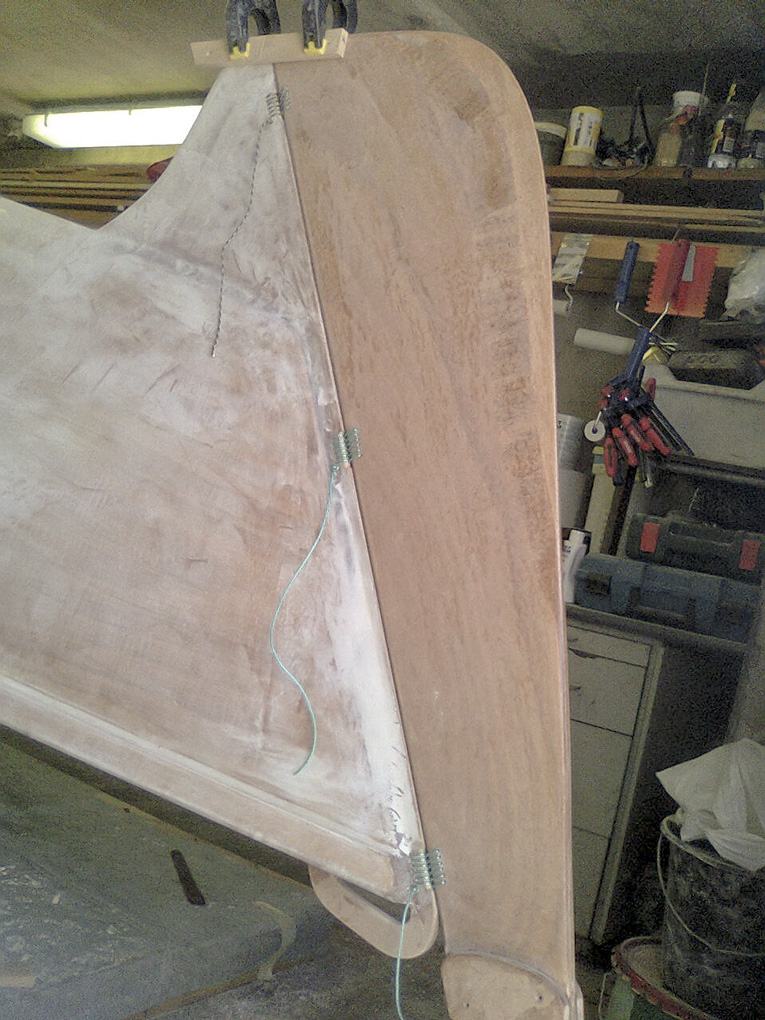
So, hull sides got finally glassed, therefore I decided to reward myself with little rudder play.
Here is shot from trial fitting of rudder lashings.
I like those simple & genius rudder fittings… There is some kind of primal pleasure in splicing rudder to the stern… and not paying some extra silver for expensive rostfrei attachments….
Dear Diary,
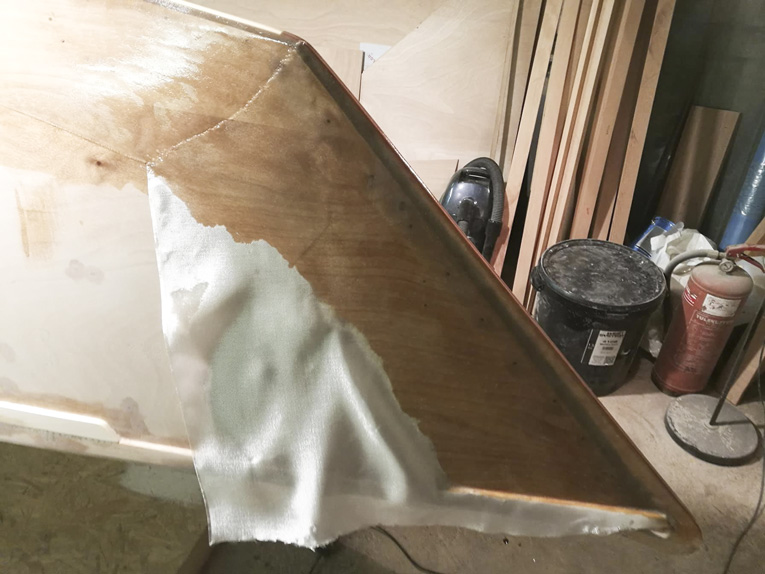
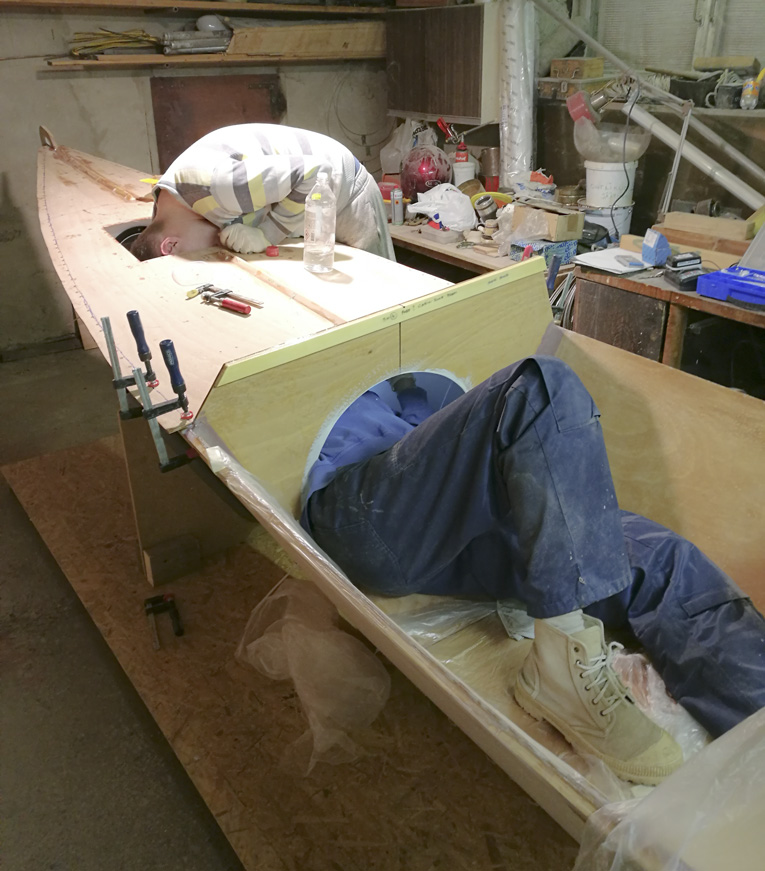
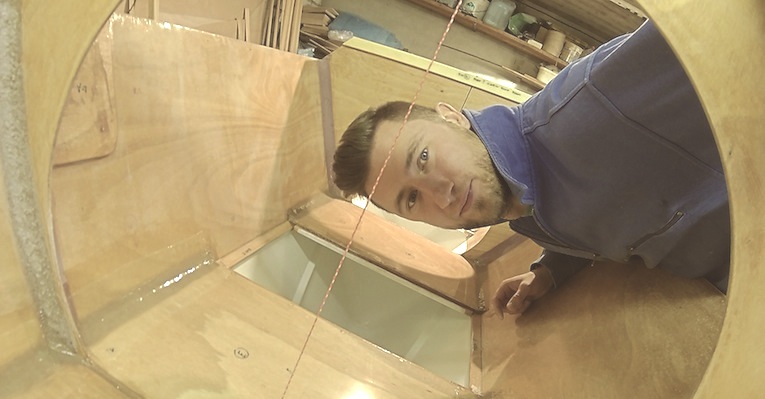
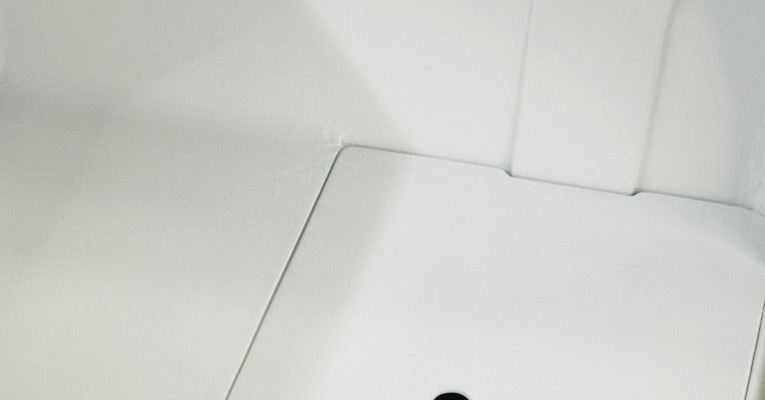
it has been long time since I last wrote to you… but, still, there have been some advancement in the Garage. What I managed to achieve is — despite of too cold spring (bad for epoxy cooking) and too hot early summer (hard to stay put in shady garage) — gluing coaming for main hatchway and constructing main hatch, glassing topsides of the hull (decks and cabin). Later process has been pretty emotional :p — getting glass over the upper deck stringers without air bubbles and sticking it onto underside of the sheerstringer was business that one may call PITA. Nevertheless, work itself is the best teacher and when I finally got into glassing the forward deck I managed to execute the process with minimal losses i.e. decently smooth finish, which requires minimal sanding later on.
So lets have a quick glance of the mess I have created (hull is turned so we could have a clear view of the sight).
1. exhibit A
– after fiberglass on deck and sides of the sheerstringer was wetted, next move was to try tap it into place underside of the sheerstringer using a brush. With not much of luck. Things got under control when I brushed undersides over with epoxy and WS Microlight filler.
Note that I have already covered up some of the traces (using good old elbow grease and 60 grit sandpaper).
2. exhibit B
– so here you can see me trying to get glassfiber down from cabin sides stick to underside of the sheerstringer, but this time, I didn’t cut the glass flush with the corner – instead I let the epoxy set for a while, then after it got really sticky, I removed the excess and applied fillet (Microlight) right a way on top of it.
Again, this evidence have had some touch ups already.
3. exhibit C
Well now I can be proud of myself and honor my humble figure with Distinguished Service Order as I demonstrated unprecedented capability to evolve and learn from past mistakes whereas this time (forward deck) I produced nice and neat fillets (Microlight) and let them set semi-hard before I moved to sheerstringers undersides with glassing. I removed the excess of the fiberglass just before applying saturation coat (mixed again with Microlight to avoid sagging).
PS! Decks and cabin sides saturation coat were thickened with Microlight, which is rather easy to work with (whether applying or sanding it).
So now the itinerary offers me adventure down under – fillets around the keel, aft deck sheerstringer undersides, stem & stern, sanding, fiberglass tape, sanding, glass for one side, sanding, glass for other side, sanding again…

Meanwhile I have prepared decks for gluing, this means attaching the stingers, epoxy coating and painting undersides. Loathed paintjob… This Tikkurila Temadur is indeed a quite nasty stuff working in under-ventilated garage I have there, but since it sticks into epoxy pretty well I guess I have to be pleased with it, no intention to get lost in the poly-carbonates maze again…This time I made my life a bit easier and bought proper thinner as well, which means I do not have to worry about short pot life anymore and also I can avoid slight coagulating problems I had previously when I was working too slow.
Anyway what I have recognized is that I have hit the 400 hour benchmark already, since I have worked at least 16 hours per week during summer months and at least 8 hours per week during spring & autumn. By no means I would like to contest Wharram estimates, Im pretty convinced that one could relay Tiki 21 within 400 hour time frame whether he is highly skilled or just a novice bloke who is desperately in rush to get onto the water soon as possible.
In my case… well I haven’t been a prompt starter all of my life. I need to develop a kind of feel of the process, tools and materials, only when I’m certain that those fresh spread wings will carry I would dear to dive head fist into the matter. Otherwise there is high probability that I will mess something up completely.
I had to castrate my inner perfectionist pretty much in the start anyway.
But furthermore I’m still struggling to fully disclose this little universe boiling there down in the garage. I guess its rarely not just a boat building for numerous amateur comrades out there. Building a 21 foot catamaran isn’t just a pastime endeavor for most us novices, Im pretty sure.
It just means just too many countless hours of researching, watching YouTube wow-to videos, fearing, hoping, being paranoid over the measurements, recollecting, digging out rare materials, spending money to gadgets you cannot do without, buckling down eternity on your knees with jigsaw, spending agonizing hours in folded position like a maniac flamingo, trying to spread fillets, then sanding fillets, after which reshaping fillets again because you messed up little bit in first time, and then again you are sanding those fillets and then back again behind your computer trying to make sense of all those controversial advice, opinions, dogmas, principles and tricks served in forums, DIY videos and blogs. Your knees hurt, your legs let you down, those dozens of tiny muscles you haven’t been aware of so far, those hurt as well, your nostrils are clogged, as well your brain, it has gone off due a short circuit, that’s because constantly you had to use both hemispheres simultaneously.
So whats the point of all? Its not easy to find a straightforward answer to this, I guess its just constellation of many small, often invisible things, thin threads spinning into taut line which may make up your safety rope in the end. All you have to to is just grab it and see where it pulls, or from where it pulls you out…
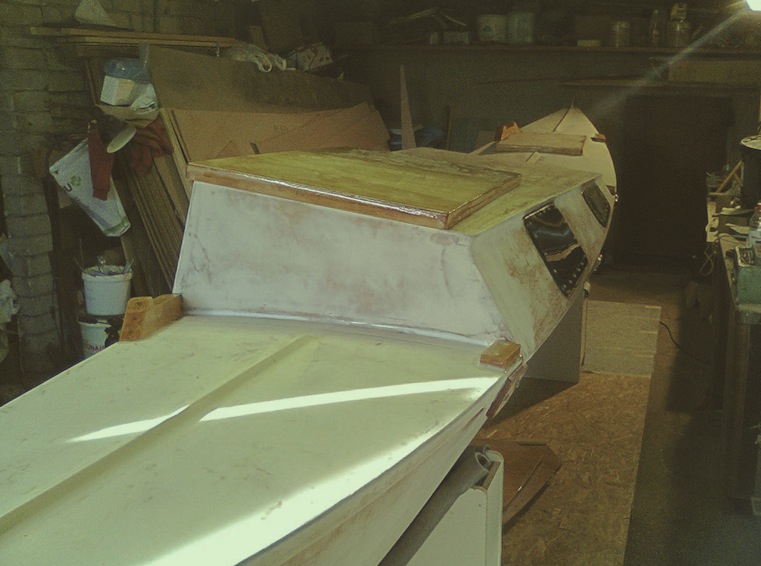
Spend some fumy hours in garage and painted 2 stern & 3 stem sections. When deck is fitted it would take Houdini to paint those afterwards.
My choice of weapons is based on local knowledge (advice from recognized boat builder & ice sailing enthusiast Vaiko Vooremaa). So I went for white Tikkurila Temadur 20, which is semi-matt two-component polyurethane paint. This smelly magic has a MED (Marine Equipment Directiv) approval, which means if decrypted that from now on I could store in those compartments pretty hostile substances – from chicken manure to nuclear waste if I may happen to cruise around Fukushima. I have brushed this vigorous stuff 3-4 thin subsequent layers… so I could pull this Fukushima plan off indeed.
The result isn’t worth of presenting in Louvre, but compartments future lodgers, like coils of rope, spare sails and corned beef hardly ever have possessed spectacular taste for fine art.
PS! After spending few sweaty afternoons in workshop with polyurethane paint I started to understand the compassionate look of the color shop dealer when I told him that: no I do not have a paint-gun, nor do any of my friend does not have this fine gadget, and yes, Im gonna use just a brush and solid determination of honey badger with hypomanic disorder.

Some tweets about stuff I have used.
First, spreading the epoxy… for a large surfaces, like broadsides I found pretty convenient to use wallpaper spreading rolls. You have to clean them thoroughly afterwards, though.
Yes comrades, I sure did experiment with various rollers available in housing stores and none of them satisfied me enough (maybe those fancy West System roller set 800 & 801 would give a more fancier outcome). I found myself experimenting with plastic spreaders likewise, but not so much of success, as resin tend to turn kind of foamy…
Bulkheads, bunks, stiffeners etc has been coated with using brushes. With a certain amount of trial & error I finally kinda get the knack: first I pour out a resin trail, then brush it longitudinally with rather strong strokes (with divaricate bristles) subsequently I will spread the resin crosswise and diagonally from initial track, using smooth and not so vicious strokes. I still have not acquired the skill of producing a perfect smooth surface, there will be still some waviness left, but the outcome has been significantly improved since I implemented this technique.

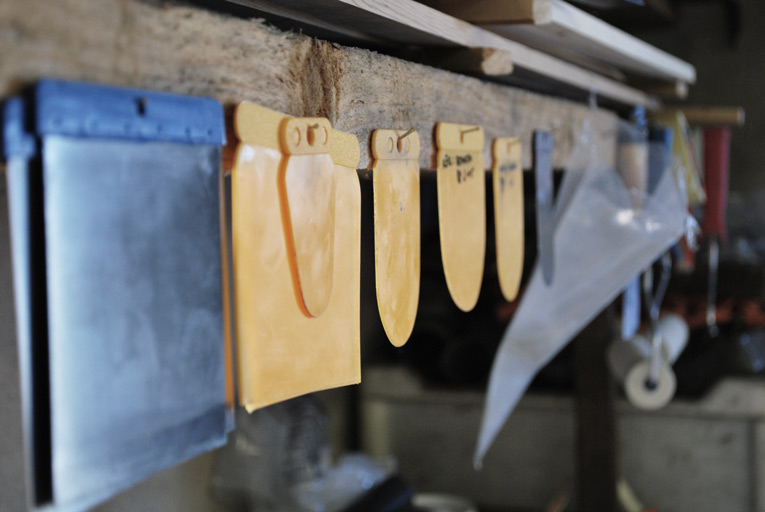
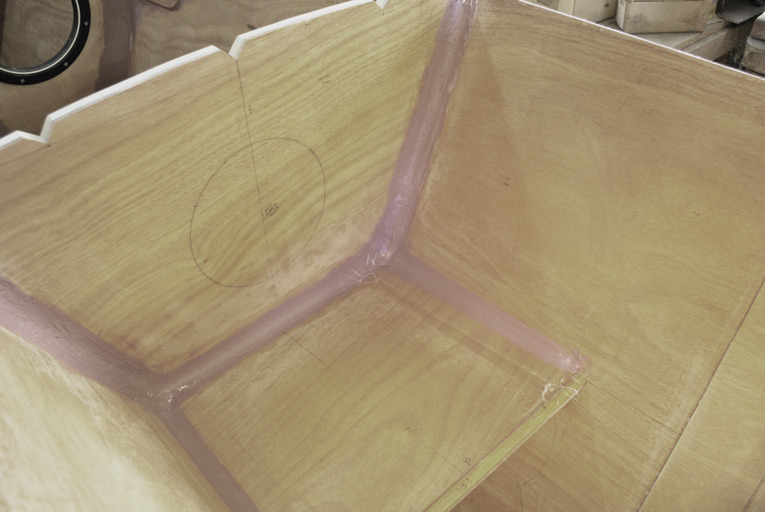
Radius fillets for bulkheads, keel and bunks…. PITA for me in first place as I tried to use radius tools cut out from plywood. Those are too inflexible, so suitable only for amateur builders blessed with Houdini genes.
Also I found myself experimenting with radius tools cut out from the canisters of car window washing liquid – too flexible… Finally I stumbled upon nice bright yellow plastic spreaders in construction store that I shaped onto desired radiuses. They work like a charm. Now I would sculpt those fillets until end of my days… Well kidding, two hull worth of radiuses will do fine 🙂
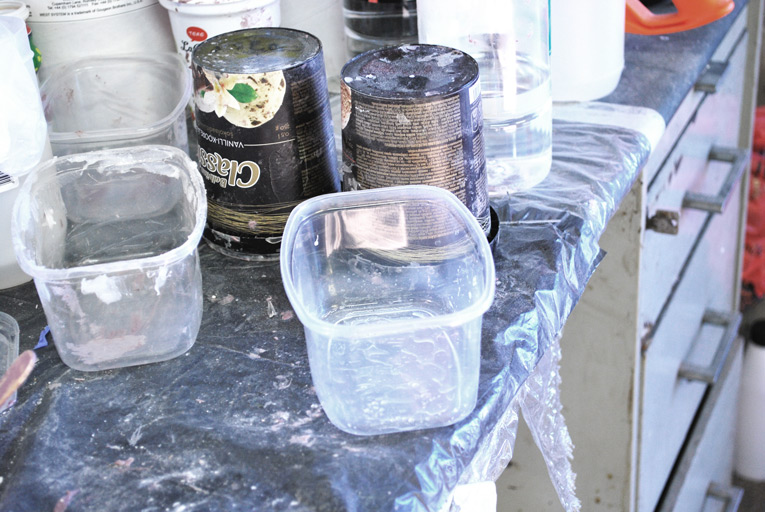
For mixing epoxy I found nice ice cream cups (black ones in the pic) which are very flexible and ductile, so most of the times I have succeeded in braking off cured epoxy after the work has done. Most of the times I would pour mixed epoxy into plastic can which is usually used by decent house wives for storing the raw cranberry jam in the deep freezer. This can has a bit more surface than a ice cream cup, so epoxy does not go off so quickly. It makes great utensil for mixing the fillers as well. Also reusable most of the times.
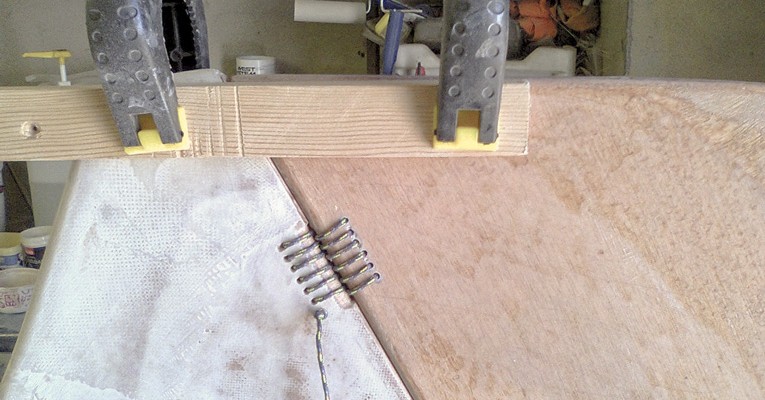
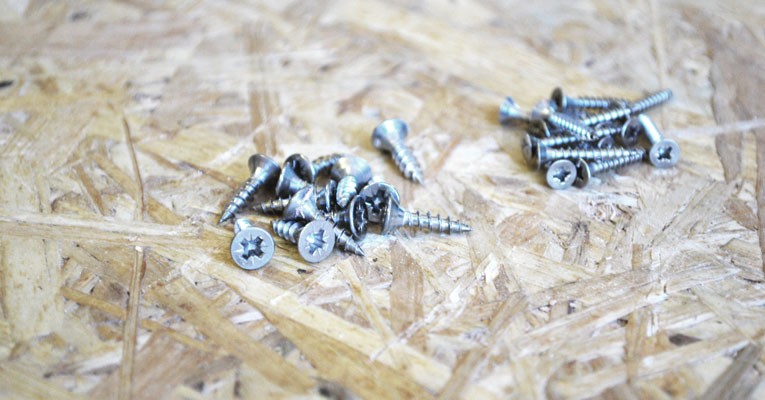
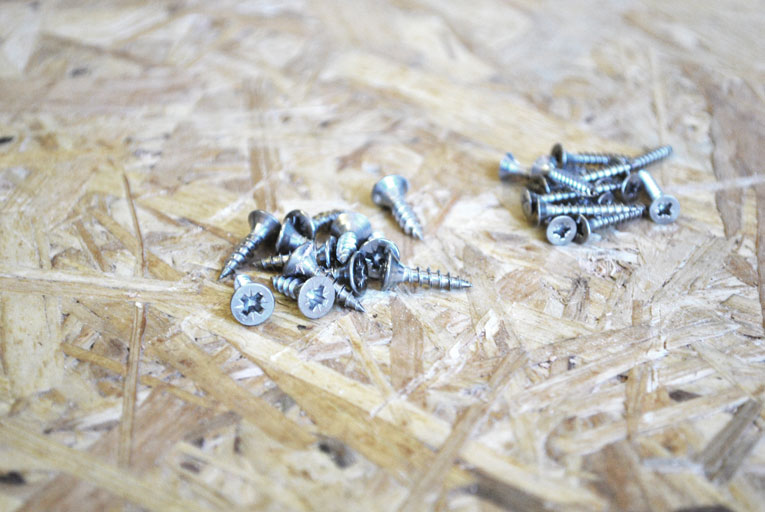
Gluing stuff… In one of my previous post I already explained why I deviated away from using copper nails as a temporary fasteners. So I went and bought a bunch of stainless steel screws. Stainless because I presumed that I may not retrieve all the screws after epoxy has cured. And the practice demonstrated that my assumption was not so wrong after all. Few of those scrawny screws (right on the photo) decided to stay in. Despite the fact that I had cleared the heads from clue with acetone rag, still some clue managed to spoil those tiny lobes. Lesson learned… so I abandoned those and started to use screws with bigger heads (in the middle of the photo). Those are 3mm diameter & 12 mm long and do the job.
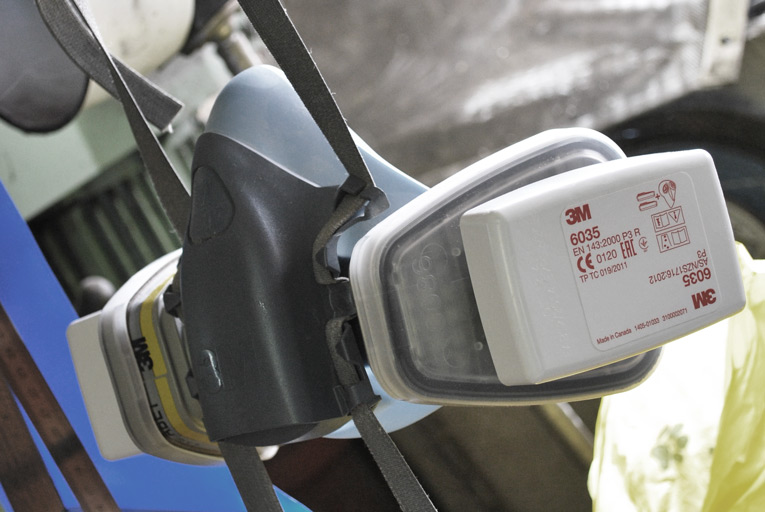
Last but not least – when messing around with epoxy or with random orbit sander don’t forget to wear a proper mask. I have 3M half-mask with detachable organic compound and dust filters, which I could combine depending the situation. 3M has a selection of masks in various sizes, so you can choose best fit for you. Im pretty pleased with one I got.
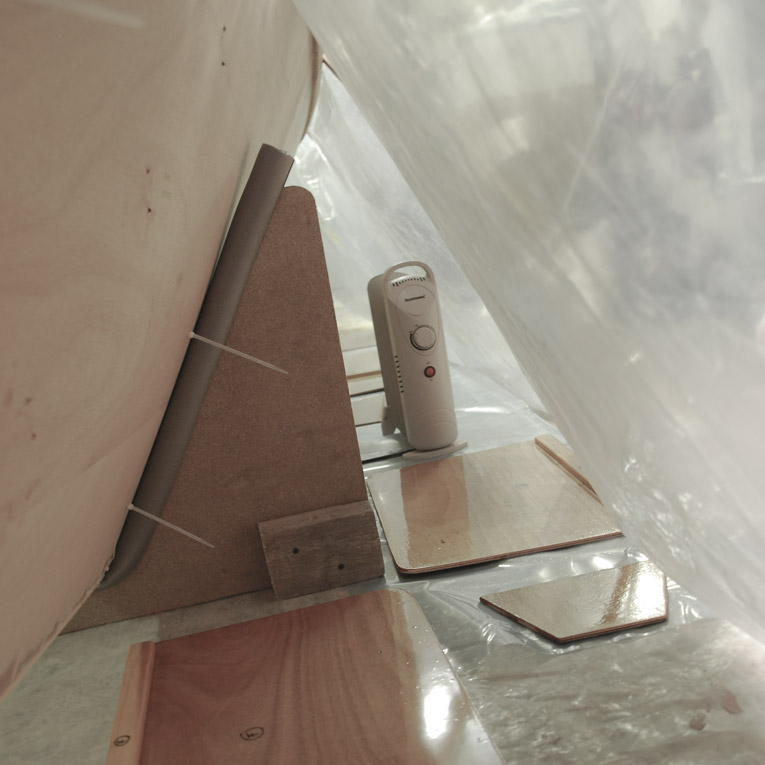
Im not sure if its overkill, but I manufactured some nice minuscule fillets for covering the stitch holes of diagonal stiffeners. Fancy stuff, my friends.
Gluing bunks. Deviated from the building instructions a bit – I did not stitch the bunks, instead I went for temporary screws and some nice bricks. Also I did not loft the curvatures like Wharram suggest, therefore I took the measures in situ and cut out the bunks accordingly with strait edges against the broadsides. The camber of the broadsides leaves just a few millimeter wide gap between bunk and side, which would be easy enough to fill with thickened epoxy.
Fillets. After colloidal silica and epoxy mix has been cured next step was sculpting some nice radiuses (low density filler) for upper- and underside of the bunks. Later one made me wish I was born as a bat – a job not suitable for sweating out the hangover 😉
I waited until upper side radius was almost cured, then laid gently 100mm 175g glass tape, smoothing with light strokes of brush until it was leaning tight against surface after which epoxy was brushed over.
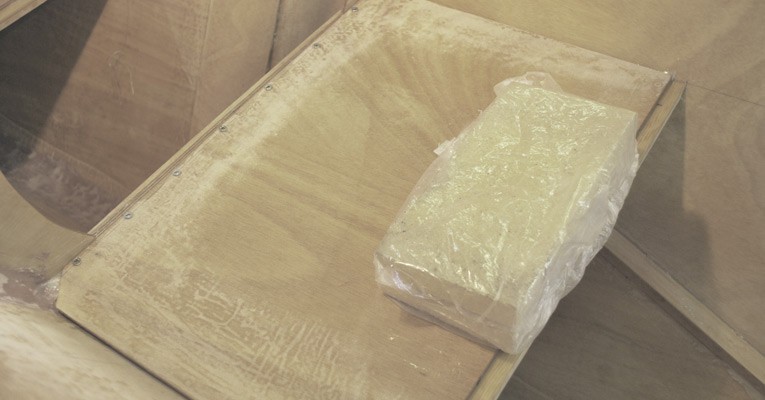
PS! Peanut butter. If its not necessary to squeeze fillet into some narrow gap then peanut butter consistency would work best. It paid off to spend an extra minute to measure out the right consistency. At least for me.
TIKI ITATAE – reinforcing the keel from AGUR VISUALS on Vimeo.
Today I continued with fillets. This time were the keel fillets in to-do list, those will be glassed as well.
I use West System 407 Low Density filler. For applying correct radius I produced plywood spatulas. But they are inflexible, so I guess I shall replace them with metal spreaders shaped in desired form…
Check out previous time lapse videos about stuffing the giant taco — starboard hull goes from 2D to 3D and filleting bulkhead radiuses.
TIKI ITATAE vol 2. from AGUR VISUALS on Vimeo.
Check out previous time lapse video about stuffing the giant taco — starboard hull goes from 2D to 3D
Now as I have removed stitches of the diagonal stiffeners, I would like to share some notes on that. Cause God or Devil is in the details…
This was first time for me to perform such kind of gluing method and again I had to learn it by hard way how to make things easier.
So what I would like to point out first is that if you would like to glue all the stiffeners with single evening its better to have helper. One is stirring and spreading the glue and the other is stitching. Yes, one could install the wires to the hull prior glue spreading – but its pretty nuisance to spread the glue between those prickling wires, which will tear up one’s nitrine cloves pretty soon… Actually, when deploying the stiffeners it does no harm to wear leather cloves on top nitrine ones against the prickling ends of the wire.
What I also learned is, that when tightening the wire, its worth to pull it slightly away from the stiffener in same time – in this manner there seem more force transferring into tightening rather than braking the wire.
What you may also like to take special care of is drilling the holes – its better to have them right on the edge of stiffener, when they are inside from the line, its hard to remove the wire after the glue has cured. When the holes are too far away from the stiffeners edge then there could be a bit trouble in tightening.
Wharram suggest to drill small holes for stiffeners stitches (previously stitching the hull there was suggestion to have holes approx. twice the size of the wire) – and I can see that then you have much less epoxy surrounding the wire in the hole which makes wriggling the wire out much easier.
Wriggling – get a notch on that. It concerns the removal of the wires. I seldom used pliers to pull out the wires.
As with most of the other thousand things in life, its rarely the laboured force that helps to achieve your goals.
So take your time, snap the wire outside, bend it back straight, unwind other side and then start to slightly wriggle and turn the wire and when you feel grip of the epoxy starting to loosen then its time to pull wire smoothly out. And yes of-course, during the gluing process its smart to remove as much of excess epoxy as possible, no doubt on that.
TIKI ITATAE from AGUR VISUALS on Vimeo.
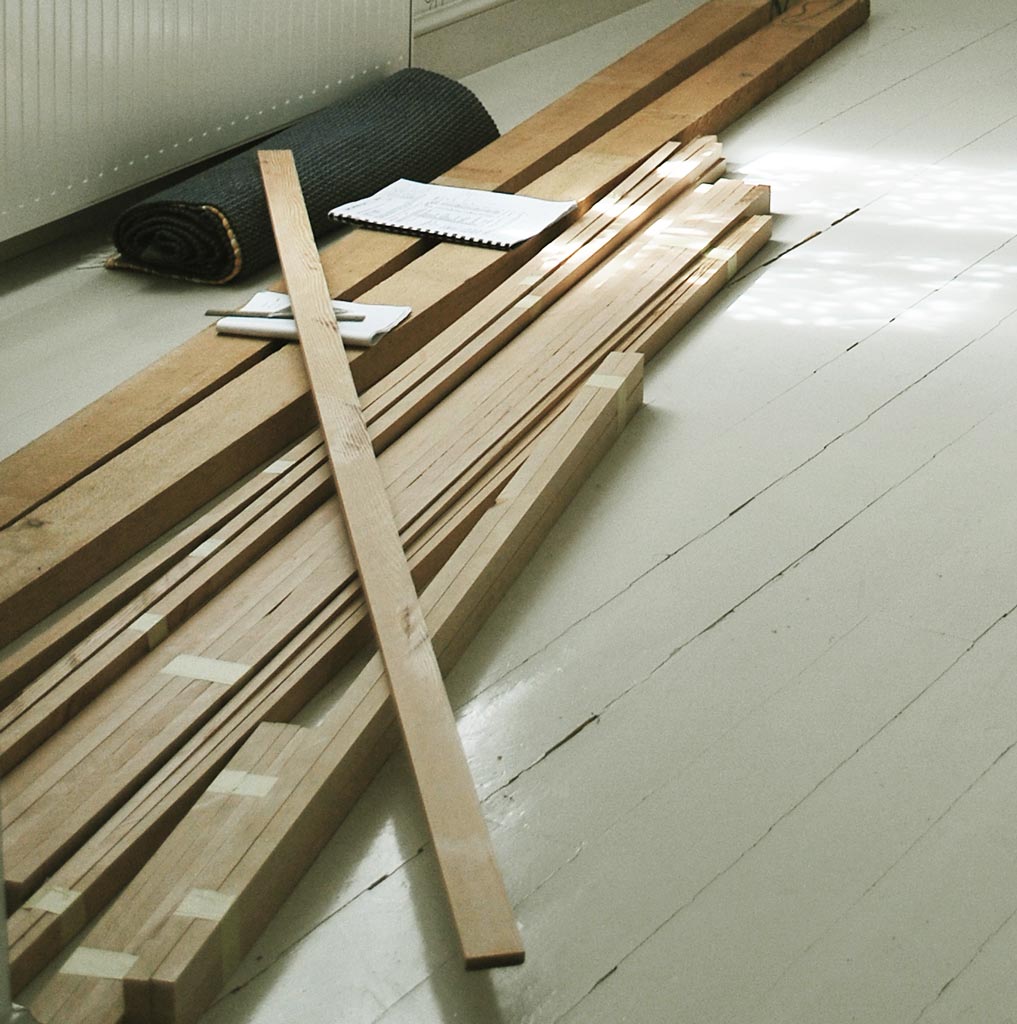
Few weeks ago I bought from Mass last pieces of Douglas-Fir needed to complete hulls. It means two 5,45m 105x52mm logs.
Im still missing pieces for the crossbeams: they need to be 3,81m long with cross section of 120x20mm. I have to hope a miracle on that!
Anyway, I had to use again lots of Veiko’s elbow grease to cut them in suitable battens and planks.
Thanks again Veiko and Jaanika! Your help is again appreciated a lot!
Yesterday I spend more than few hours in Veiko and Jaanika workshop, stripping the first Douglas Fir plank into the desired battens. Some few hundred straight cuts we had executed on this day. Overall everything went quite well. One plank revealed a major resin pocket, but nothing catastrophic. And yes, Douglas-Fir has a very distinctive smell and on the circular saw it throws minuscule specks, so wearing a cloves and eye protection is a good idea if you have a habit to stare the process in close hand.
NB! I really appreciate your effort, friends!